For more information about render nodes and their attributes, see About shading networks.
For a detailed description of the material node attributes, see About surface materials, About displacement material, About volumetric materials.
You can adjust one node at a time (for example if you want to adjust an individual attribute while using IPR), or you can adjust several nodes at the same time using the Attribute Editor, Attribute Spread Sheet, the Rendering Flags window, or the Channel Box.
To set an attribute for one node
- Select the node whose attribute you want to adjust and open its
Attribute Editor.
You can select the node in the Hypershade, in the Node Editor, or in the Outliner. Click
 in the status line to display the
Attribute Editor; or, select
Windows > Attribute Editor.
If you are creating a shader graph, you can adjust your render node attributes in the Hypershade Property Editor. By default, the Property Editor displays render nodes in a template view that is optimized for shading workflows, and has a simpler layout that lists only the most commonly used attributes. You can switch to the Attribute Editor view by clicking
 in the
Property Editor.
- Adjust the attribute by moving the slider or typing a value in the field next to the attribute name. If you want to map a texture, utility, or optical effect, click the map button at the end of an attribute’s name.
To set attributes for multiple rendering nodes in the Attribute Spreadsheet
- Select the surfaces or rendering nodes whose attributes you want to adjust.
- Select Window > General Editors > Attribute Spread Sheet.
- Click a tab heading to see the attributes.
- The Keyable tab contains the render node attributes.
- The Render tab contains the attributes that determine how a surface renders.
- Use the scroll bar to view the attributes horizontally.
- Drag down an attribute column to select its contents and select the top field to select all the entries in the column.
- Type the value you want in the top field of the selected attribute column and press Enter (Windows, and Linux) or Return (Mac OS X).
All the attributes in the column update with the new value.
To set attributes for nodes in the Rendering Flags window
- Click Windows > Rendering Editors > Rendering Flags.
- In the
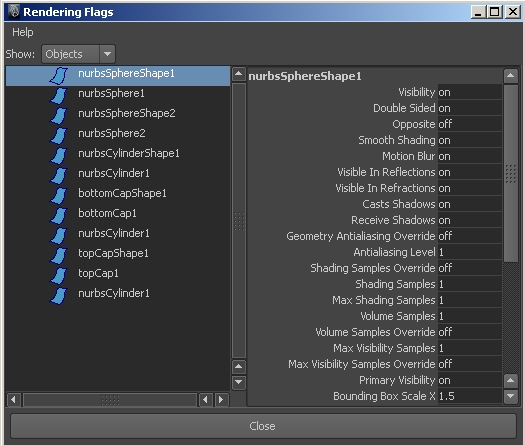
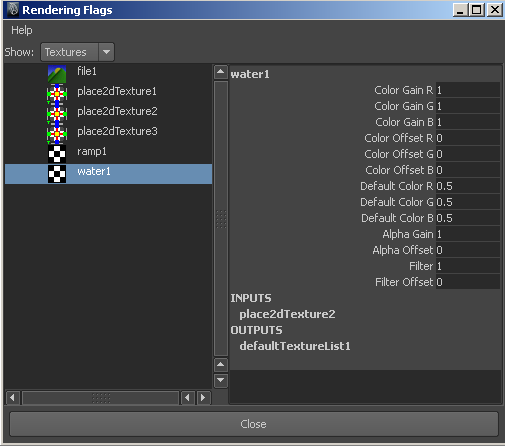
Rendering Flags window, from the Show drop-down list, select the item(s) for which you want a list of attributes.
The attributes for these items are listed in the right panel where you can change and set them, much like in the Channel Box.

- Do one of the following:
- To change the attributes of one node, click the listed node in the left panel to display the attributes in the right panel, then change the attributes.

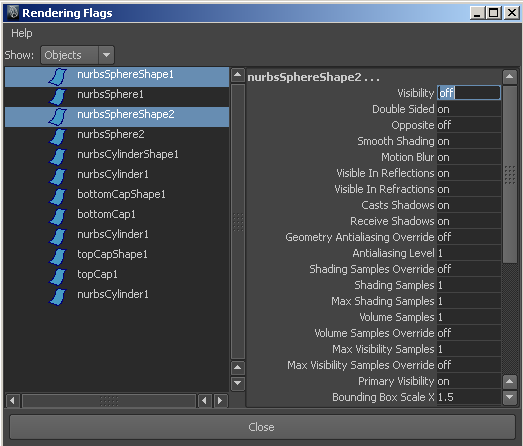
- To change attributes for several related objects by selecting them in the left panel of the
Rendering Flags window, and setting the attribute value in the right panel. For example, if you want to turn the visibility off for two NURBS spheres in the scene, select both spheres from the left panel and type off beside
Visibility in the right panel.

Once you change an attribute for a selected item, the heading changes color in the list, reminding you of the change.
Tip:You can also set an attribute for multiple nodes using the Rendering Flags window or the Channel Box.
- To change the attributes of one node, click the listed node in the left panel to display the attributes in the right panel, then change the attributes.