Presets for layers set layer overrides. You can apply an existing preset to a layer, or create your own presets which you can then apply to new layers.
To apply a layer preset
- In the Render Layer editor, select a layer.
- Select the layer in the Attribute editor, click the Preset button, and select a preset.
To save a layer preset
- In the Render Layer editor, select a layer whose overrides you want to save.
- Select the layer in the Attribute editor, click the Preset button, and select Save Preset.
- In the Save Settings as Preset dialog box, enter a name for the preset.
To delete a layer preset
- From the Preset button in the Attribute editor for a layer, select Delete Preset.
Examples of presets
The following examples show different presets applied from the automotive example discussed in Render layers example: automotive preview in the What’s New in Maya guide.
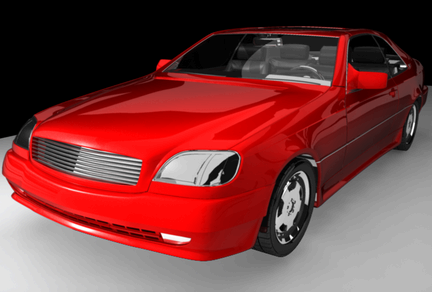
Maya comes with the following presets:
| Preset | Description | Example |
|---|---|---|
|
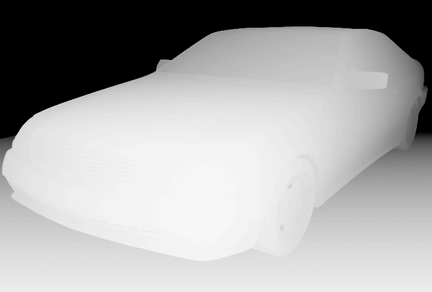
Luminance Depth |
A grayscale render based upon the depth (distance) from the camera. This produces an anti-aliased grayscale image for use in determining depth priority in a compositing application. |
 |
|
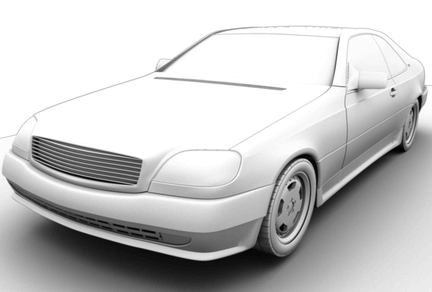
Occlusion |
Uses the mental ray renderer to produce an open sky-type render. Other names for this type of pass are Fake GI or Dirt shader. This pass works well with a white background. |
 |
|
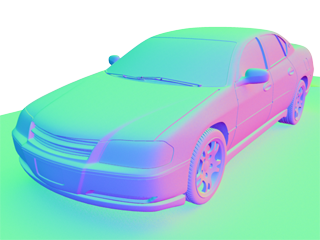
Normal map |
Renders a tangent space normal map from the renderable camera. This map can be used post 3D (compositing software) to catch highlights off the pre-rendered geometry. Based on the amount of red, green or blue, this map defines the rendered image's normal direction per-pixel within the color channels’ output. |
 |
|
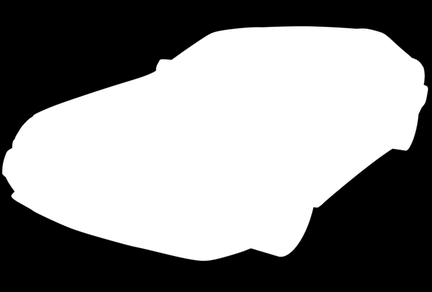
Geometry Matte |
A color version (black and white) of geometry's alpha or silhouette. Also known as a Mask. The Geometry Matte does not respect transparency information, as can be seen in this example (the car’s windows are transparent). |
 |
|
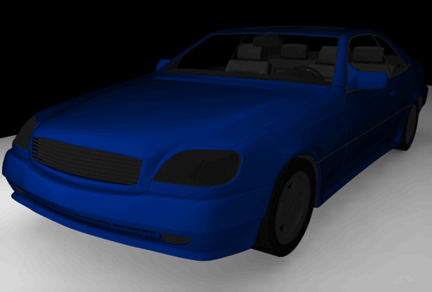
Diffuse |
Only diffuse shading is performed (that is, no shadow or specular information). The diffuse pass contains the diffuse and ambient information and is modulated by color, transparency, and Diffuse Coeff (diffuse coefficient). |
 |
|
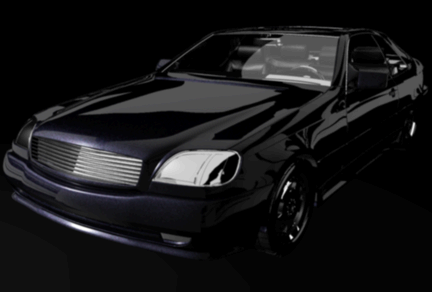
Specular |
Only specular shading is performed. The specular component is modulated differently depending on the type of material associated with the object. Phong, PhongE, Blinn, and Anisotropic materials produce specular contributions differently. On a Phong material, the specular pass can be modulated using cosine power, and specular color. No mask or alpha channel is produced for the Specular Pass; therefore, additive compositing of a specular pass is recommended. |
 |
|
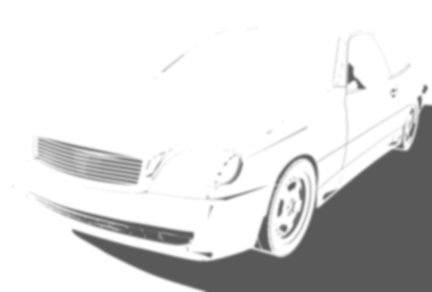
Shadow |
Produces only the shadow component of the image in the alpha channel. No color information is produced. |
 |