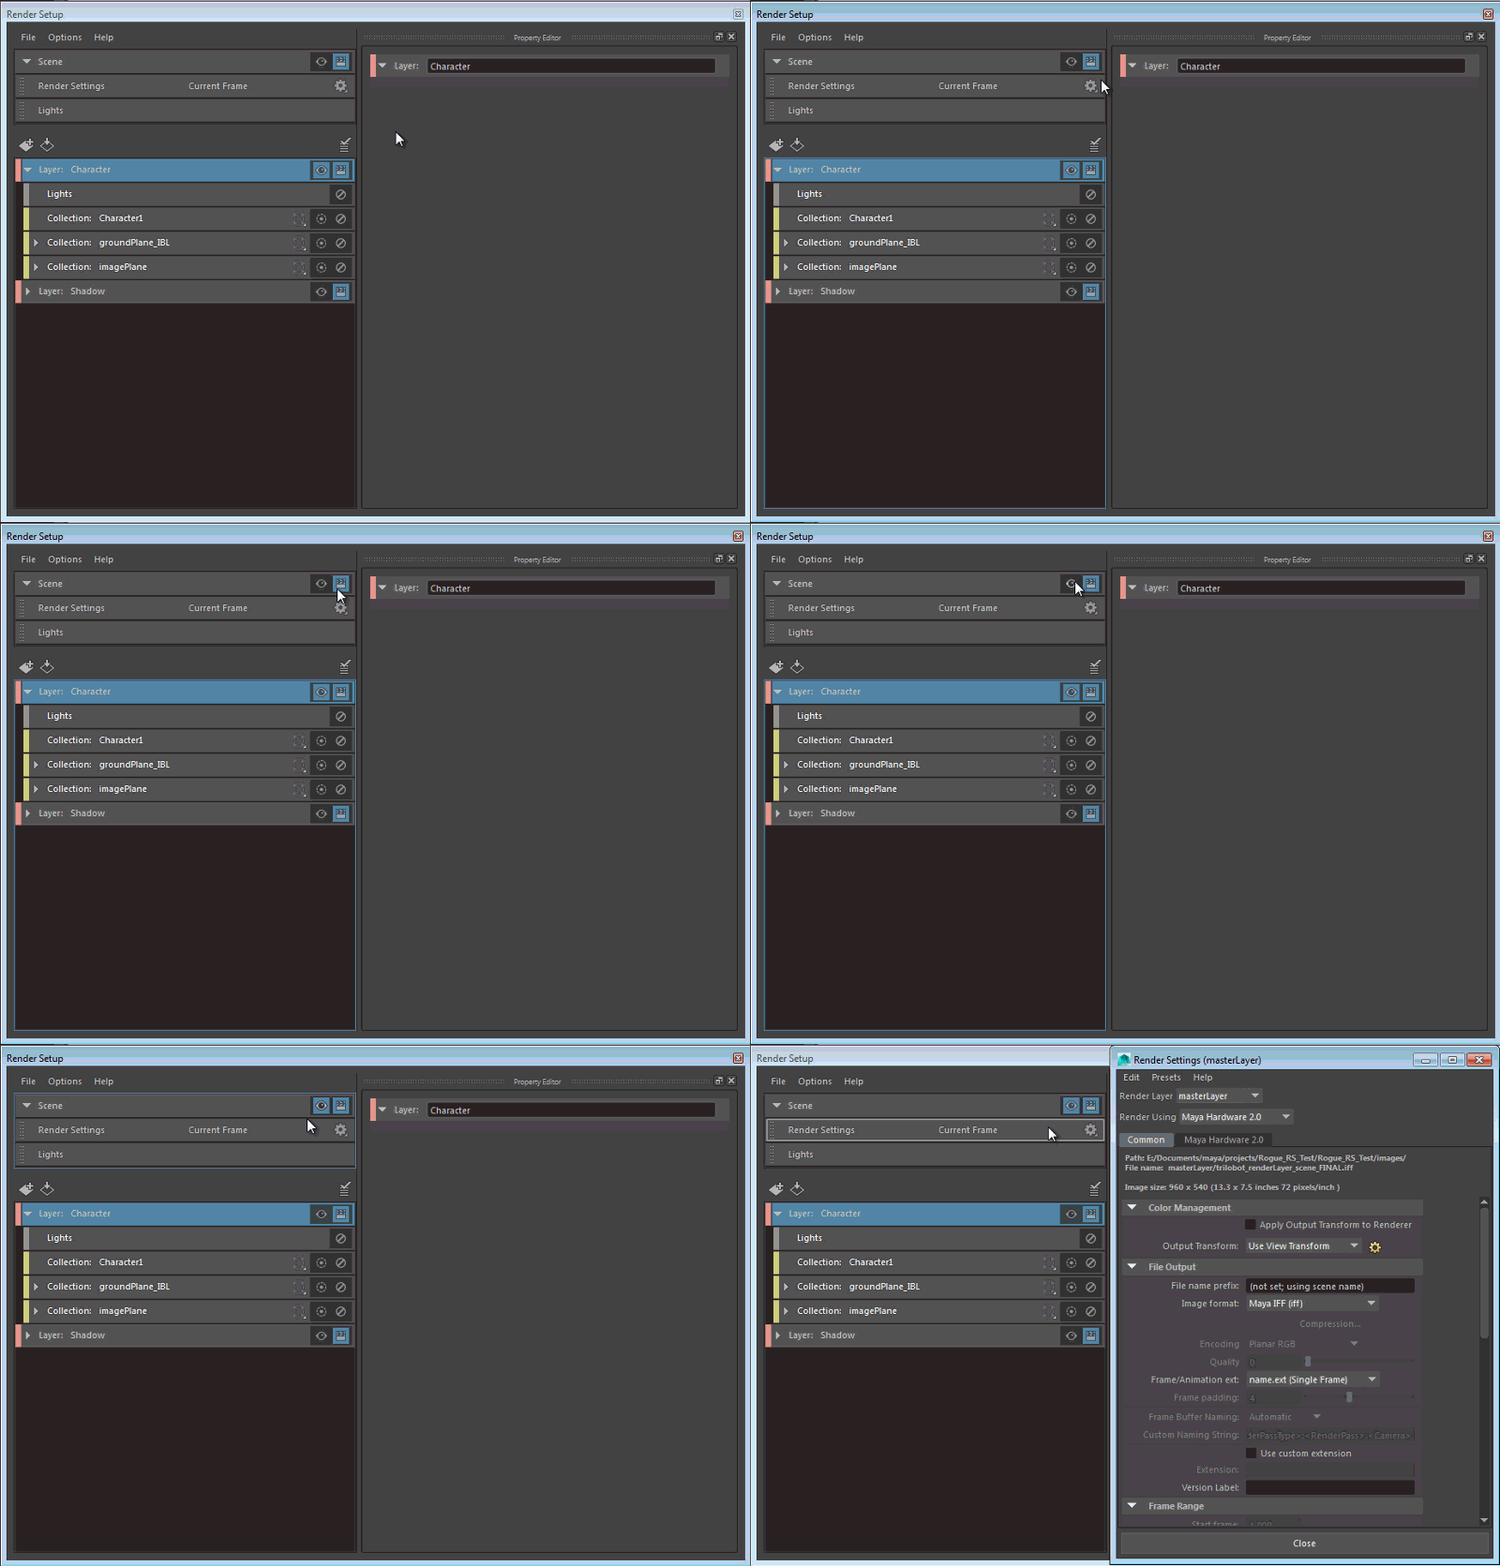
Click the
Scene
 icon at the top of the
Render Setup editor to switch to the master layer, then double-click the
Render Settings tab to open the
Render Settings window. This opens the
Render Settings for your master layer.
The range of frames being rendered is also displayed. It may indicate Current Frame, or Frame 1-10, for example, if you have set a Start frame and an End frame.

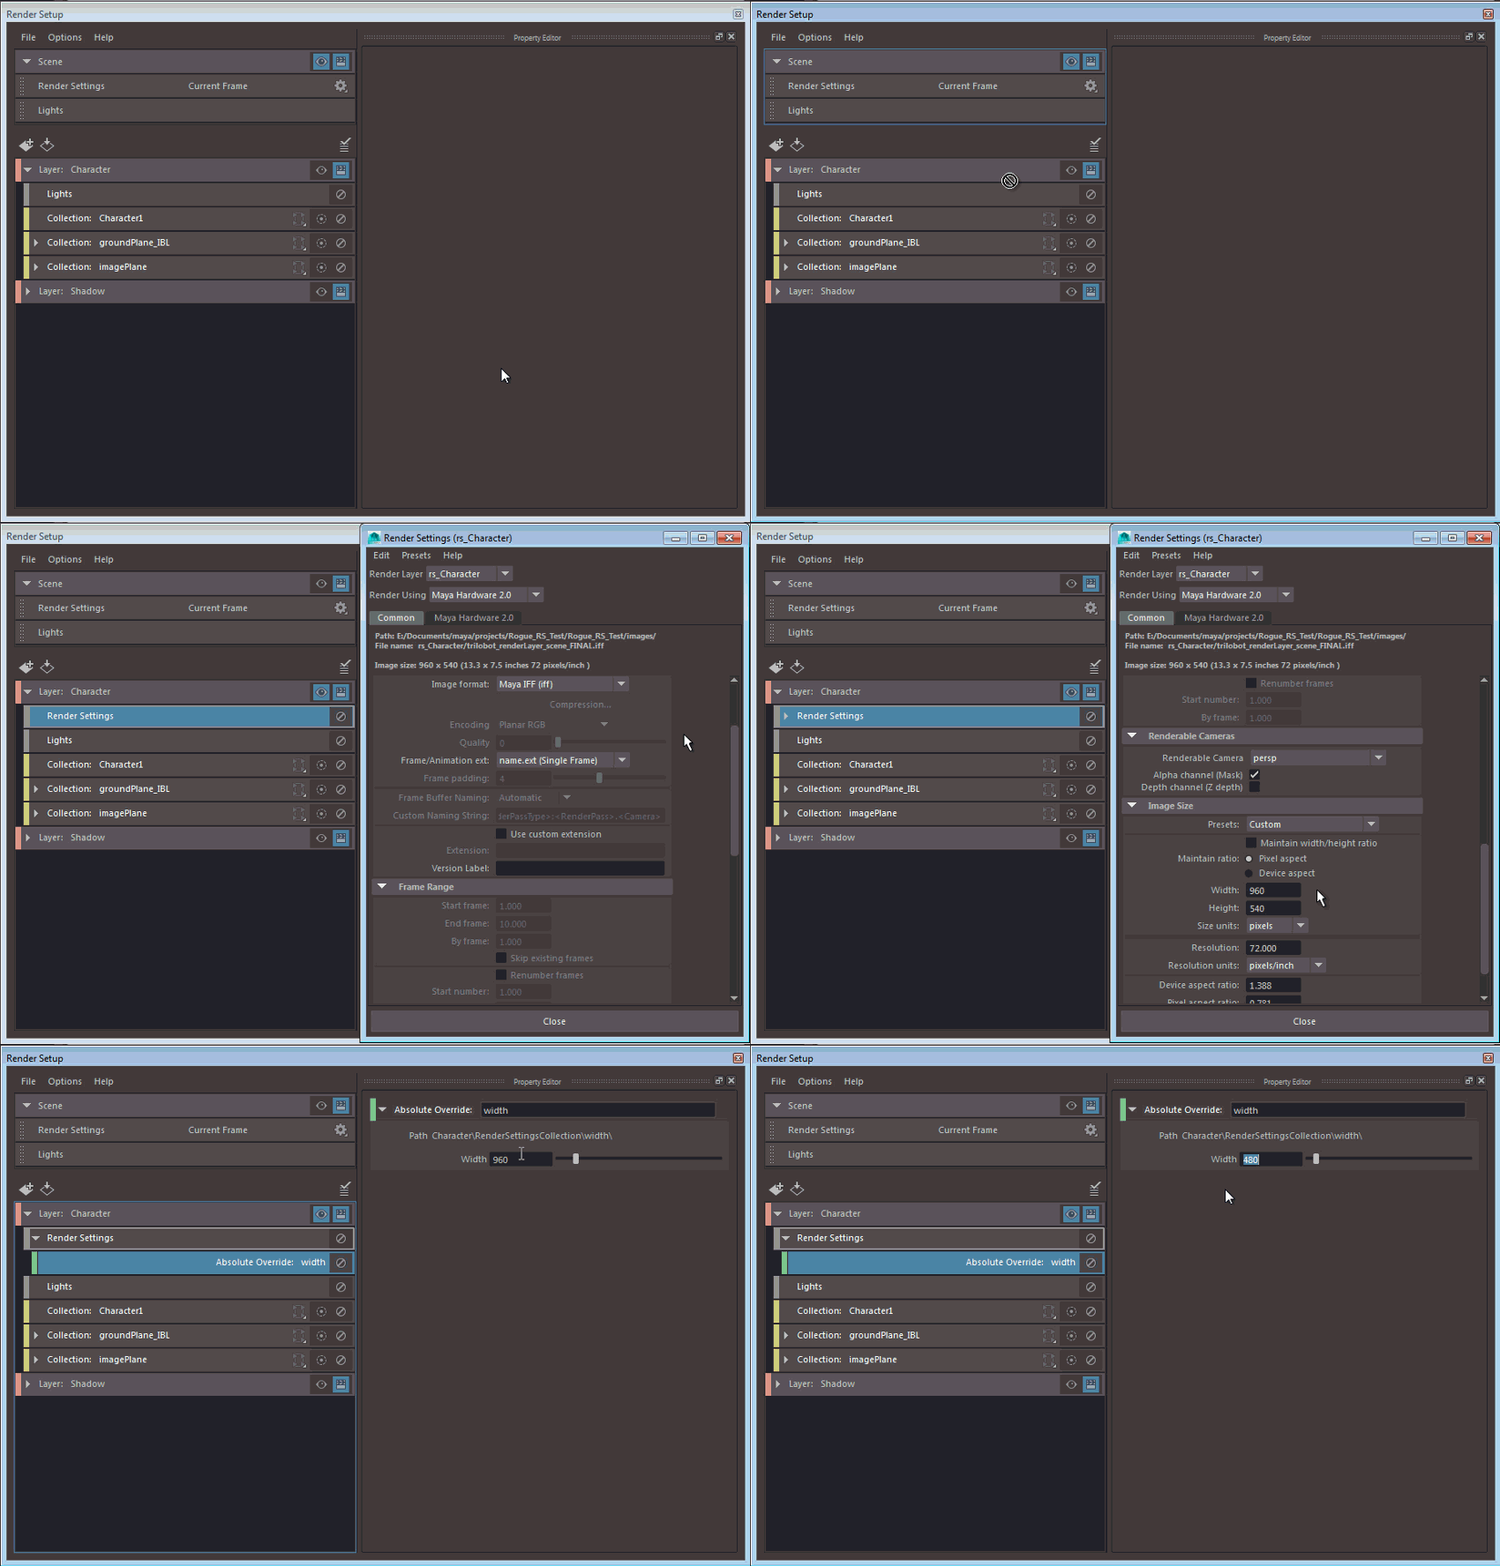
Create Render Settings override for a render layer
- Middle-mouse drag and drop the Render Settings tab from the top of the Render Setup editor to your render layer.
- Click
 on the layer.
-
Double-click the Render Settings tab in that layer to open its Render Settings window.
-
Right-click the attribute that you want to override in the Render Settings window and select Create Absolute Override for Visible Layer or Create Relative Override for Visible Layer.
An override automatically appears beneath the Render Settings tab in the Render Setup editor.
- Select the override and adjust its value in the Property Editor.
 ; click this to refresh your layer before you render in order for the overrides to be reflected in your render.

Display the Render Settings for each render layer
To open the
Render Settings for any layer, including the master layer, click
 on the layer, then double-click its
Render Settings tab.
When viewing the Render Settings for a specific layer (including the master layer), the Render Settings tab for the corresponding layer appears with a grey border.
You can only display the
Render Settings window for a layer that is visible. If you switch to another layer (by clicking
 on the layer) while the
Render Settings window is open, the
Render Settings window automatically updates to reflect the settings for the visible layer.
The converse is also true. If you use the Render Layer drop-down list in the Render Settings window to display the Render Settings for a different layer, that layer is automatically set as visible.