Adjustments can be made to the style in which the point cloud is rendered at any time to help you better inspect and navigate your data.
Perspective & Orthographic Modes
How to toggle between perspective and parallel views of the point cloud.
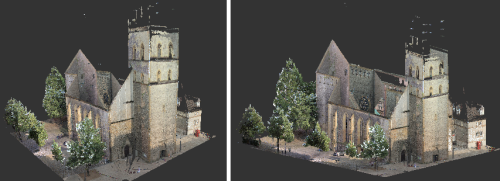
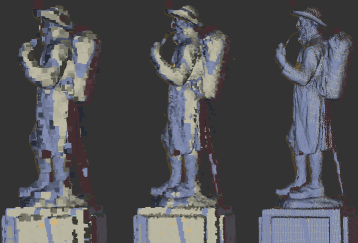
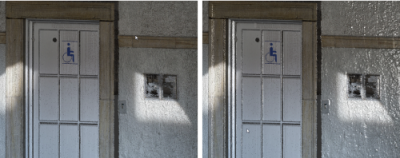
perspective (left) and parallel views
The Perspective setting affects the behavior of panning and zooming. When Perspective is on, the changing viewpoint reflects a perspective view. When Perspective is off, the movement is perpendicular to the current viewpoint.
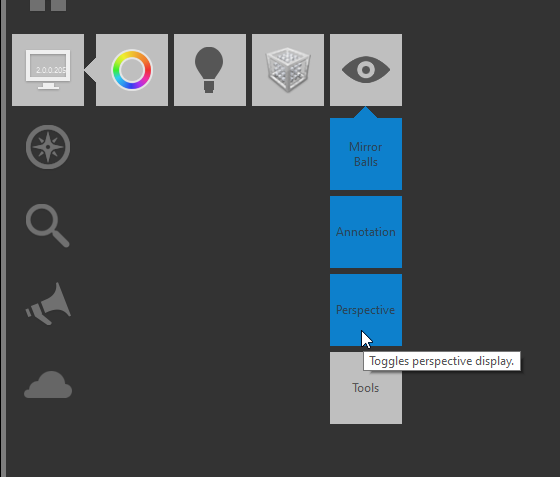
On the Project screen, hover over Display Settings > Toggle UI Elements and click Perspective to highlight the tile
Show or Hide the Grid
The grid provides a visual reference that identifies the current orientation of the drawing.
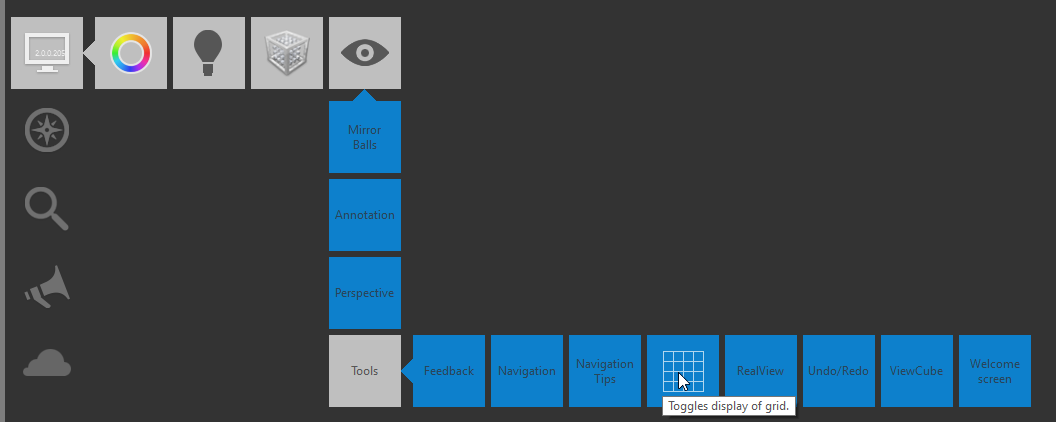
Hover over Display Settings > Toggle UI Elements > Tools and click Grid.
Point Size
You can also specify settings that determine the size of the points.
On the Project screen, hover over Display Settings > Points > Point Display.
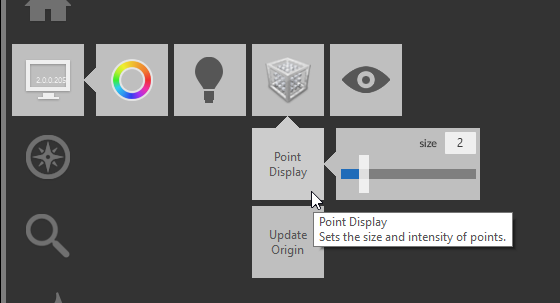
Move the Size slider or enter a new value to change the point size.
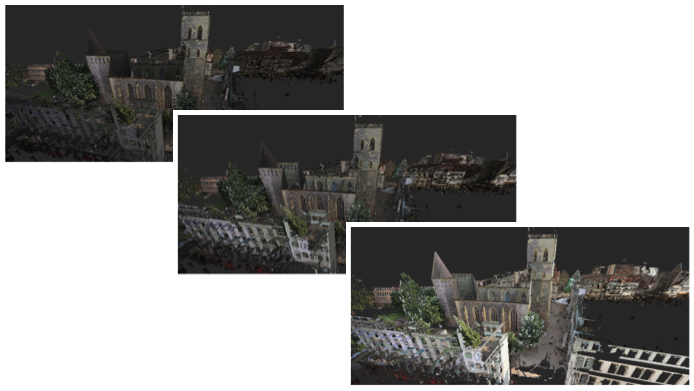
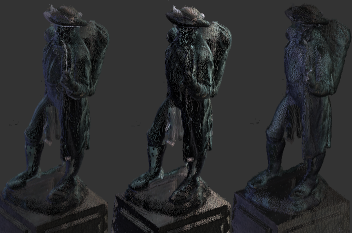
Lighting Sides
Other settings affect lighting and how it is reflected. For example, you can set the direction of the light to be general or to be from one or both sides.
Specify whether the lighting direction should be from a single side, two sides, or whether the lighting direction should be more general.
On the Project screen, hover over Display Settings > Lighting Settings > Lighting Sides.
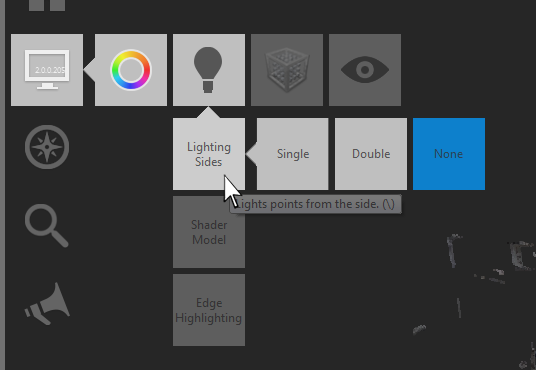
Click one of the following buttons:
- Single. Illuminates the points when the point normals are facing a directional light source.
- Double. Illuminates the points from two sides.
- None. Ignores lighting direction and colors the points based on the scan colors.
Shading
You can also choose between diffuse shading (Lambert) and more realistic shading that shows specular highlights (Phong).
hover over Display Settings > Lighting Settings > Shader Model.
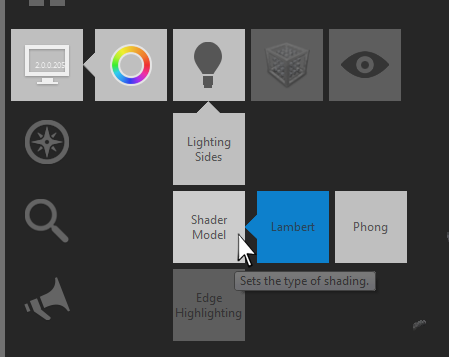
Click one of the following buttons:
- Lambert. Uses a diffuse shading technique in which the surface radiance is the same regardless of the viewpoint.
- Phong. Uses Phong shading, a realistic shading technique that is based on the color and illumination of each pixel. This method may include specular highlights on glossy surfaces.
Edge Highlighting
Edge highlighting settings can also be changed to provide better definition of objects in the scene.
Specify the brightness of the points in the point cloud.
On the Project screen, hover over Display Settings > Lighting Settings > Edge Highlighting.
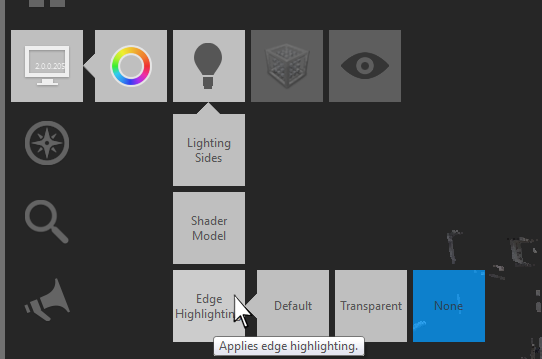
Click one of the following buttons:
- Default. Darkens groups of points that are inferred to lie on the same plane. The darkening is related to the normal of the point and the viewing direction.
- Transparent. Causes groups of points that are inferred to lie on the same plane to be transparent.
- None. Does not perform edge highlighting.