ReCap allows you to change the point cloud appearance to communicate specific data about the scan more efficiently. Some methods, such as specifying color modes, provide information about the point cloud surfaces and elevations.
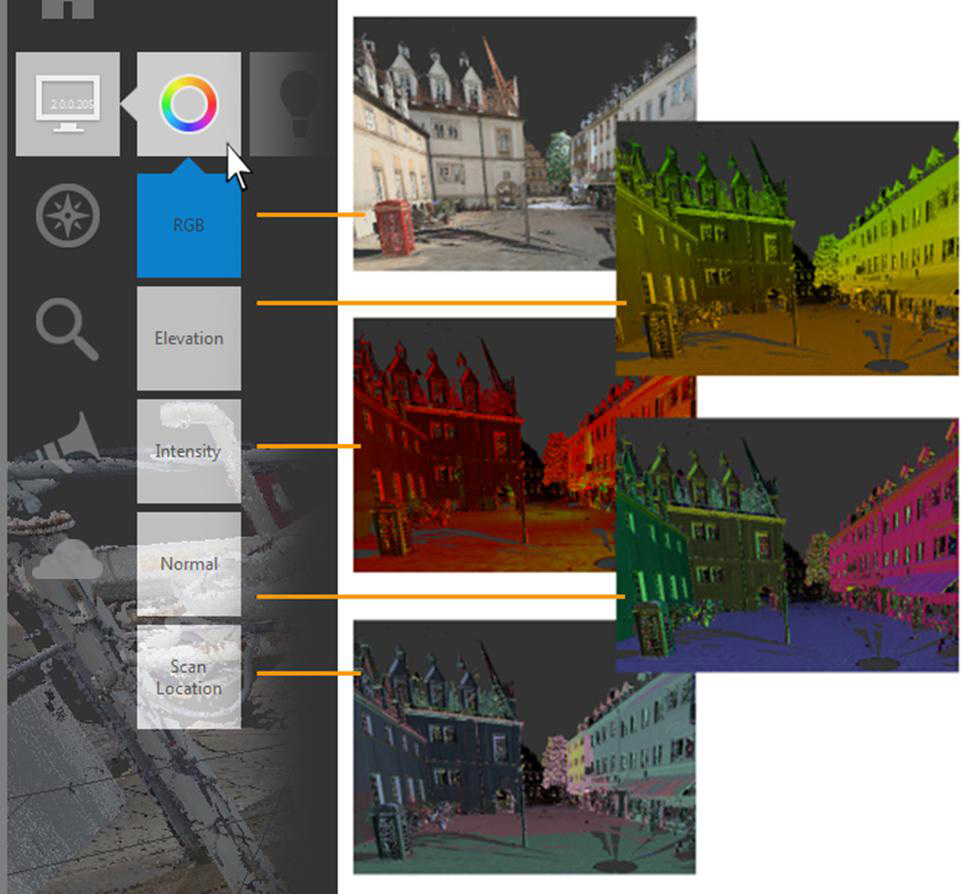
Realistic Display
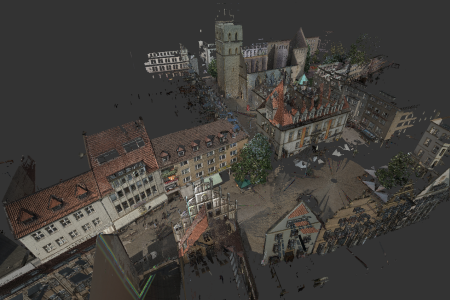
Display points in the real-world colors originally captured by a camera built into the scanner. This color is based on RGB (red, green, blue) color values.
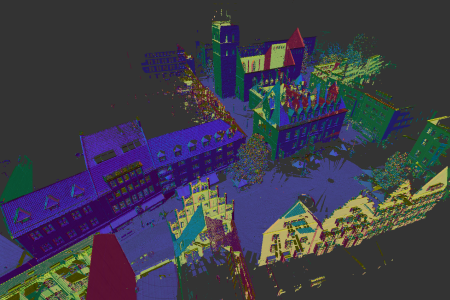
Elevation
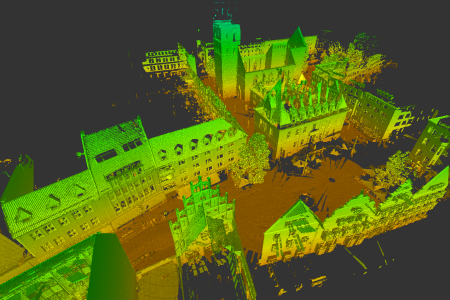
Display point colors that reflect height, or Z coordinates.
Display Intensity by Color
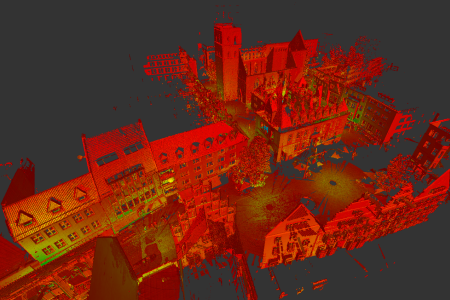
Set point display to show intensity, which measures point reflectivity based on surface texture, surface angle, and the environment.
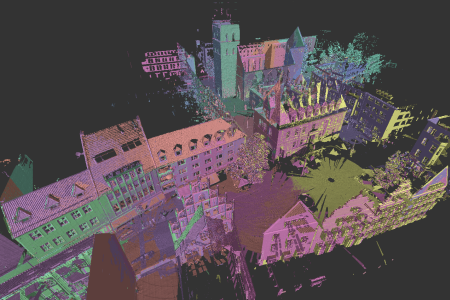
Display Point Normals by Color
Display points with colors assigned to the X, Y, Z values associated with the direction of the normal for the point.
Display Scan Locations by Color
Display the point cloud with each scan location differentiated by color.
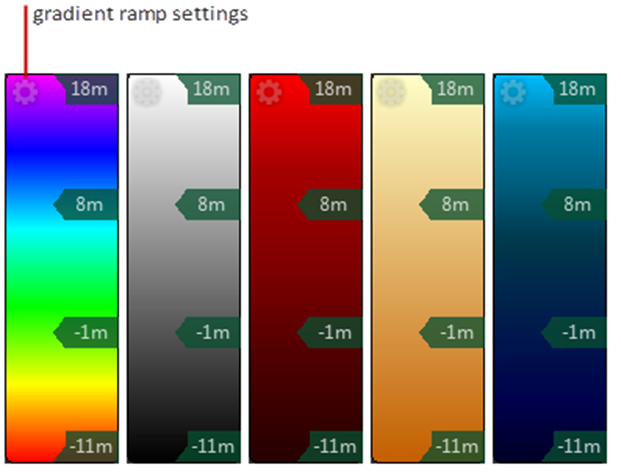
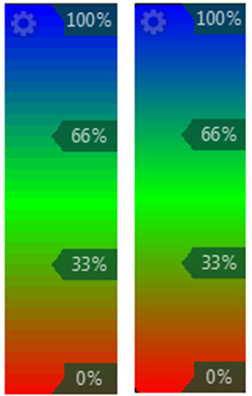
About Gradient Ramps
The gradient ramp is displayed on the left hand side of the viewer when you view a point cloud in the Elevation or Intensity color modes.

Depending on the current color mode, the colors convey information such as height, normal directions, or original scan locations. You can modify the number of colors on the gradient ramps, specify whether the colors are blended or distinct, or set them to use one of several color gradients such as grayscale, reds, earth tones, or blues.
You can modify and save the gradient ramp settings that emphasize different details in the Elevation and Intensity color modes. To edit your current gradient ramp or create a new one click on the settings icon in the upper left.
Editing Gradient Ramps
Once you’ve got the settings dialog up you’ll be able to adjust a number of variables associated with the current gradient ramp. These include selecting other default color spectrums, adding colors to the current spectrum, removing colors from the current spectrum, and changing
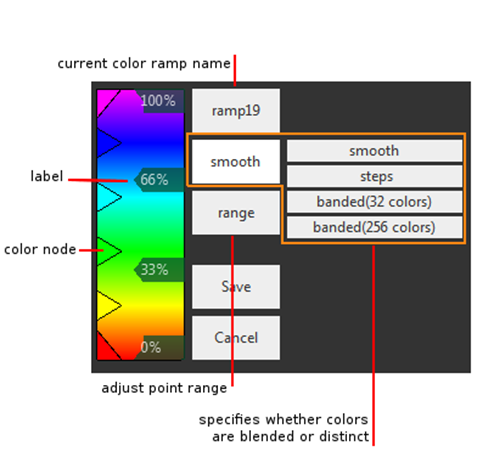
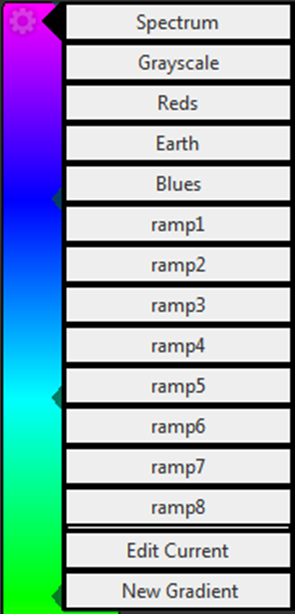
Set the Color Ramp to a Preset Color
You can select Spectrum (the default) to any number of preset options. These include grayscale, reds, earth tone, or blues.
Add New Color Nodes to the Ramp
To add a new color node to the gradient ramp hover over left edge of the gradient ramp and click the location where you want to add a color. Once placed you can specify a different color for the new node, by clicking the color node to open the Color dialog box and make changes.
The ramp can be adjusted alter the way the colors are displayed along the gradient. Smooth blends the colors along the ramp while any one of the 32-step, 64-step, or 256-step settings split the ramp into individual colors.
Edit Ramp Labels
Ramp labels can be adjusted at any time while editing a ramp. Just click on any label to get access to it’s settings.
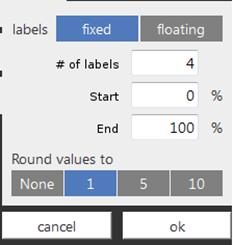
fixed - distributes labels evenly
floating - allows for custom label distribution
# of labels- sets number of labels
Start/End - sets the label range
Round values to - sets the amount to round label value up to
Once you're finished just click save to confirm your changes.
To remove a label from the current Gradient Ramp just find the one you want to delete, click on it, and drag it off of the gradient ramp.