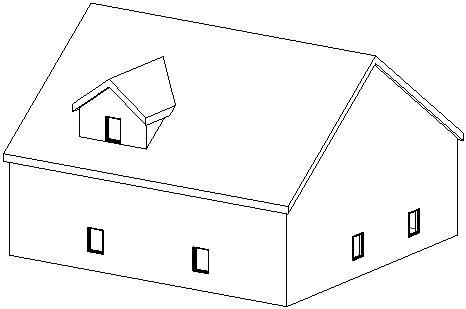
After adding a dormer, cut an opening for it through the roof.
- Create the walls and roof elements that make up the dormer.
- Use the Join Roof tool to join the dormer roof to the primary roof. Note: Do not use the Join Geometry roof tool for this task, or you may encounter an error when creating the dormer opening.

- Open a plan view or an elevation view in which you can see the dormer roof and the attached walls. If the roof is extruded, open an elevation view.

- Click
 (Dormer).
 - Architecture tab
 Opening panel
 (Dormer Opening)
 - Structure tab
 Opening panel
 (Dormer Opening)
Where is it?
- Architecture tab
- Highlight the main roof on the building model, and click to select it.
Watch the status bar to be sure that you are highlighting the main roof.
The Pick Roof/Wall Edges tool is active so that you can pick the boundaries that compose the dormer opening.
- Place the cursor in the drawing area.
Valid boundaries are highlighted. Valid boundaries are a joined roof or its bottom face, a side face of a wall, a bottom face of a floor, an edge of the roof to be cut, or a model line on the face of the roof to be cut.
In this example, side faces of walls and joined faces of the roof were selected. Note that you do not need to trim the sketch lines to have a valid boundary.

- Click
 (Finish Edit Mode).
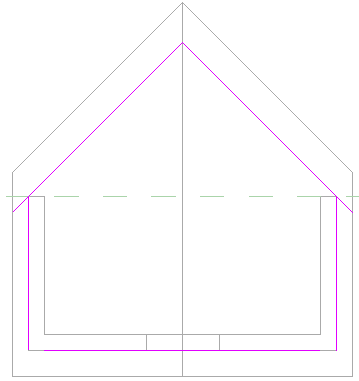
 - Create a section view through the dormer to see how it cuts the main roof.

Revit makes both vertical and horizontal cuts in the roof.

Dormer opening in a 3D view