In this exercise, you change existing exterior walls to curtain walls.
|
Objectives
- Use the Split tool to split the existing wall.
- Change the wall type to a curtain wall type.
- Create a curtain wall type and modify the grid pattern.
Create a Curtain Wall
- Open project GSG_08_place_curtainwall.rvt.
- Verify that the 01 - Lower Level floor plan is open.
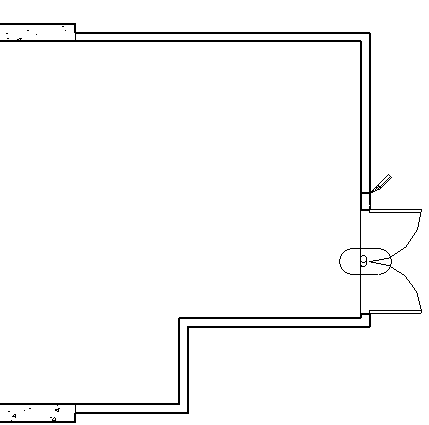
- Zoom in to the northeast corner of the building.
- Click Modify tab
 Modify panel
 (Split Element).
 - Click the east wall just above the door to split the wall, and press Esc twice.
- On the Quick Access Toolbar, click
 (Default 3D View).
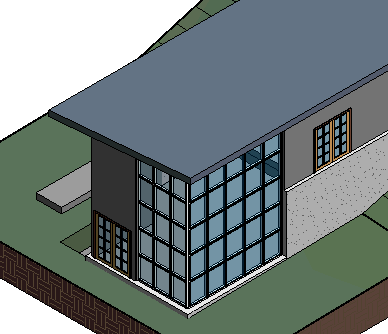
 - While pressing Ctrl, select the portion of the east wall and the adjacent portion of the north wall, as shown. Click the edge of the wall to select the element.
- In the Type Selector, under Curtain Wall, click Storefront.
- With the curtain wall still selected in the drawing area, on the Properties palette, click
 (Edit Type).
 - In the Type Properties dialog, click Duplicate.
- In the Name dialog, enter House Wall, and click OK.
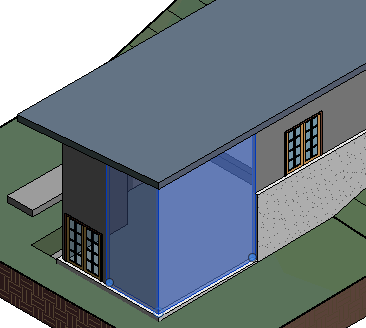
- Under Vertical Grid Pattern, for Spacing, enter 4'.
- Under Horizontal Grid Pattern, for Spacing, enter 4', and click OK.
The new spacing is applied to both curtain walls and this new type is part of the project.