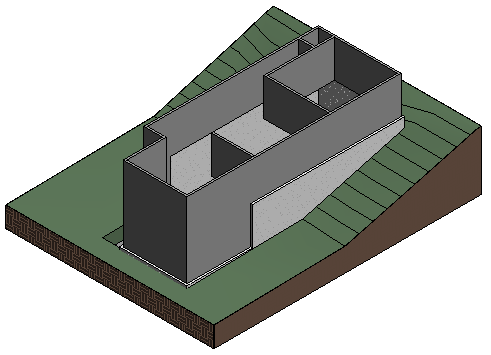
In this exercise, you add a toposurface and a building pad to the building site.
|
You add points at different elevations to create the terrain and create a building pad based on the foundation walls of the building.
Objectives
- Create a toposurface by defining points at different elevations.
- Create a building pad based on the footprint of the foundation walls.
- Use a section box to frame the 3D view including the terrain.
- Specify a grass material for the terrain for a realistic 3D view.
Add Terrain
- Open exercise file GSG_03_terrain_pad.rvt.
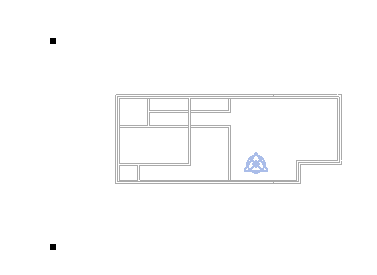
- In the Project Browser, under Floor Plans, double-click Site.
- Click Site tab
 Model Site panel
 (Toposurface).
 Notice that the Place Point tool on the Tools panel is selected by default.
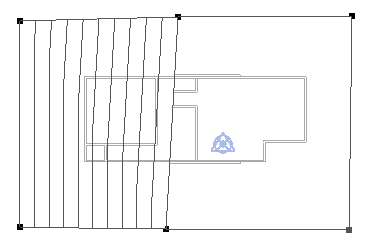
- On the Options Bar, for Elevation, enter 10'.
- Click in the drawing area to add 2 points just to the left of the building, one above and one below the building.
- Change the Elevation value to 0', and add 2 more points toward the middle of the building - one above and one below the building.
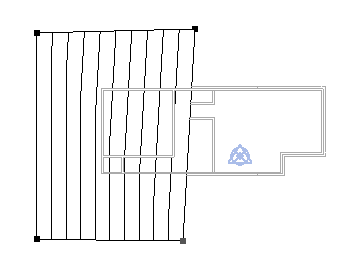
- Change the Elevation value to -1', and add 2 more points just to the right of the building - one above and one below the building.
- On the Surface panel, click
 (Finish Surface).
 - On the Quick Access Toolbar, click
 (Default 3D View).
Add Building Pad
- Click Site tabModel Site panel
 (Building Pad).
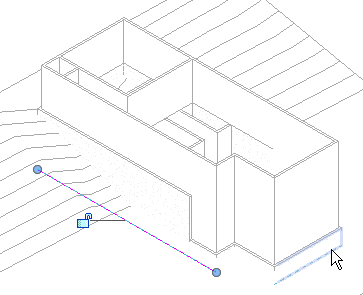
 - Click Modify | Create Pad Boundary tabDraw panel
 (Pick Lines).
 - Select the foundation walls. Note: Use the ViewCube to reorient the view so you can pick the 4 foundation walls, as shown.
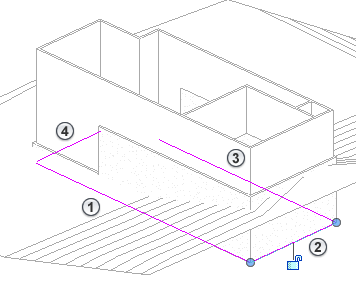
- On the Modify panel, click
 (Trim/Extend to Corner).
 - Referring to the image above, select line
 , then select line
  to close the left corner. Next, select line again, then select line
  to close the remaining corner.
 Closing these 2 gaps should create a closed boundary sketch.
- On the Mode panel, Click (Finish Edit Mode).
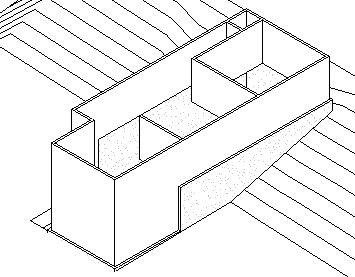
- Orient the 3D view so it is displayed from the top/right angle, and click outside of the building and terrain to select the 3D view itself.
- On the Properties palette, under Extents, select Section Box.
- Select the section box in the drawing area, and drag the top control to extend the top of the box, as shown.
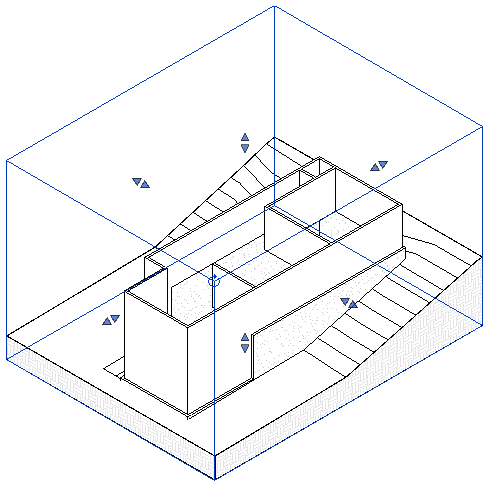
- With the section box still selected, right-click, and click Hide in ViewElements to hide the section box.
- Select the terrain, and on the Properties palette, click the value for Material, and the
 (browse button) that displays.
 - In the Materials Browser:
- In the search field, type grass and press Enter.
- In the search results, double-click Grass to add it to the project. It displays in the top pane of the browser under In Document Materials.
- On the View Control Bar, click Visual Style: Hidden LineShaded to view the materials.