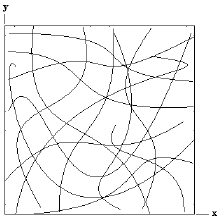
Use the Fabric Builder to create a random continuous mat.
From Page 1 of the Fabric Builder dialog, choose Random Continuous Mat and select Next, Page 2 will become visible as shown in below.
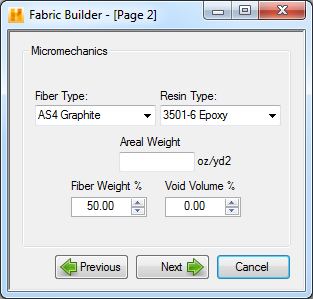
- Fiber Type - Micromechanics will use the selected fiber material properties in its calculations. The fiber types listed in this drop-down box are the same fibers located in the data file tree within the fibers branch.
- Resin Type - Micromechanics will use the selected resin material properties in its calculations. The resin types listed in this drop-down box are the same resins located in the data file tree within the matrices branch.
- Areal Weight - Used to enter the areal weight of the fiber (units of mass per unit area). This can be found on most fiber material data sheets.
- Fiber Weight % - Specify the fiber weight percentage.
- Void Volume % - Specify the void volume percentage. The layer thickness will be increased by this percentage if a value greater than zero is input here. This value must be between 0% - 30% and input as a percentage not as a decimal (i.e. 10 not 0.10).
Once all five fields have been filled out, select Next to advance to Page 3 (see below).
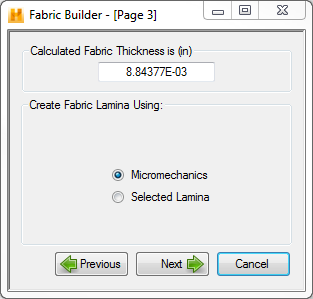
- Micromechanics - If you select to create a new lamina using micromechanics and click Next, you will be taken to Page 4 as shown below.
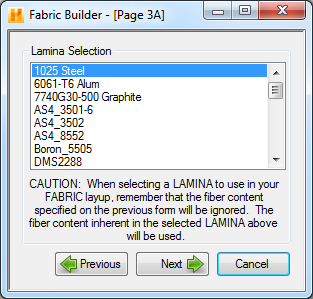
- Selected Lamina - If you select this option and click Next, you will be brought to a dialog as shown below where you can choose an existing lamina to use.
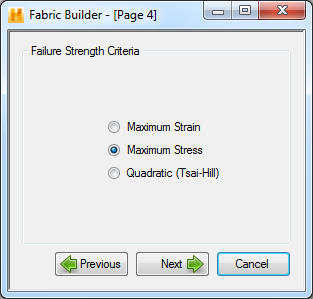
Three failure criteria options including Max Stress, Max Strain, and Tsai-Hill can be selected on Page 4. The selected failure criteria will be used to run a progressive failure survey on a laminate representing a random continuous mat. The strength of the representative laminate is calculated using the selected failure criteria. Selecting a failure criterion and clicking Next will bring you to Page 5 as shown below.
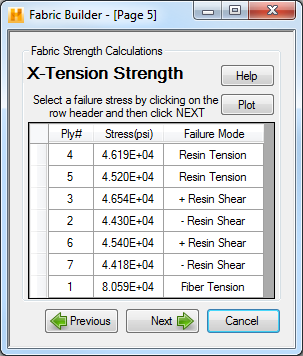
Page 5 is the first of five pages where fabric builder allows you to select which failure of the laminate progressive failure should be assigned to your fabric definition. In order to select a ply row, click on the row header (empty box to the left of the ply #). The axial tensile strengths calculated for laminate can be seen in the image above. Here the first row in the table represents the first ply of the laminate which will fail. This first ply failure, however, may not represent the ultimate failure of the fabric. Ultimate failure is displayed as either a FIBER TENSION or FIBER COMPRESSION failure, or as the failure preceding the second failure of a given PLY # in the table. However, the most conservative option would be to choose the stress at which the first ply in the laminate fails. (i.e. The failure strength of ply #4 would be the most conservative for the case seen above).
Pages 5-9 in the random continuous mat form allow you to select the five in-plane strengths for the fabric. The five laminate strengths to select are the X-Tension Strength, X-Compression Strength, Y-Tension Strength, Y-Compression Strength, and XY-Shear Strength. You may also want to use the PLOT buttons on these pages to visualize the progressive failures to help you make your selection.
Once all fabric strengths have been selected, click Next on Page 9. This brings up Page 10 as seen below.
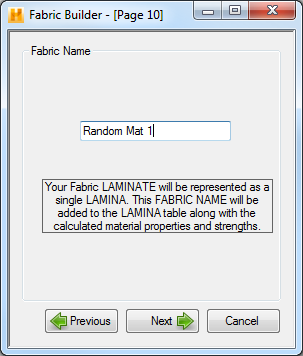
Page 10 is used to name the fabric laminate. Once the name has been supplied, click Next to bring up Page 11 as shown below.
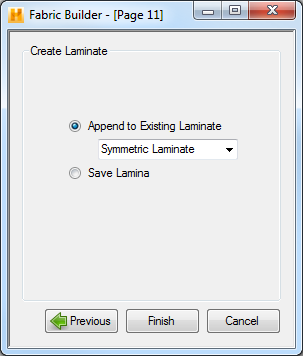
- Append to Existing Laminate - Append the fabric lamina created by Fabric Builder to a predefined laminate. A single ply with the properties calculated for a random continuous mat will be appended to the selected preexisting laminate. Fabric Builder also saves a lamina material data file with the properties defined in this utility with the name given above.
- Save Lamina - This option simply saves a lamina in the material data file with the properties defined in this utility.
Selecting Finish will close Fabric Builder.