Learn how to customize bolts in Advance Steel by using the Management Tools application to set default parameters and rules for specific bolt sets you then further use in your 3D model.
When you insert bolts in Advance Steel, you do not insert just the bolts, but bolt sets that besides the actual bolts also include the nuts and the washers (the bolt assembly - e.g. Na2W) and the respective holes created by the bolts in the element.
It is also important to know that Advance Steel works with valid combinations. This means that in the Bolts dialog, for each specific bolt type (e.g. EN 14399-3), you will have only a number of values you can choose from for the grade, bolt assembly and diameter parameters, valid for that bolt type.
Preliminary Steps for the Bolts / Anchors / Shear Studs Customization
Before you start customizing:
- Make sure you back up your database - the bolts, anchors and shear studs configurations are stored in the AstorBase.mdb database, located in the C:\ProgramData\Autodesk\Advance Steel 2017\Steel\Data folder. To back up your databases, simply create a backup folder and copy your database files in it.
- Make sure that the current author is set according to your needs. You can check which is the current author or add a new one, in the Management Tools application
 Options category
  Database settings
  Current author:
 Note: All your new database records will be stored using this author and having the right setting here is very important during migration to newer software versions.
 - Check the units in the Management Tools application > Unit Selection category. This category includes the units used during your bolts / anchors or shear studs customization in Management Tools:

Access the Bolts Customization Settings
To access the customization settings for bolts in Advance Steel:
- Go to the Home tab
 Settings panel or to the Tools tab
  Tools panel and click
 (Management Tools).
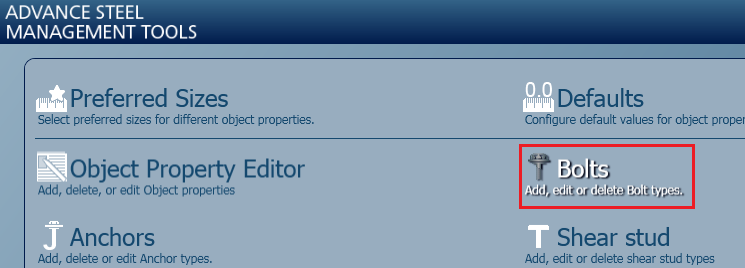
- In the Management Tools application, access the Bolts category:

- When you access the category, the three components of the bolt assembly appear on the left side. These are Bolt, Nut and Washer.
- Click the arrow next to "Bolts" to display all the bolt types list.