How To ... Affect Particle Flow Particles by Mass
| How To > Affect Particle Flow Particles by Mass |
Particle Flow allows the user to control the influence of certain Force-related Operators using MAXScript-generated particle channels. This is called Particle Wiring and is a hidden option in the Particle Flow User Interface.
The following tutorial shows how to calculate a mass value for each particle and control the influence of a Wind force to get a more realistic behavior where light particles are blown away while heavy ones stay almost unaffected.
| PARTICLE VIEW SETUP : |
| The Particle View setup features a Scale operator that defines variable sizes for the particles. To get the Script Wiring, you have to do the following: |
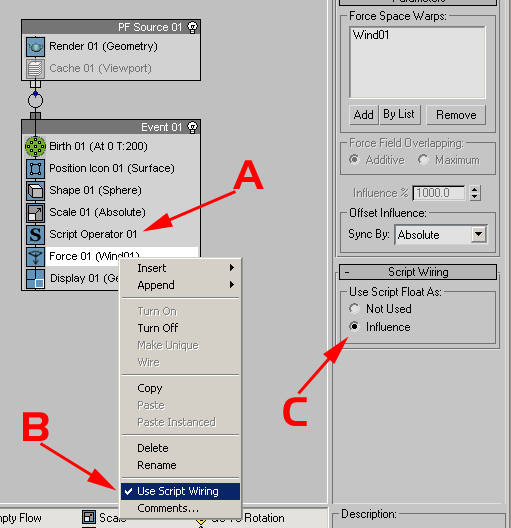
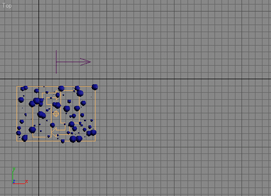
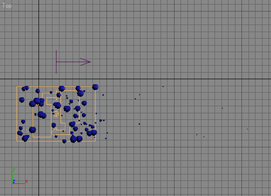
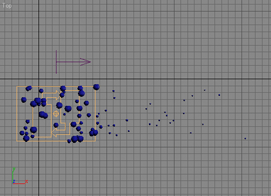
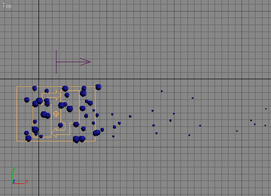
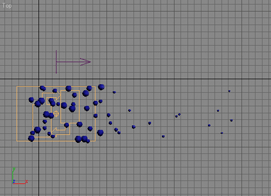
Step-By-Step
The ChannelsUsed handler defines the channels to be used by the Script Operator. You cannot get or set particle related values from the particle container without specifying which properties you need access to. This way, Particle Flow does not have to provide the Script Operator with all possible channels (and there can be an arbitrary number of channels in Particle Flow), but only with those that are actually needed. This conserves memory.
The parameter pCont contains the Particle Container.
As we want to read the size of the particles to calculate the mass, we will need access to the Scale channel.
We will also need the Float channel, which is an all-purpose data channel used to store floating point values.
The Init handler is used to initialize the Script Operator. Usually, you define variables and acquire initial values or create objects to be used by the Proceed handler. In our case, we will not use this handler. The parameter pCont contains the Particle Container.
The Proceed handler is called every time the Script Operator is evaluated by Particle Flow. It contains the actual body of the script. The parameter pCont contains the Particle Container that contains all particles the Operator is applied to.
Here, we read the current number of particles in the particle container. We will access every one of them in the following loop. The reason we assign the value to a variable is that in the for loop that follows, the to limit is evaluated after each cycle of the loop to decide whether the i variable is greater than the limit. Using the pCont.NumParticles() method call inside the for loop calls the method n times, where n is the number of particles. With the current code, the method will be called just once and this will make the script faster.
Now, we repeat the following code block for every single particle by using a for loop that counts from 1 to the number of particles. The variable i will contain the current particle index.
To work with multiple particles, we have to specify the current particle to access. Setting the .particleIndex property of the Particle Container to the i variable will make the i-th particle the current one. Any subsequent particle property access calls will be directed to that particle.
This is the actual code line that calculates an influence value, which is reverse-proportional to the mass of the particle. The result is assigned to the particleFloat channel of the current particle and will be accessed by the Force Operator that has its Script Wiring enabled to accept the Float values from the particleFloat channel.
These are the end of the i loop and the end of the on Proceed... handler.
The Release handler is usually needed to do cleanup work, but we do not need it this time.
