New Render Setup features
You can now specify an override as a local render override so that it only applies to interactive rendering and not to batch rendering. For example, disable costly render settings such as motion blur, depth of field, or high sampling values for interactive fine-tuning without the need to re-enable your desired shot render settings for batch rendering.
You can now re-order render layers in the Render Setup editor by middle-mouse dragging and dropping.
You can also cut (Ctrl + X), copy (Ctrl + C) and paste (Ctrl + V) layers, collections and overrides.
Create an override on any value and connect a network to the override. For example, you can create a relative override on the color attribute and connect a texture to the override. In addition, both absolute and relative overrides can now be applied to connected attributes.
Upon batch rendering and sequence rendering, the folder created for each render layer that contains the rendered images no longer includes the rs_ prefix.
Use the syntax :: to recursively match nested namespaces when populating your collection using an expression. For example, foo::* now selects all nested namespaces that begin with foo.
When rendering a sequence of frames, messages now appear in the Script Editor, indicating the progress of your render.
When creating an override to transform objects, you can now select your collection members and transform them in the viewport to set the override values.
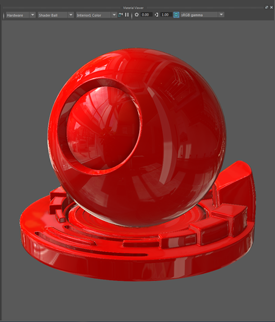
Image based lighting support for the hardware renderer in the Hypershade Material Viewer
You can now select any of the available HDRI environments to add image based lighting to your render when using the hardware renderer in the Material Viewer.

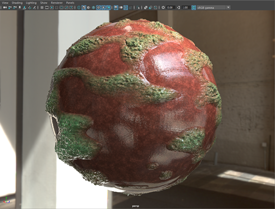
Skydome light provides image based lighting in Viewport 2.0
The aiSkyDomeLight can now behave as an IBL light and illuminate your scene in Viewport 2.0.

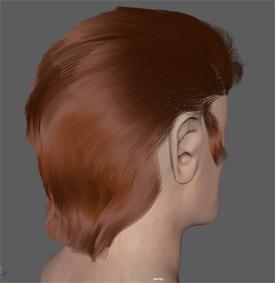
New Shaderfx Game Hair shader
The Shaderfx Game Hair shader allows you to view realistic game hair shading for models directly in the viewport. You can create this shader via the Create tab in the Hypershade.
Create polygon strips to model the hair and apply the Shaderfx Game Hair shader to these polygon strips, then connect an opacity map to the shader to define the hair strands per strip, and a breakup map to provide controlled noise to make hair appear more realistic. You can then preview your hair shading in the viewport.
