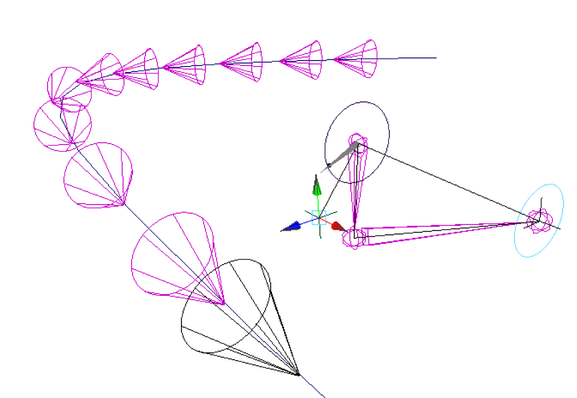
Constraints let you constrain the position and orientation of an object to other objects.

Maya includes the following constraints for character setup and animation:
Note that other software packages use the term “animation controllers” to refer to what Maya calls constraints.
Constraint node behavior
You don’t need to know about constraint node behavior in order to use constraints effectively. If you are new to constraints, you can skip this section. However, familiarity with constraint node behavior can provide you with more control over constraint manipulation and performance.
For each object in your scene, if there has been any change to its node or any of the nodes in its history (its input or output nodes), Maya will evaluate the nodes and update the display based on the node’s node behavior attributes. The node behavior attributes for constraint nodes can affect how constraint effects are evaluated and displayed.
Constrained and target objects
A constrained object is an object whose position, orientation, and so on is driven by the nearest surface location, the direction of a target vector, or the position of one or more target objects. The position of one or more target objects is called the target point. The orientation of one or more target objects is called the target orientation.
Target point
The target point is the position of the target object’s rotate pivot. If there is more than one target object, the target point is the average position of the rotate pivots of all the target objects. If you are using more than one target object, you can vary the influence of each target object on the calculation of the target point. The target point can be a weighted average of the positions of the target objects, with some target objects having more influence than others. The influence of target objects on the weighted average is specified by target object weights. You can change the target point by moving each target object’s rotate pivot.
Target orientation
The target orientation is the orientation (Rotate X, Y, and Z attributes) of the target object. If there is more than one target object, the target orientation is the average orientation of all the target objects. However, if you are using more than one target object, you can vary the influence of each target object on the calculation of the target orientation. The target orientation can be a weighted average of the orientations of the target objects, with some target objects having more influence than others. The influence of target objects on the weighted average is specified by target object weights.
Target scale
The target scale is the scaling (Scale X, Y, and Z attributes) of the target object. If there is more than one target object, the target scale is the average scaling of all the target objects. However, if you are using more than one target object, you can vary the influence of each target object on the calculation of the target scale. The target scale can be a weighted average of the scales of the target objects, with some target objects having more influence than others. The influence of target objects on the weighted average is specified by target object weights.
Target vector
The target vector, or weighted average vector, represents the normal vector at the position of the constrained object. Maya calculates the target vector as a weighted average of the nearby normal vectors on the surface or mesh.
Target object weights
For each target object, you can specify a target object weight that controls that object’s influence in the calculation of the target point, orientation, scale, vector and so on. The resulting weighted average drives the constrained object’s position, orientation, and so on. When a target object’s weight is 0, the target has no influence over the constrained object. When the target object’s weight is 1, the target has full influence over the constrained object.
- Constraint weights are useful only when there are multiple target objects.
- When there is only one target object, any weight that is greater than 0 is interpreted as 1. Therefore, the single target is interpreted as having 100% influence over the constrained object.
Constrained object’s position
The constrained object’s position is driven by the target point. However, you can offset the constrained object’s position from the target point. Offsetting the constrained object’s position from the target point can be useful in situations where you don’t want the local axis of the constrained object to coincide exactly with the target point. For example, if you want to constrain a ball to a joint in a character’s hand so that the hand holds the ball, you’ll need to offset the ball from the joint. By offsetting, you can have the ball in the palm of the hand rather than centered inside the hand.
Constrained object’s orientation
The constrained object’s orientation is driven by the target orientation.
Constrained object’s scaling
The constrained object’s scaling is driven by the target scale.
Workflow summary
Creating constraints can be as simple as selecting the objects you want to constrain with, selecting the object you want to constrain, and then selecting the appropriate constraint from the Constrain menu. Using constraints can become more complicated as you seek to go beyond the default options for constraints.
Some constraints lock some of the channels of constrained objects. For example, the aim constraint locks the orientation channels (Rotate X, Y, and Z) of the object it constrains. Which channels get locked dictates how you can you use more than one constraint on an object. For a given object, you can use either an aim constraint, normal constraint, or tangent constraint because each of these constraints locks the orientation channels of a constrained object.
Attributes locked by constraints can also preclude the use of expressions on those attributes. If the locked attributes are on joints, those locked attributes can prevent the skeleton from returning to its bind pose.