 For any kind of viewing, handling or processing operation in Netfabb, it is essential to first select the part you want to edit. Parts can be selected by simply clicking on them in the main screen or in the project tree. Selected parts are always colored green, framed by green brackets and marked in the project tree. In the tabsheet, below the cutting functions, information is given regarding the size, volume, area and number of triangles of the selected part. Below, you can see how many parts are selected and how many parts are in the project in total.
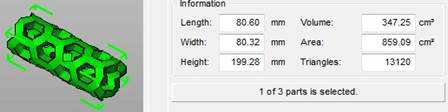
Information about selected parts is given in the tabsheet.
You can select as many parts as you like. If you hold Shift, parts are added to the selection by clicking on them. By holding Ctrl, parts can be both added to or removed from the selection by clicking on them. If you select parts in the project tree, the Shift key works differently, as holding Shift and clicking on a part selects all parts in the list between the part clicked on and the last part selected without Shift. By holding the left mouse button and dragging a selection rectangle with the mouse, you can select everything within that frame.
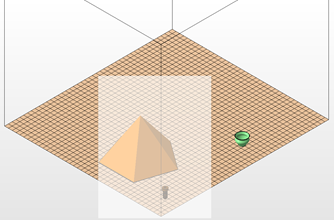
Select several parts at once with help of a selection rectangle.
In the context menu of the viewing screen, if you do not right-click on a part, but on empty space, you can either select all parts, select no part to clear the selection, or invert the selection. With that last option, selected parts are deselected and unselected parts are simultaneously selected. All three options are also available in the Edit menu.
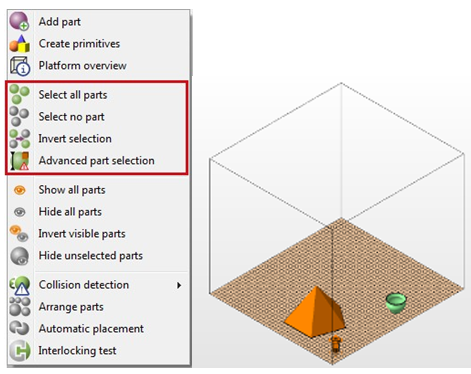
Left: If you right-click on empty space in the screen, the context menu offers general options for your selection. Right: The inverted selection.
Additionally, as a shortkey, you can press Ctrl+A to select all part in the project tree. If two or more parts are selected, the information in the tabsheet is then based on all selected parts. Many, though not all, handling operations are conducted with all selected parts.