As you create features, the connected relationship is established automatically. Use the Connected To icon as an indicator that the new feature will be connected to the existing feature. For options related to connection, see General Layout Options .
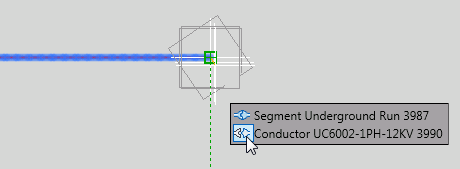
When draw a line feature, after specifying the first point of the line, you can move the mouse onto the tooltip, and toggle the Connected To icon to establish or remove connection.
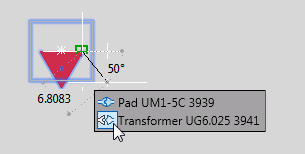
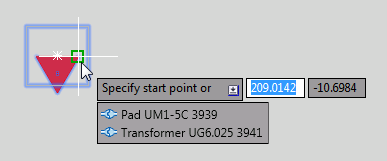
When placing a point feature, after specifying the insertion point and before specifying the rotation, you can move the mouse onto the tooltip, and toggle the Connected To icon to establish or remove connection.
You can later connect and disconnect features using Quick Info or the Feature Info palette in the Dashboard.
- Click Home tab Palettes panel Dashboard Feature Info.
- Select the features of interest.
For example, you might select a pole that is connected to a segment and a guy.
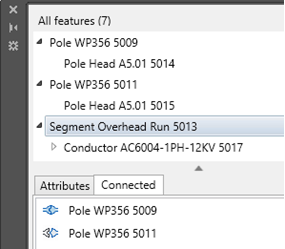
- In the Feature Info palette, select a feature of interest in the feature list and click Connected.
The connected features are displayed.
- Do either of the following operations:
- To disconnect a feature, click
 . The disconnected feature remains in the Connected list but the Connected To icon turns from Connect to Disconnect
  .
. 
- To connect a disconnected feature, click .
- To disconnect a feature, click
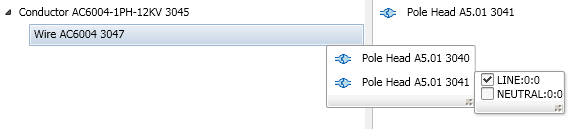
- If assigning wires to pole head ports, expand the conductor to display the wire. Click the Connected To icon to display the pole heads to which the wire is attached. Hover over each pole head to display the available pole head ports. Specify the appropriate pole head port for the wire.