The Lens Effects Highlight dialog lets you assign bright, star-shaped highlights. Use it on objects that have shiny materials. For example, a shiny, red car might show highlights in bright sunlight.
-
Video Post toolbar >
 (Add Image Filter Event) > Choose Lens Effects Highlight from Filter Plug-In list. > Setup
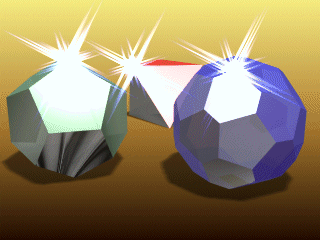
Example of highlights
Another good example of an effect perfect for Highlight is the creation of pixie dust. If you create a particle system and animate it moving in a straight line with small four-point Highlight stars applied to each pixel, it will look a lot like twinkling magic.
The Lens Effects Highlight module is multi-threaded and will take advantage of multi-processing machines, making it one of, if not the fastest highlight routines available.
Procedures
To save your highlight settings:
- Click the Reset button.
This resets Lens Effects Highlight to its default settings.
- Click the Load button.
This displays a Windows-standard file open dialog from which you can select the settings file you want to load.
- Click the Save button.
This displays a Windows-standard Save As dialog in which you specify a directory and filename.
You can save all of your lens highlight settings to a file, so you can reload them any time. Lens Effects Highlight settings are saved as LZH file (.lzh). Do one of the following:
Interface
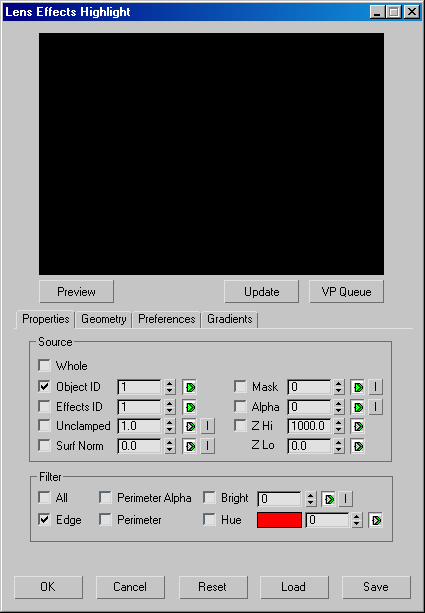
When you select Lens Effects Highlight from the Image Filter Event drop-down list and click Setup, 3ds Max opens the Highlight dialog.
The Lens Effects Highlight interface is almost identical to the Glow interface, with a large preview window, and tabs to control every aspect of your highlight effects.
[preview group]
- [preview window]
- Lets you quickly preview the glow effect. The preview window is multi-threaded to take advantage of systems with multiprocessors, and updates every time you make a change to any of the glow settings that might affect the scene.
- Preview
- Activates a generic cross star filter so you can quickly set up a Highlight effect. However, as with the Glow module, it is more effective seeing your entire scene and how your effect will interact with your geometry.
- VP Queue
- Lets you preview the scene in the Video Post queue. Preview must be selected for the VP Queue function to work.
[Highlight Control tabs]
Similar to the Glow settings, Highlight is also broken down into tabbed sections for fine control over each aspect of the Highlight effect. The four tabs are:
- Reset
- Resets Lens Effects Highlight to its default settings.
- Load
- Displays a Windows-standard file open dialog from which you can select the settings file you want to load.
- Save
- Displays a Windows-standard Save As dialog in which you specify a directory and filename. Lens Effects Highlight settings are saved as LZH files.