In this lesson, you add street furniture to the road. These objects are in the Civil View category of placed objects.
Set up the lesson:
- Continue working on your scene from the previous lesson or
 open
\civil_view\linkroad_4.max.
open
\civil_view\linkroad_4.max.
Add streetlights:
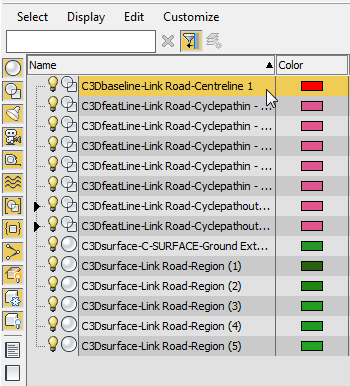
- On the Scene Explorer, select the centerline of the road,
C3Dbaseline-Link Road-Centreline 1.
- From the Civil View menu, choose Civil View
 Object Placement Style Editor.
3ds Max asks if you want to use the selected shape as a parent shape.
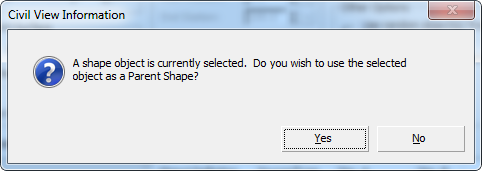
- Click Yes.
The street furniture and vehicles will be placed relative to this shape, the centerline of the road.
- On the toolbar above the list of elements, click
 (Add new element).
3ds Max adds an element to the list. By default, this is a vehicle.

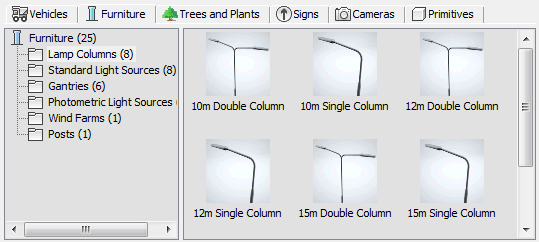
- On the element editor toward the bottom of the OPS Editor (the library panel), click the Furniture tab.
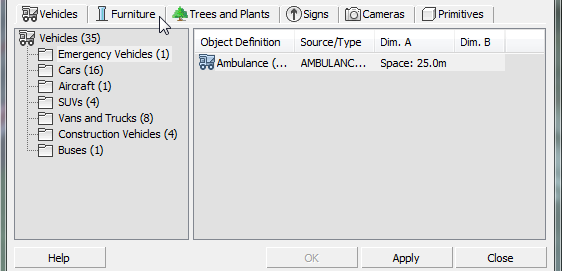
The panels display lists of street furniture.
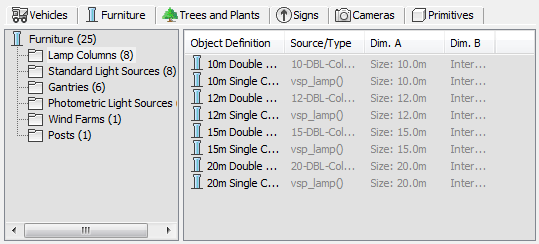
- Right-click the right-hand list, and from the pop-up menu choose Large Icons.
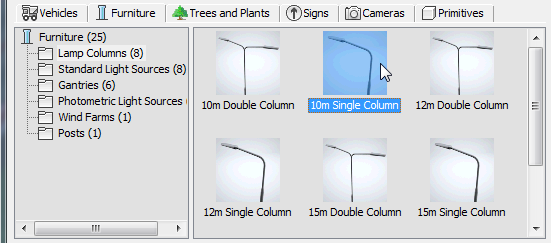
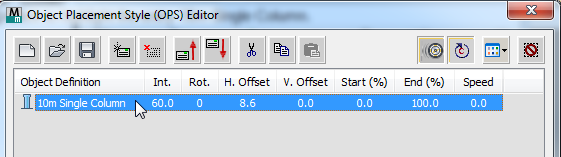
- Click to highlight the entry 10m Single Column.
- In the Longitudinal Placement group, choose Multiple (Regular Interval), then in the Lateral Placement group, change the Horiz[ontal] Offset value to
8.6.
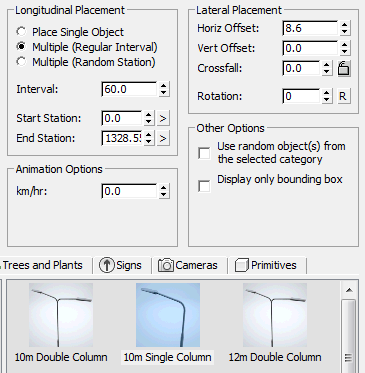
- Click Apply.
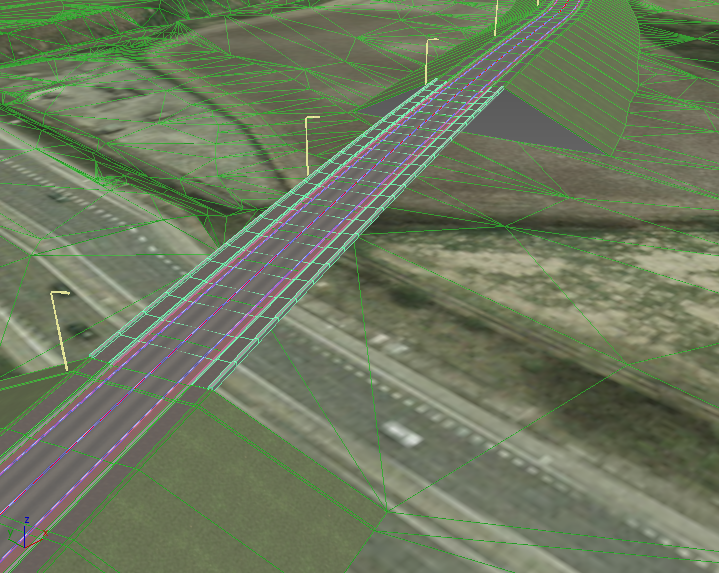
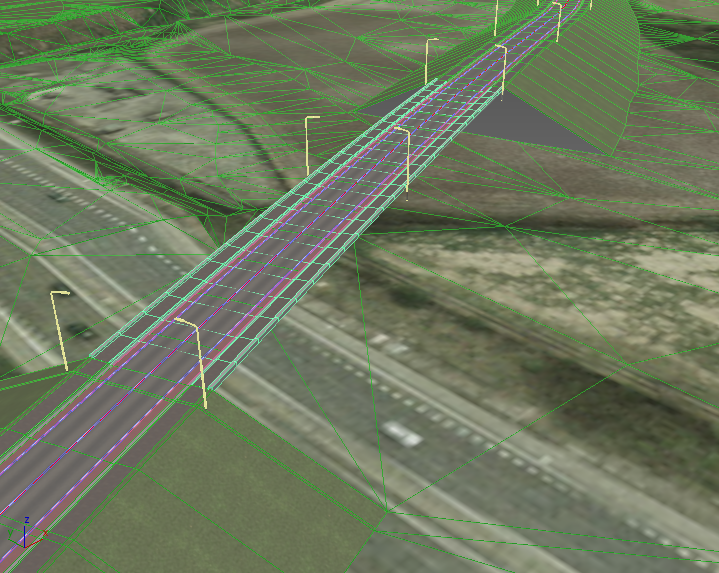
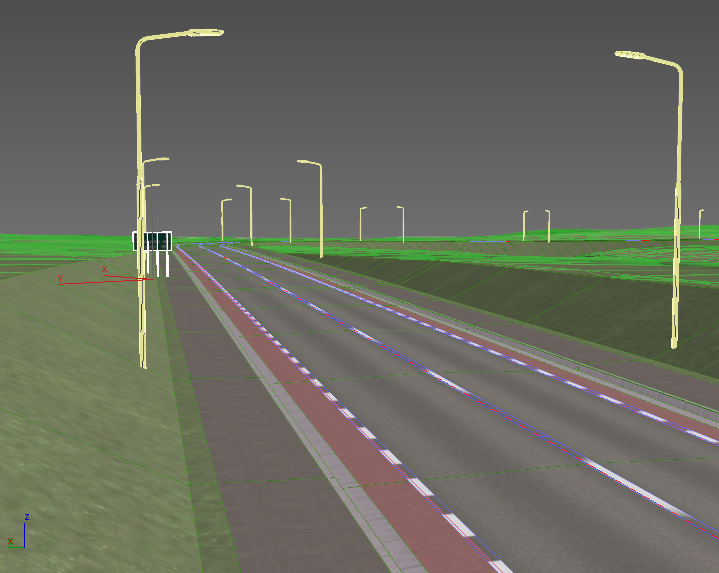
In the viewport, streetlights now appear along the side of the road. They are easier to see if you press F4 to turn on edged faces.
Add matching streetlights on the other side of the road:
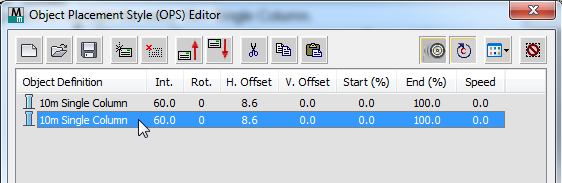
- In the elements list, click to highlight the 10m Single Column entry.
- On the toolbar, click
 (Copy Element), then click
 (Paste Element) to add a duplicate streetlight entry to the list.
- Click to highlight the new streetlight entry.
- In the Lateral Placement group, change the Horiz[ontal] Offset to –8.6 and the Rotation to 180.
- Click Apply.
Now the streetlights line both sides of the road.
Add a street sign:
- On the toolbar, click
(Add new element).
The new element will be the street sign.
- If the new element is not the last in the list, click
 (Move selected element down) until it becomes the last.
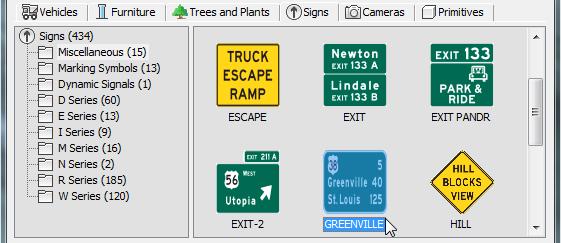
- On the element editor, click the Signs tab.
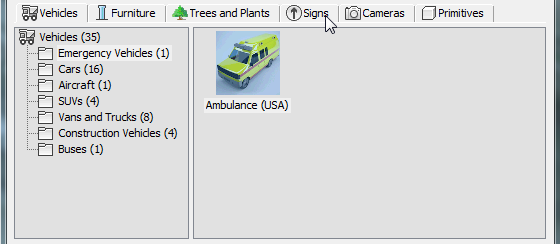
- With the Miscellaneous group highlighted in the hierarchy at the left, scroll down the list at the right and click to highlight the sign labeled
GREENVILLE.
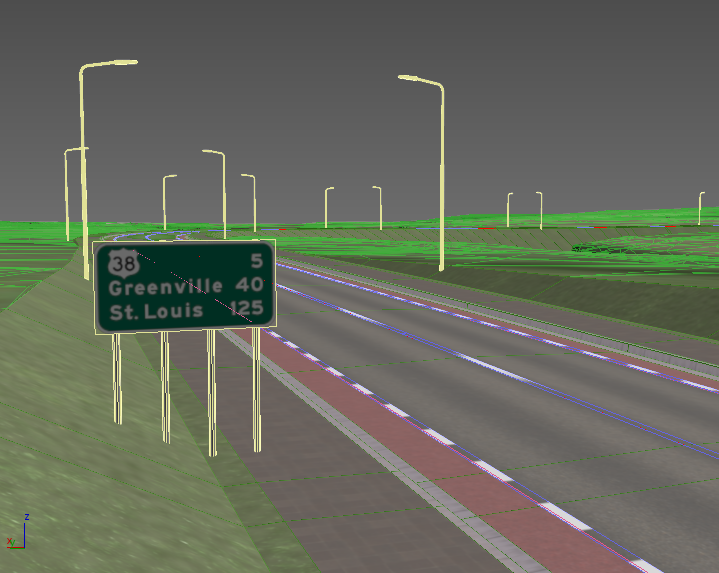
- In the Longitudinal Placement group, make sure Place Single Object is chosen, and change the value of Start Station to 50.0. In the Lateral Placement group, set Horiz[ontal] Offset to –8.0.
- Click Apply.
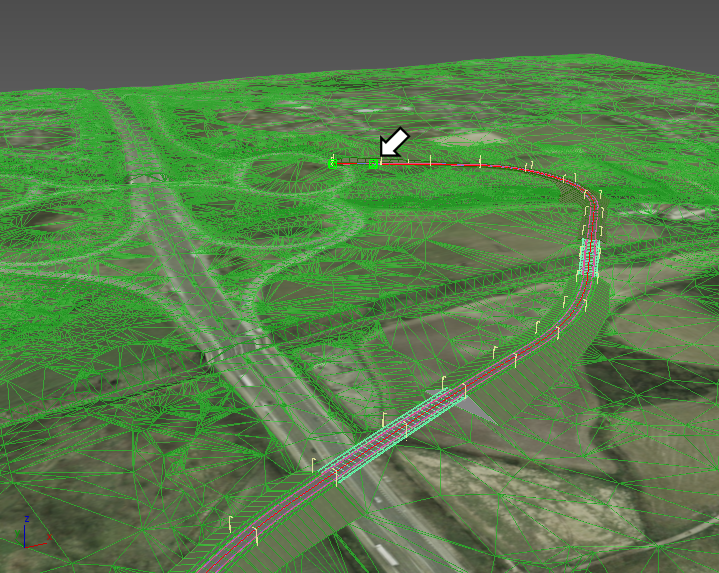
The sign is not immediately visible in the viewport. The sign is near the start of the road, which is in the distance near the top of the scene.
You can use
 zoom,
zoom,
 pan, and
 orbit to reposition the viewport so you have a view of the sign along the side of the road.
Tip: To pan more quickly while zoomed in close to the scene, hold down
orbit to reposition the viewport so you have a view of the sign along the side of the road.
Tip: To pan more quickly while zoomed in close to the scene, hold down while you drag.
Save the placed objects style:
- On the toolbar above the element list, click
 (Save Style).
- When 3ds Max prompts you, name the style myroadway_furniture.ops.
- Click OK to close the Object Placement Style (OPS) Editor.
Click Yes when 3ds Max asks if you are sure you want to close the dialog.
Adjust the location of the street sign:
- In the viewport,
 click to select the sign.
- If the Civil View Explorer is not already open, choose Civil View menu Civil View Explorer.
- In the Position Controller rollout Position Tab Station Control group, set the station value to
100.0.
Tip: You can also use the slider to adjust the station of the sign, but this is a rougher adjustment.
Save your work:
- Save the scene as my_roadway_furniture.max.