Now you add markings to the roadway.
Set up the lesson:
- Continue working on your scene from the previous lesson or
 open
\civil_view\linkroad_3.max.
open
\civil_view\linkroad_3.max.
Create a marking for the center line:
- If the Civil View Explorer is not already open, choose Civil View menu
 Civil View Explorer.
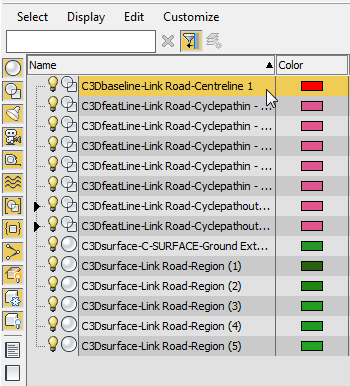
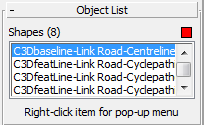
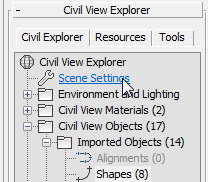
 - On the Scene Explorer, select the centerline of the road, C3Dbaseline-Link Road-Centreline 1.
 Tip: By default, the Scene Explorer panel appears to the left of the viewports, but if it has been hidden, you can press the H key to display a floating version of the Explorer.
On the Civil View Explorer, the lower panel now shows an Object List rollout for imported shape objects. The C3Dbaseline-Link Road-Centreline 1 is highlighted.
- Right-click the highlighted centerline entry, and from the pop-up menu choose Place Instant Geometry Road Marking Object.
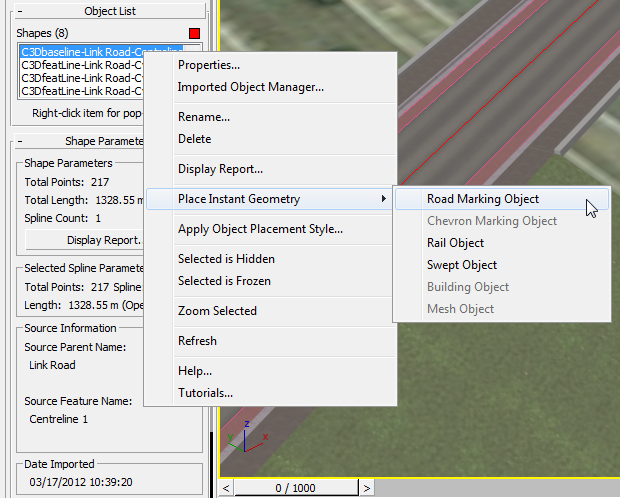
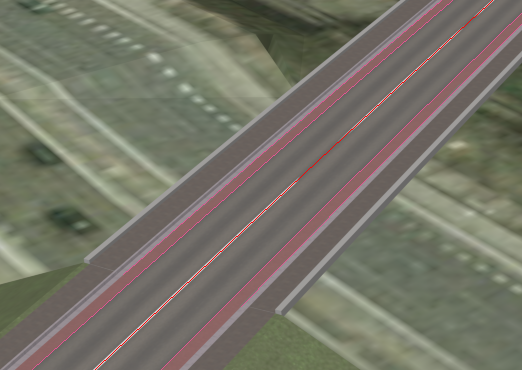
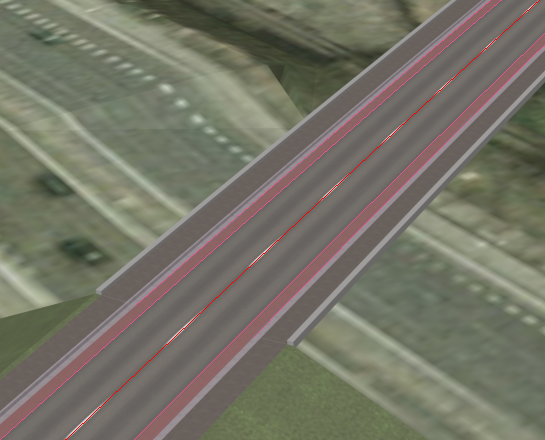
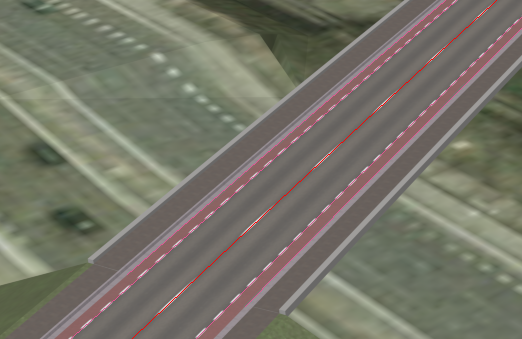
3ds Max adds a continuous centerline to the roadway, which you can partially see in the viewport.
- On the Civil View Explorer, scroll so you can see all of the Road Marking Parameters rollout.
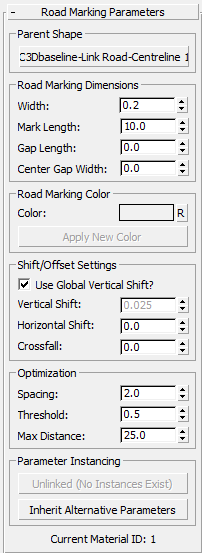
- In the Road Markings rollout Road Marking Dimensions group, change the settings as follows:
- Mark Length: 3.0
- Gap Length: 7.0
The viewport updates to show these changes.
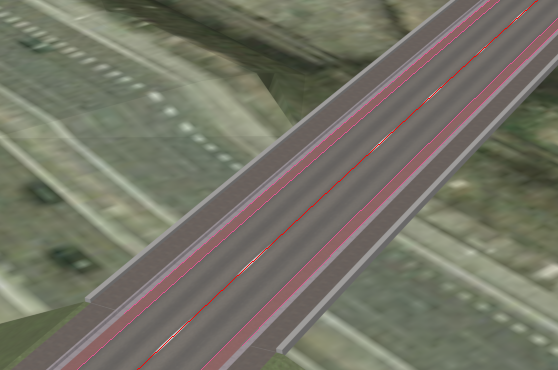
The reason some of the centerline marking seems to be missing in the viewport, is that you need to adjust the vertical offset for road markings.
- On the Civil View Explorer upper panel (the Civil View Explorer rollout), click the Scene Settings entry.
In the lower panel, the Civil View Explorer opens the Scene Settings rollout.
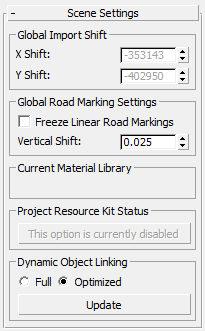
- In the Scene Settings rollout Global Road Marking Settings group, change the Vertical Shift value to 0.05.
Now all the road markings are visible.
 Note: You can also set the Vertical Shift locally, for individual road-marking objects, but in general it is best to set it for the scene as a whole.
Create markings for the bike lanes:
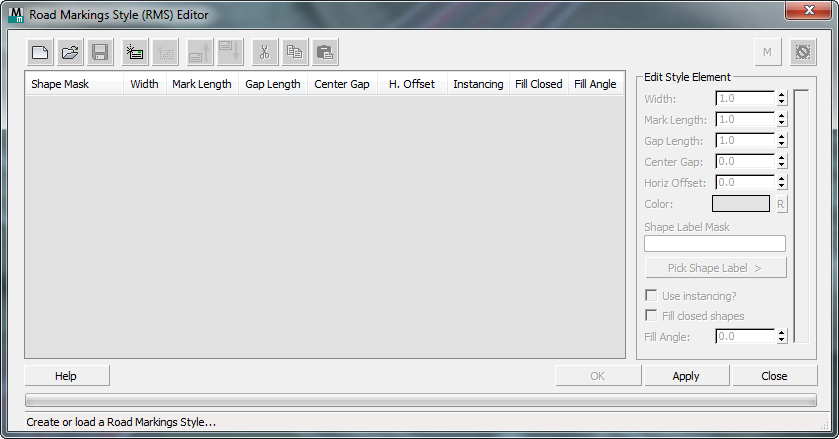
- From the Civil View menu, choose Civil View Road Markings Style Editor.
3ds Max opens the Road Markings Style (RMS) Editor dialog.
- On the toolbar above the element list, click
 (Add new element).
 3ds Max adds a shape entry to the list.
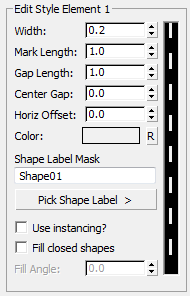
- In the Edit Style Element group at the right of the editor dialog, change the Gap Length to 1.0.
The preview to the right of the Edit Style Element group updates to show the new dashed road marking.
- In the Shape Label Mask field, change the entry from "Shape01" to *cyclepathin* (don't leave out the asterisks).
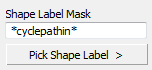
This wildcard string will choose all the inner borders of the bicycle paths.
- Click Apply.
Now the dashed lines appear at the edges of the cycle paths.
Create a style for the centerline so you can save it with the cycle path style:
- On the toolbar above the element list, click (Add new element) again.
3ds Max adds another shape entry to the list.
- In the Shape Label Mask field, change the entry from "Shape01" to *centreline*.
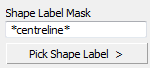
This wildcard string chooses the centerline.
- In the Edit Style Element group, change the settings as follows:
- Mark Length: 3.0
- Gap Length: 7.0
These are the same values you set before, but entering them here lets you save the style for later use.
- Click Apply.
3ds Max updates the centerline markings.
Save the road-marking style:
- On the toolbar above the element list, click
 (Save Style).
 - When 3ds Max prompts you, name the style myroadway_markings.rms.
- Click OK to close the Road Marking Style (SOS) Editor.
Click Yes when 3ds Max asks if you are sure you want to close the dialog.
Save your work:
- Save the scene as my_roadway_markings.max.