To construct the floor, you simply copy the ceiling geometry.
Set up the scene:
- Continue from the previous lesson or go to the
\scenes\data_exchange\AutoCAD\
folder and
 open the file
wt_ceiling.max.
- If you are continuing from the previous lesson and have only a single viewport open, click
 (Maximize Viewport Toggle) or press Alt+W to display all four viewports.
Construct the floor by cloning the ceiling:
- Activate the Left viewport.
- Click
 (Zoom Extents).
 - If the ceiling is not still selected, use the Scene Explorer panel to select the Ceiling object.
- On the main toolbar, click
 (Select And Move) to activate it.
 - Hold down a Shift key while you drag the ceiling down to floor level.
Shift+move creates a copy of the ceiling object, and when you release the mouse, a Clone Options dialog appears.
- In the Clone Options dialog, choose Copy. Change the name of the cloned object to Floor, and then click OK.
Fix the floor's normal:
- Go to the
 Modify panel.
 - On the modifier stack, make sure the Normal modifier is highlighted, and then click
 (Remove Modifier From The Stack).
The floor faces upward, so it doesn't need the Normal modifier.
Correct the floor's alignment:
- Activate the CameraDen viewport by right-clicking it.
- Make sure the floor is still selected, and then on the main toolbar, click
 (Align). Then click one of the walls.
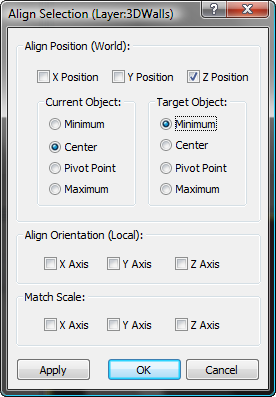
 3ds Max opens the Align Selection dialog.
- In the Align Selection dialog, turn off X Position and Y Position. Turn on Z Position. For Current Object choose Center, and for Target Object choose Minimum.

This aligns the floor with the bottom of the walls, along the floor's local Z axis.

- In the Align Selection dialog, click OK.
Preview the floor:
- Activate the CameraDen viewport and
 render the view.
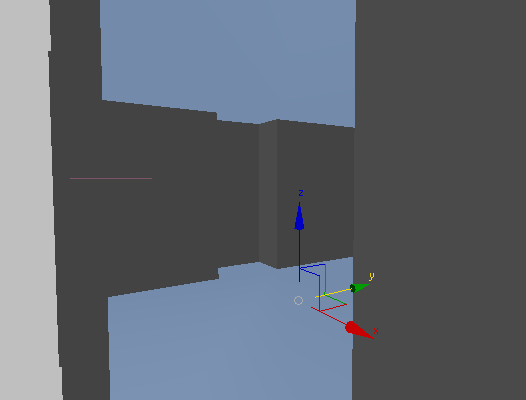
 Now the rendering shows both a floor and a ceiling.
-
 Close the rendering by clicking the X button in the upper-right corner.
Save the scene:
- Choose File
 Save As, and save the scene as my_wt_floor.max.