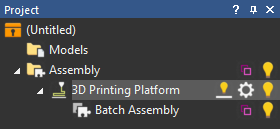
To create a batch assembly for 3D printing:
- On the
Assembly panel, click the
Create New 3D Printing Platform
 button to create a
3D Printing Platform
button to create a
3D Printing Platform
 item in the Project Tree.
- Click the
3D Printing Platform
item to display its panel in the
Project panel below the splitter bar.
- In the 3D Printing Platform panel, click Select Printer to select your 3D printer and define your build volume in the 3D view.
- Click the
Batch Assembly
 button. A
Batch Assembly
button. A
Batch Assembly
 item is created in the Project Tree, nested below the
3D Printing Platform
item.
item is created in the Project Tree, nested below the
3D Printing Platform
item.
- Select the
Batch Assembly
item to display its panel below the splitter bar.

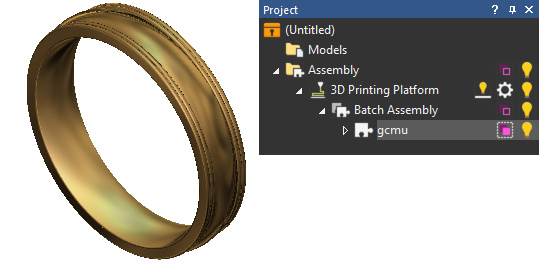
- Import a part into the batch assembly.
- Right-click the Batch Assembly item and select Import from the context menu.
- Click the
Component Library
 button on the
Batch Assembly panel to import a component from the
Component Library.
button on the
Batch Assembly panel to import a component from the
Component Library.
- Drag and drop an
Assembly
 item onto the
Batch Assembly
item.
item onto the
Batch Assembly
item.
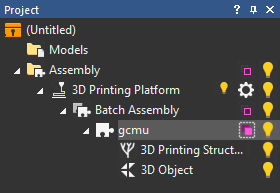
- Click the
Assembly
item to display its panel below the splitter bar.
- In the
Assembly panel, click the
Create New 3D Printing Structures
 button. A
3D Printing Structures
button. A
3D Printing Structures
 item is created in the Project Tree.
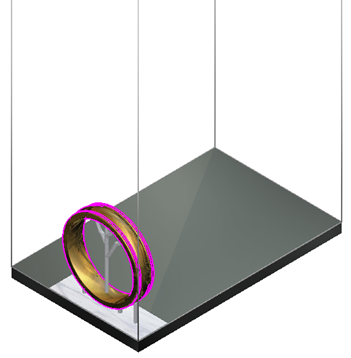
- Click the
3D Printing Structures
item to display the
3D Printing Structures panel below the splitter bar, then use the settings on this panel to create the supports for your part.
- Select the
Batch Assembly
item in the Project Tree to display its panel below the splitter bar.
- In the Layout area, select Platform Nesting, then click Edit to expand the edit box.
- If you want to create a specific number of parts, enter the number you want to create on the platform in the
Number of Copies box; otherwise, select
Maximize Copies to fill the platform with as many parts as can fit.
 Note: To adjust the spacing between your copies, you can use the Automatic Layout options on the Platform Settings panel.
 - To export the copies as one 3D printing job, click the
Print
 button on the
3D Printing Platform panel.
button on the
3D Printing Platform panel.
Note: The availability of this feature is license dependent.