Use the Add Gem tool to add a gem to an assembly.
To add a gem to the root
 Assembly item or an assembly
 :
:
- In the
Project panel, select the root
Assembly item or the assembly
in the Project Tree to which you want to add a gem setting. The
Assembly panel is displayed below the splitter bar.
- In the
Children area of the
Assembly panel, click the
Add Gem
 button. This displays the
Add Gem
panel.
button. This displays the
Add Gem
panel.
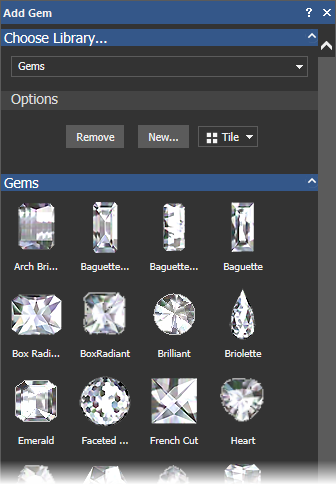
- Select the library from the list which contains the gem shape you want to use. Thumbnails of the available gems are displayed on the panel.
- Click the gem shape you want to use. The
Add Gem panel displays the gem's colour options.
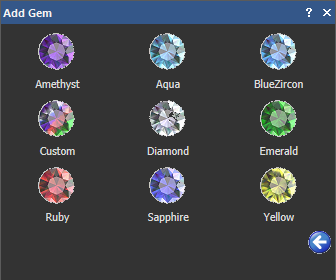
- Select a colour for the gem. The Add Gem panel displays the size settings.
- Enter a name for the gem in the Gem Name box.
- Specify the size of the gemstone.
If you are creating a Box Radiant, Heart, Marquise, Oval, Pear, Princess or Round gem:
- Click the
Standard
list, followed by the standard you want to use.
If you select Custom, enter the dimensions of the gem in the Width, Height, and Depth boxes. The Size list is unavailable.
If you select Carat, click the Size list followed by the new size option you want to use. The Width, Height, and Depth boxes are updated with the dimensions associated with your chosen size option.
If you are creating a Brilliant, Emerald, Hexagon, Triangle or Trillion gem:
- Enter the dimensions of the gem in the Width, Height, and Depth boxes.
- Click the
Standard
list, followed by the standard you want to use.
- Click
 to import the gem into the project and add it to the Project Tree.
Note: The availability of this feature is license dependent.