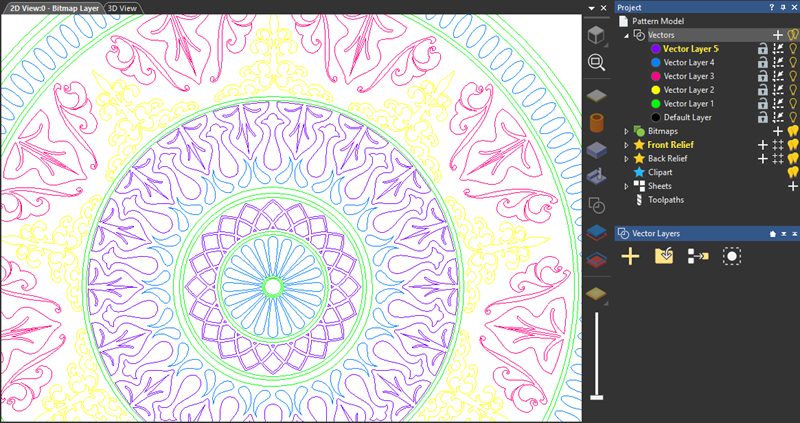
The colour of vector artwork is controlled by the colour associated with the vector layer. The default colour for new vector layers is black. Giving a unique colour to each layer can make it easier to identify where vectors are stored in the model, and what they are used for.
Tip: Avoid using blue, magenta, or red when choosing a vector layer's colour. These colours are used when vectors and toolpath previews are selected in the 2D view.
To change the colour associated with a vector layer:
- In the Project Tree, click the colour swatch
 next to the vector layer. The layer's Colour dialog is displayed.
- Choose the colour you want to use:
- To select a pre-set colour, click a colour swatch in the Preset colours area.
- To select a user-defined colour:
Click and drag the circles on the colour wheel and colour square;
Specify the colour's red intensity (R), green intensity (G), and blue intensity (B), or it's hue (H), saturation (S), and luminosity (L); or
Click and drag the pipette to a colour on the screen, then release the mouse button.
- To save the selected colour as a custom colour, click Add to Custom Colours. The colour is added to the palette in the Custom colours area.
- Click
OK to select the colour and close the dialog. The colour is applied to the vector layer's artwork.