You can create constant height lettering on a selected relief layer using any selected closed vector. You can control whether the lettering has either a curved or an angled face, and the radius of the corners in the lettering.
A constant height letter is essentially made up of two parts: a bottom height and top height. The former describes the vertical height at the base of the letter, while the latter describes the height in the angled or curved cross-section added to its base to complete the letter.
To create constant height lettering:
- Click the 2D View tab to ensure you are in the 2D view.
- Select the vector text from which you want to create the lettering.
- On the
Relief Creation toolbar, click the
Shape Editor
 button to display the
Tool Settings: Shape Editor Tool panel.
button to display the
Tool Settings: Shape Editor Tool panel.
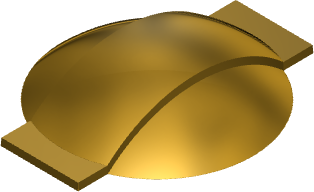
- Select a Round or a Square profile.
- Select Constant Height.
- In the Height box, specify the height of the profile.
- In the
Start Height box, enter a height for the base of the relief.
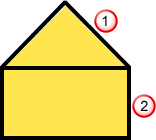
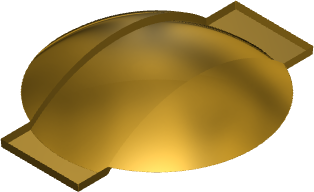
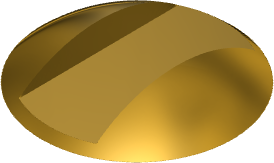
 Relief profile.
 Relief base.
- In the
Corner Angle box, enter the radius of the corners in the lettering. This enables you to taper off all areas of the constant height relief that are of a smaller radius than that specified.
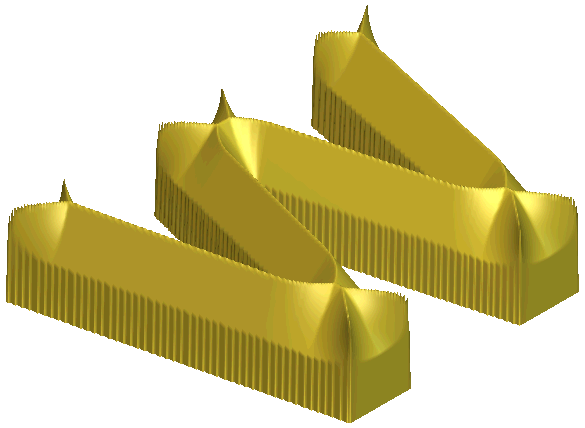
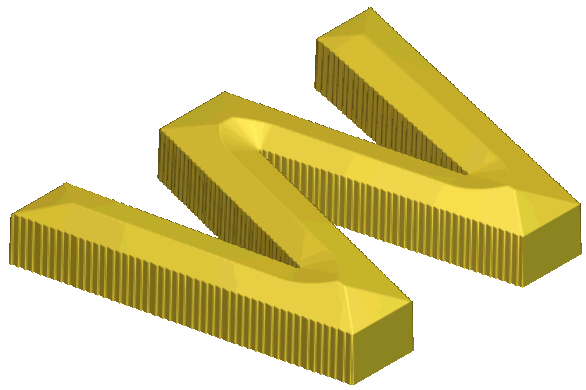
In the following example, you can see the difference that specifying a corner radius makes to the serifs in this lettering with a constant height of 6 mm and an angular cross section.
Corner radius at 0.0
Corner radius at 12.0
- Select the relief layer on which you want to create the lettering.
- In the
Relief Combine Mode area, choose the relief combine mode that you want to use: Select:
- Add to add the lettering to the selected relief layer.
- Subtract to subtract the lettering from the selected relief layer.
- Highest to merge the lettering with the selected relief layer, so that only the highest points show.

- Lowest to merge the lettering with the selected relief layer, so that only the lowest points show.
Note: The combine mode selected here controls how the lettering is combined with the selected relief layer only. It does not control how the lettering is combined with the composite relief. How the lettering is combined with other relief layers to form the composite relief is determined by the combine mode assigned to the layer. - Add to add the lettering to the selected relief layer.
- Click Apply to combine the lettering with the selected relief layer.
- Click Cancel to close the panel.