The Drop Window
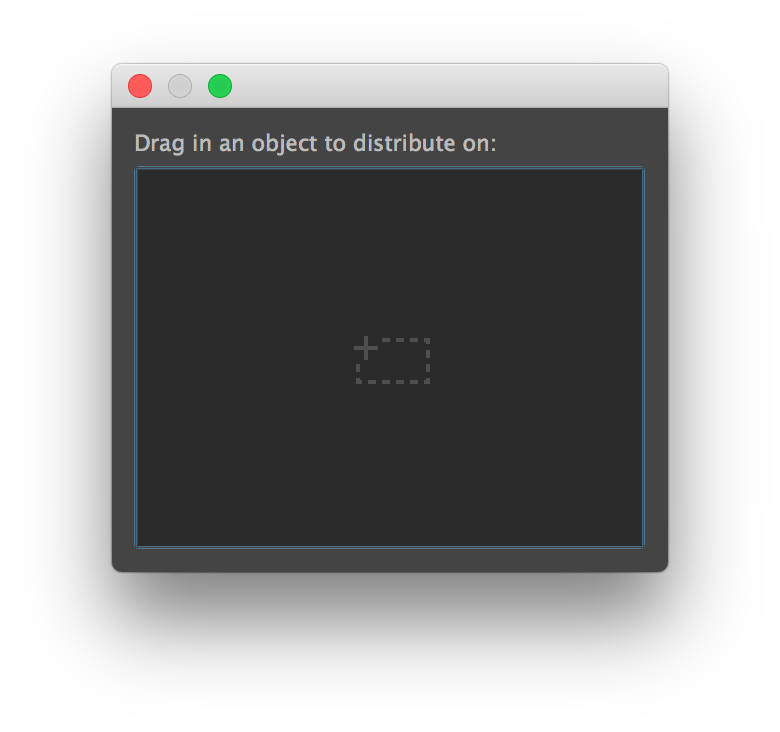
This little utility allows you to create interactive ‘Smart Presets’. Consider the situation when you want to do ‘something’ to an object. Generally in Maya, when this is the case you need to select the items (sometimes in a specific order) before running the script. The Drop Window makes this more intuative by presenting a window (mid script) for a user to drag items into, the script will be fed the names of the dropped items and will continue.

Simple Example
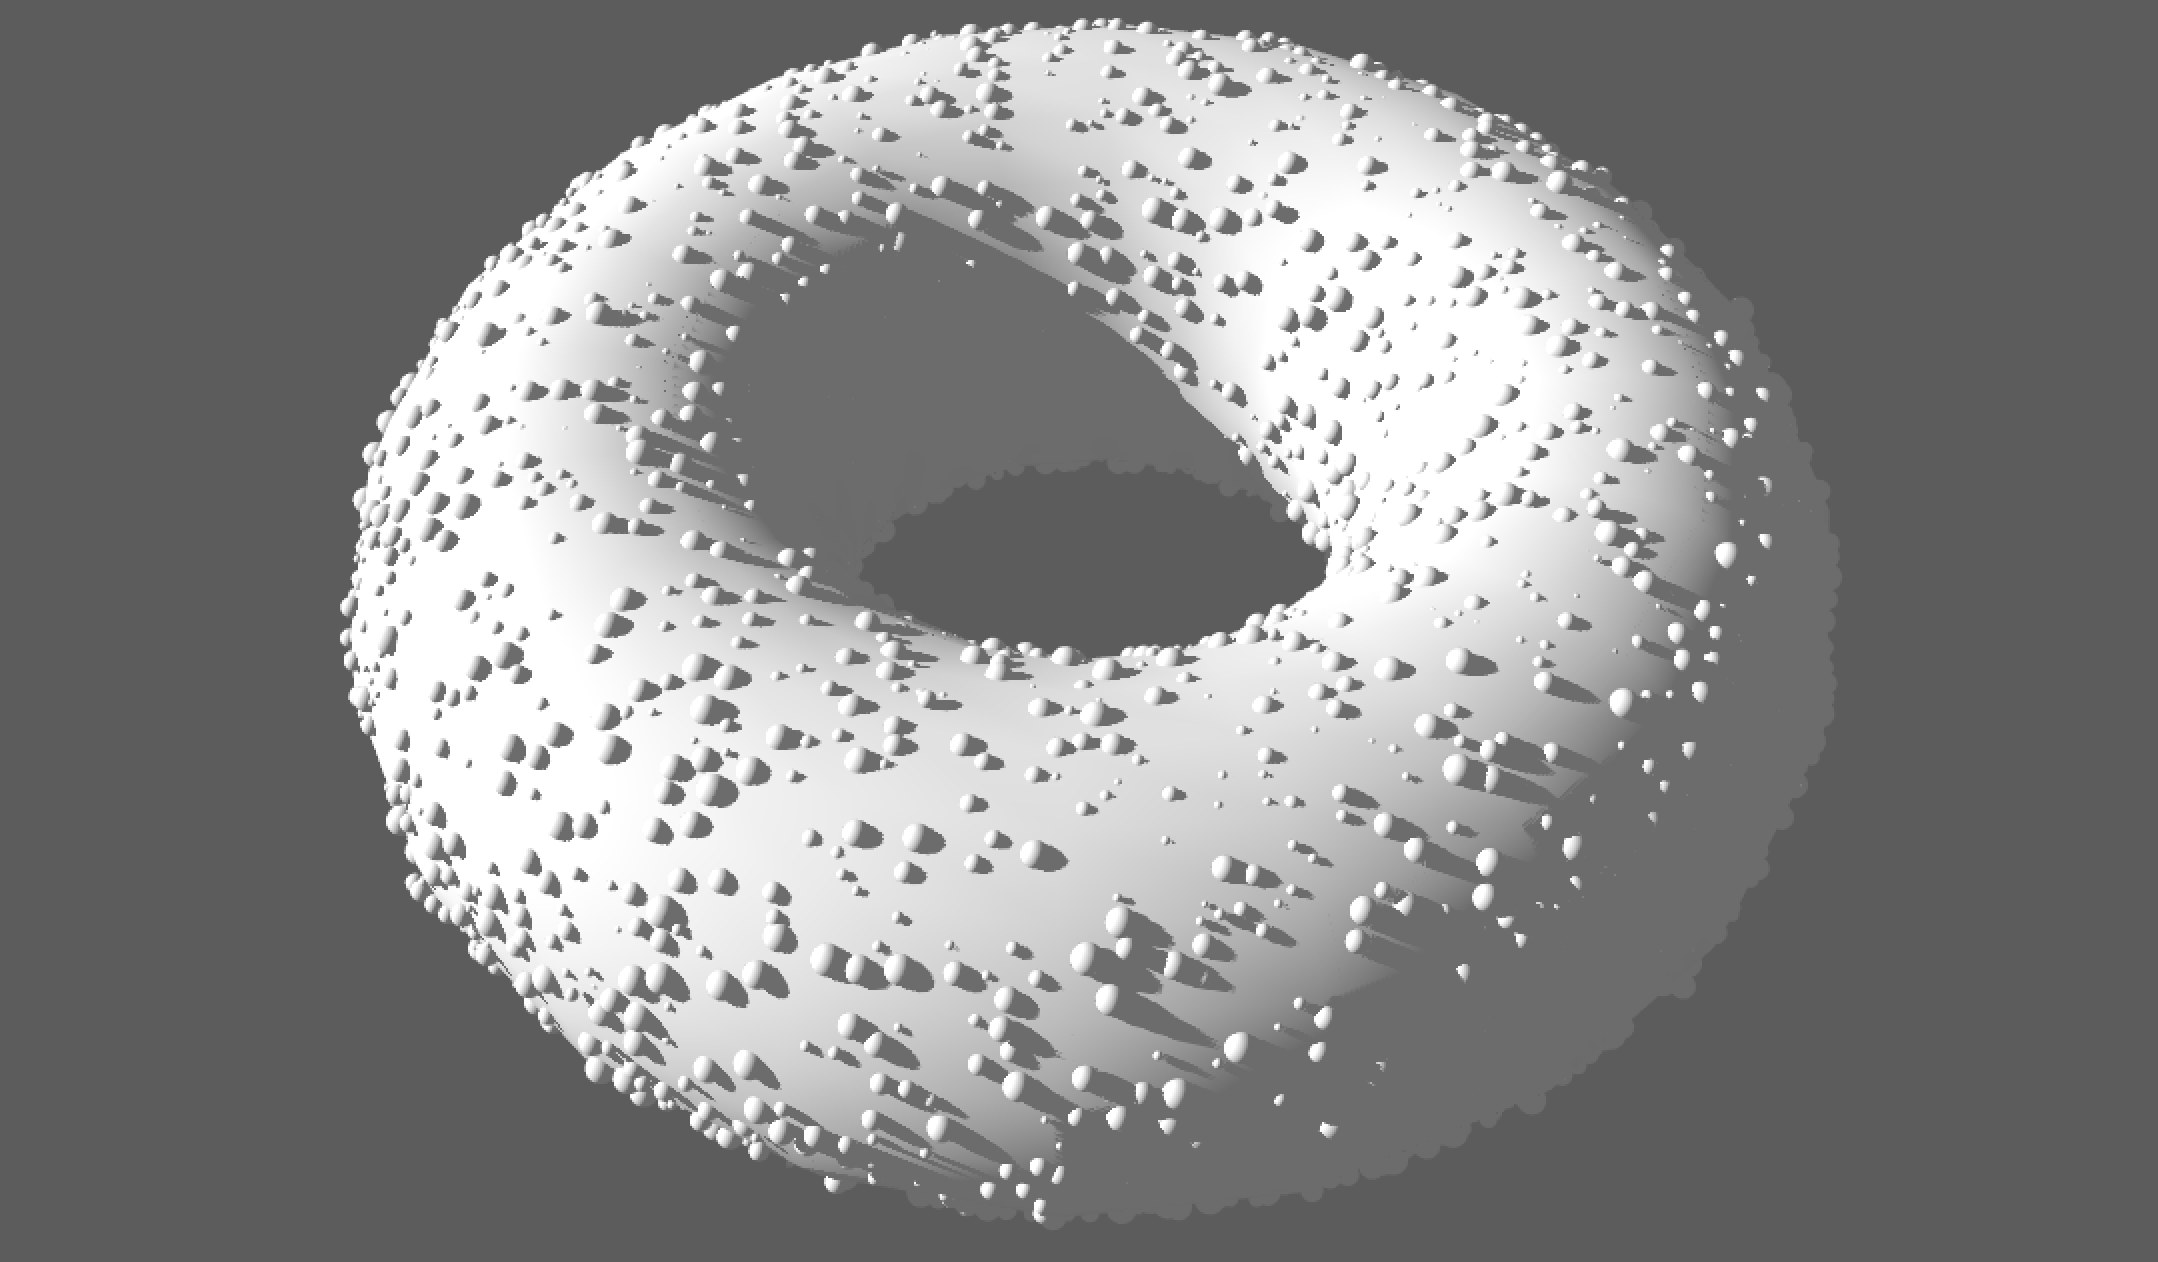
Download this ‘smart preset’ then drag and drop it onto the Maya viewport (from your desktop for example). The preset will present the drop window and ask for you to drag in an object to distribute some spheres onto. For example you could create a large torus (or ANY other mesh), then drag it from the Outliner into the drop window. The result will be the below.

Walkthrough
Firstly you need to import Flux (MASH’s UI framework) to access the Drop Window.
import flux.core as fx
Your Smart Preset will need to be a Python Generator, if you don’t know what one of those is, just edit the preset rather then building one from scratch. At some point in your script, when it makes sense to present the drop window (and you can have as many as you like per script) you would create the window like so:
def runPreset():
        '''
        ... Some cool code ...
        '''
        fx.DropWindow.getDrop(label='Put a window title here:', lambda data: smartPreset.send(data))
        node = yield
        '''
        'node' will be a string of all the nodes you dropped onto the Drop Window
        Multiple nodes will be newline seperated.
        One way to split the string is like so:
        '''
        nodeList = node.split('\n')
        print nodeList # print it out so that this example actually does something
        '''
        Finish the Generator with a Yield so that it knows where to stop.
        '''
        yield

'''
Now run your Smart Preset like so
'''
smartPreset = runPreset()
smartPreset.next()
The script will wait for the window to be interacted with (by dragging something on to it) before continueing. It’s very polite about it and Maya is completely interactive while it waits.
Options
You can specify the type of node required by your preset using the ‘accepts’ aguement. This should be an array of acceptable node types.
fx.DropWindow.getDrop(label='Drag in a mesh:', callback=lambda data: smartPreset.send(data), title='Cool Preset', accepts=['mesh'])
firstNodes = yield
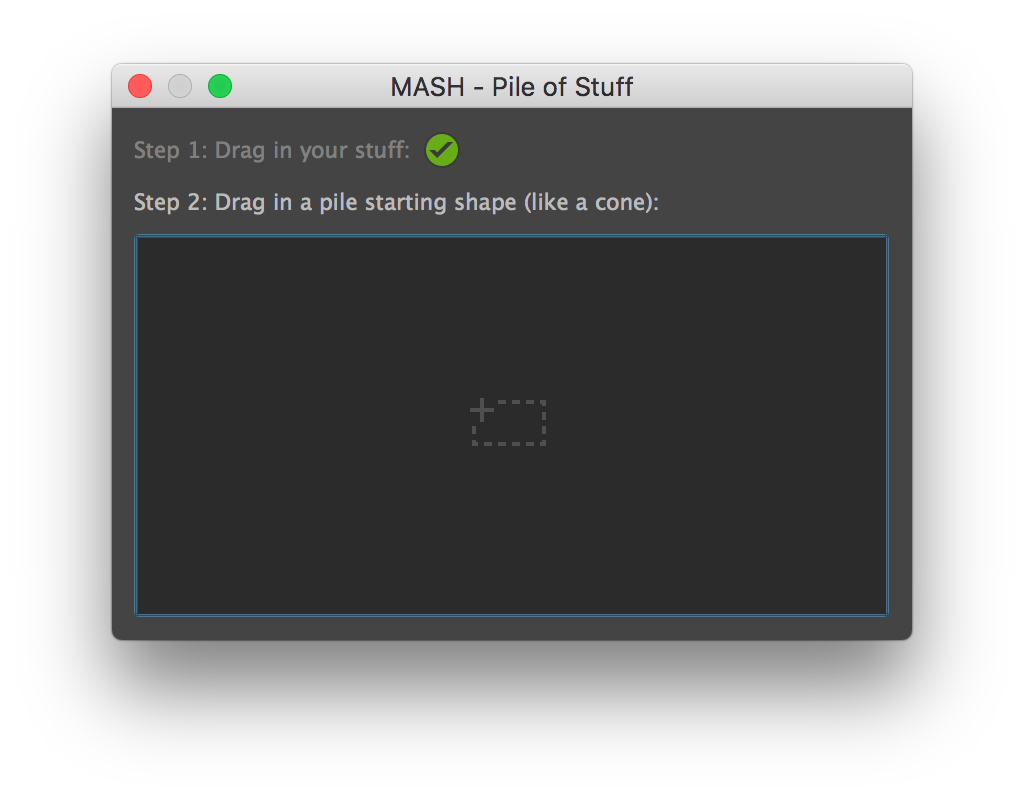
For more complex presets (see Pile Of Stuff in the API Examples) you can have a multi-step preset. To do this you need to supply a list of labels for each step, and a list of lists, containing the acceptable node types.

    # Add labels for each step of the smart preset
steps = [
    'Step 1: Drag in your stuff:',
    'Step 2: Drag in a pile starting shape (like a cone):'
]

# List the accepted node types for each step
acceptableNodeTypes = [
    ['mesh'],
    ['mesh']
]

# create the drop window
fx.DropWindow.getDrop(steps, callback=lambda data: smartPreset.send(data), title='MASH - Pile of Stuff', accepts=acceptableNodeTypes)
node = yield

# get the second step drop
node = yield
UIs
You can add controls to your drop window, to do this you create a list of controls for each step, and put those into a list.
    controls = [
    [cmds.intSliderGrp('iterationsSliderGrp', label='Iterations', field=True, min=0, max=20, value=10)]
]
Remember, this is a list of lists reguardless of how many steps you have! You then add the controls to the drop window using the ‘ui=’ arguement.
    # create the Drop Window
fx.DropWindow.getDrop(label='Drag in a MASH Waiter:', callback=lambda data: smartPreset.send(data), title='MASH - Fix Intersections', accepts=['MASH_Waiter'], ui=controls)
It’s very important to clean up the UI when you’re done to prevent problems with further runs of the script.
[cmds.deleteUI(y, control=True ) for x in controls for y in x]
You can specify the minimum width of your widget with the ‘minWidth=’ arguement. Height is automatically worked out for you.
