The Flip Normals tool simply reverses the orientation of the selected faces. One common use of this tool is to "invert" an entire mesh. For example if you wish to create a bunny-shaped hole in something, you can (after filling the hole in the bottom) place it inside the other object and then select the entire bunny and Flip Normals. Now if you do a plane cut you will find a bunny-shaped hole, because we determine inside/outside nesting using the orientation of the triangles.
A more complex case is if an imported mesh has some regions with inverted normals. You can identify this because some sub-regions will have the tell-tale back-facing-triangle stripe pattern, adjacent to triangles that are front-facing, as in the example below.
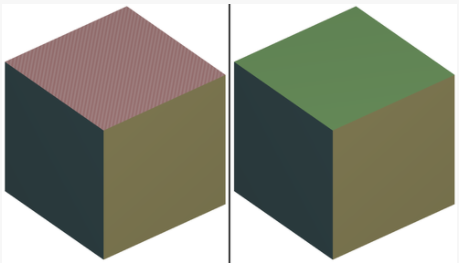
In this case you must select the offending triangles and Flip Normals. Unfortunately this currently can be tricky! In the worse case you must carefully brush-select with the Allow Back Faces box checked (see Select tool). You won't actually be able to see the selected-triangles highlight on back-faces with the default shader. However, you will with some of the other shaders, such as X-ray and the White Ball shader.