Inspect blend shapes
After importing a blend shape from your DCC tool into 3ds Max Interactive, you can take a closer look at its contents, and adjust the influence of its morph targets.
Import your blend shape from your DCC tool. See Create and import blend shapes.
After importing, a new blend shape asset appears in the Asset Browser.

Select the blend shape asset.
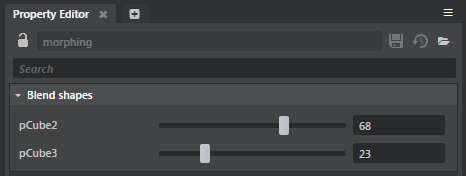
Your targets appear in the Property Editor.

Move the sliders to adjust the amount of influence each of the target shapes has on your base object.
Click
 to save your changes. Your changes are visible in the Asset Preview.