In this step, we collect the volumes into a CAD Entity Group. CAD Entity Groups effectively allow us to assign settings directly to the CAD model. In a later step, we associate this group with a Autodesk® CFD material.
Step 1: Start CAD and open the model
Open the manifold assembly from this folder:
Users\Public\Public Documents\Autodesk\CFD 2019\Tutorials\<cad>\automation-study
Note: <cad> is Inventor, SolidWorks, or PTC Creo.
Step 2: Create the CAD Entity Groups
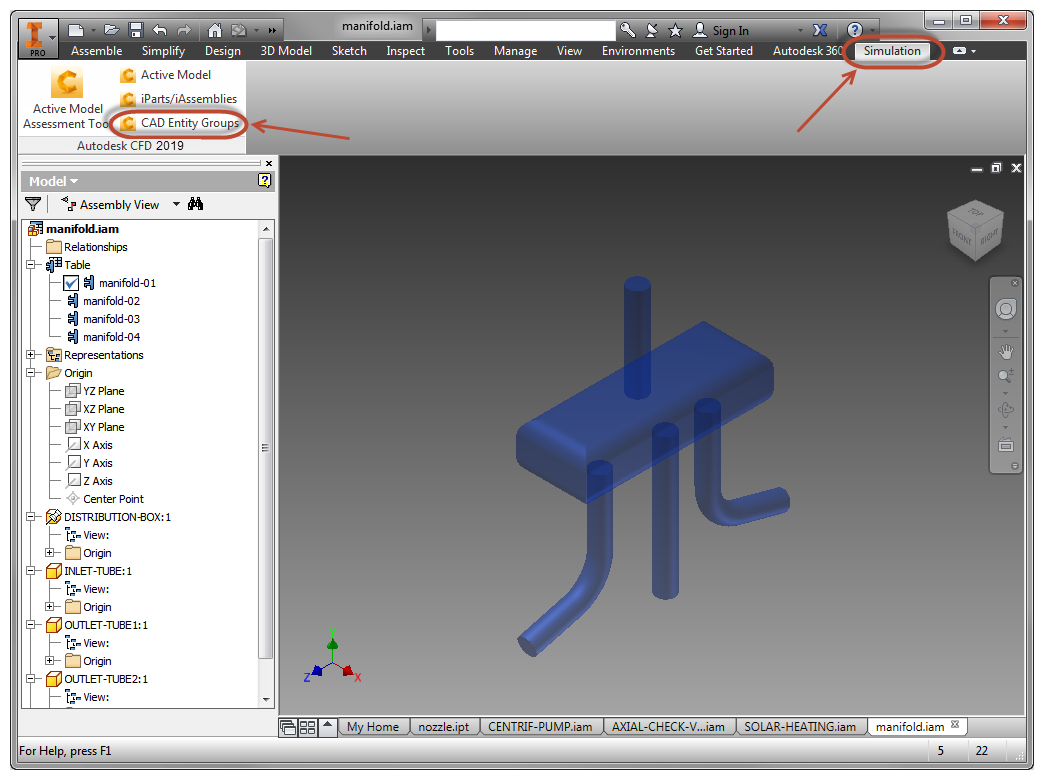
Click the CAD Entity Groups command.
For example, if you are launching from Autodesk® Inventor, click Simulation and CAD Entity Groups:
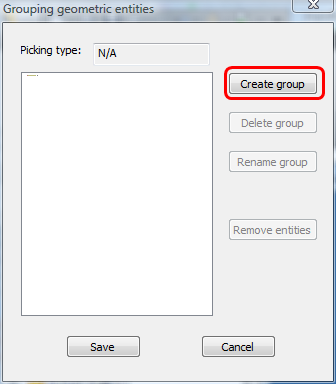
Click Create group.
Select Volumes. Enter "Air" for the group name.
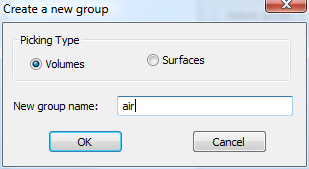
Click OK.
SolidWorks Only: From the Selection Filter toolbar, select the Filter Solid Bodies icon. (If the Selection Filter toolbar is not visible, type F5.)
Click the air group, and select the five parts in the model.
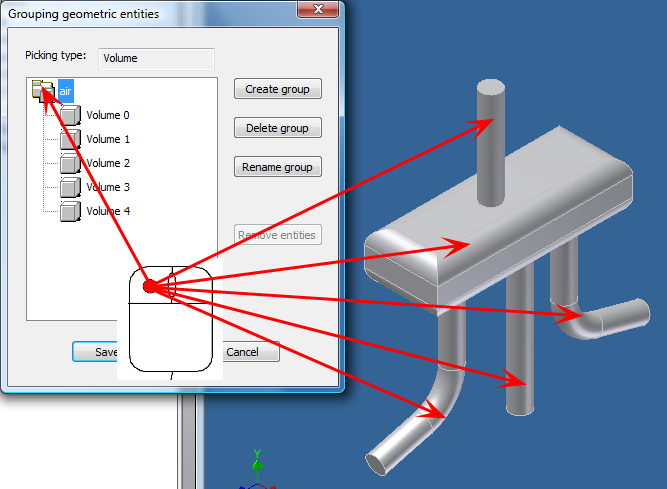
Click Save.
For more about CAD Entity Groups...