Steps to create a custom App Installer (Inventor OEM + Inventor ETO)
This procedure applies to 2018, 2019 and 2020 versions of ETO. Please use the appropriate release year of the product where specified below.
Step 1: Ensure that Inventor OEM and ETO are installed and working
- Install Inventor OEM 2020.
- Install Inventor OEM 2020 Support Files, which is required for building custom installers.
- Install Inventor ETO 2020. Run a simple ETO model with Inventor OEM.
Step 2: Ensure that your application can be run from Inventor OEM
If you want to use a sample project instead of your own application, source code for a conveyor application is available by opening a support case. <SRC> is the location of the files on your local computer. We use Conveyor below; substitute the name and path of your application if applicable.
- Open the solution
<SRC>\Conveyor\Conveyor.sln in Visual Studio.
Currently, the following settings apply to this application:
- Project references are set to Inventor ETO/OEM 2020.
- Inventor files are in 2020 format.
- <SRC>\Configuration\Autodesk.Conveyor.Inventor.addin should contain 2020 in supported version line.
- Review the Post-build Actions, to ensure the following copy operations occur:
- <SRC>\Conveyor\bin\Debug\Conveyor.dll to C:\Program Files\Autodesk\Inventor OEM 2020 \Bin\
- <SRC>\Conveyor\Configuration\Autodesk.Conveyor.Inventor.addin to C:\ProgramData\Autodesk\Inventor OEM 2020 \Addins\
- <SRC>\InvETO Files\*.* to C:\ProgramData\Autodesk\Inventor OEM 2020
- Rebuild the solution.
- To debug, set Start external program to C:\Program Files\Autodesk\Inventor OEM 2020 \Bin\InventorOEM.exe
Step 3: Run Inventor OEM Configurator
- Start Inventor OEM Configurator (Start Menu > All Programs > Autodesk > Autodesk Inventor OEM 2020 > OEM Configurator).
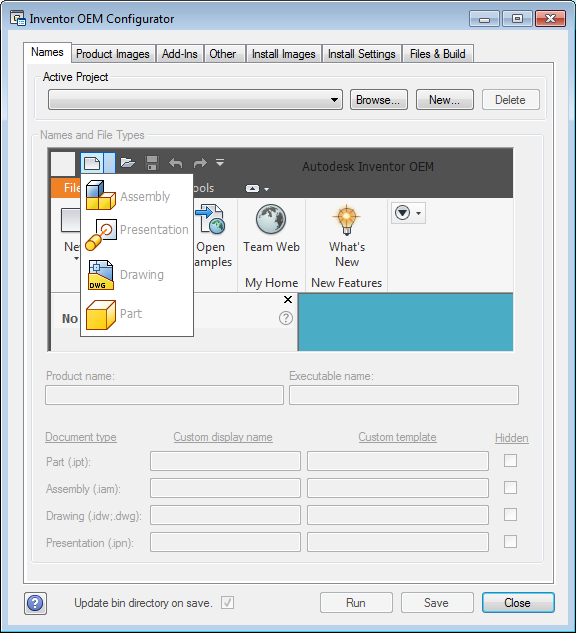
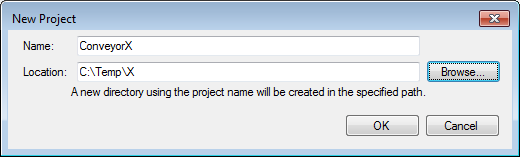
- Create a new project by clicking New... button at Names tab. The directory path you enter in Location must exist.
- Set the Names tab as shown:
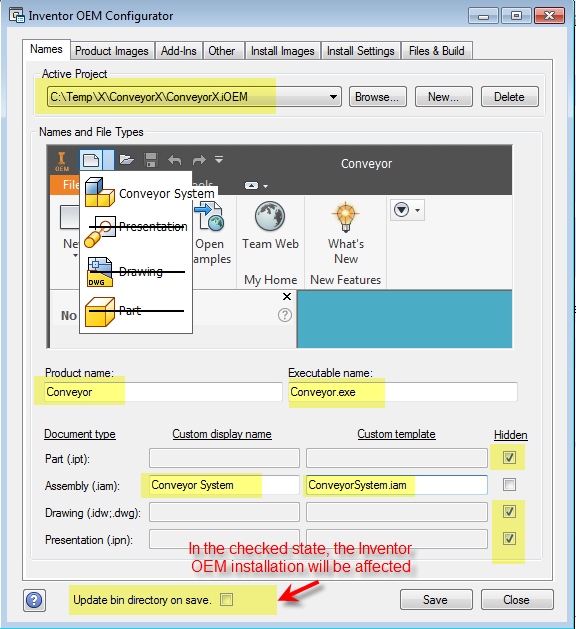
Important: Uncheck Update bin directory on save.
Do not include the year or version in the Product Name. It is added later.
- Set the Product Images Tab:
a. <SRC>\Conveyor\Configuration\BrandingResources\Background.bmp
b. <SRC>\Conveyor\Configuration\BrandingResources\BkgLabelAppName.png
c. <SRC>\Conveyor\Configuration\BrandingResources\AppIcon_24x24_Default.png
d. <SRC>\Conveyor\Configuration\BrandingResources\AppIcon_30x30_Default.png
e. <SRC>\Conveyor\Configuration\BrandingResources\AppIcon_36x36_Default.png
f. <SRC> Conveyor\Configuration\BrandingResources\AppIcon_48x48_Default.png
g. <SRC>\Conveyor\Configuration\BrandingResources\FileSystemIcon.ico (You must specify this icon.)
h. <SRC>\Conveyor\Configuration\BrandingResources\AppIcon_41x24_Default.bmp (If you don't provide the images, they will be automatically generated, and have yellow marks.)

-
Set the Install Images Tab:

-
Set the Add-ins Tab:
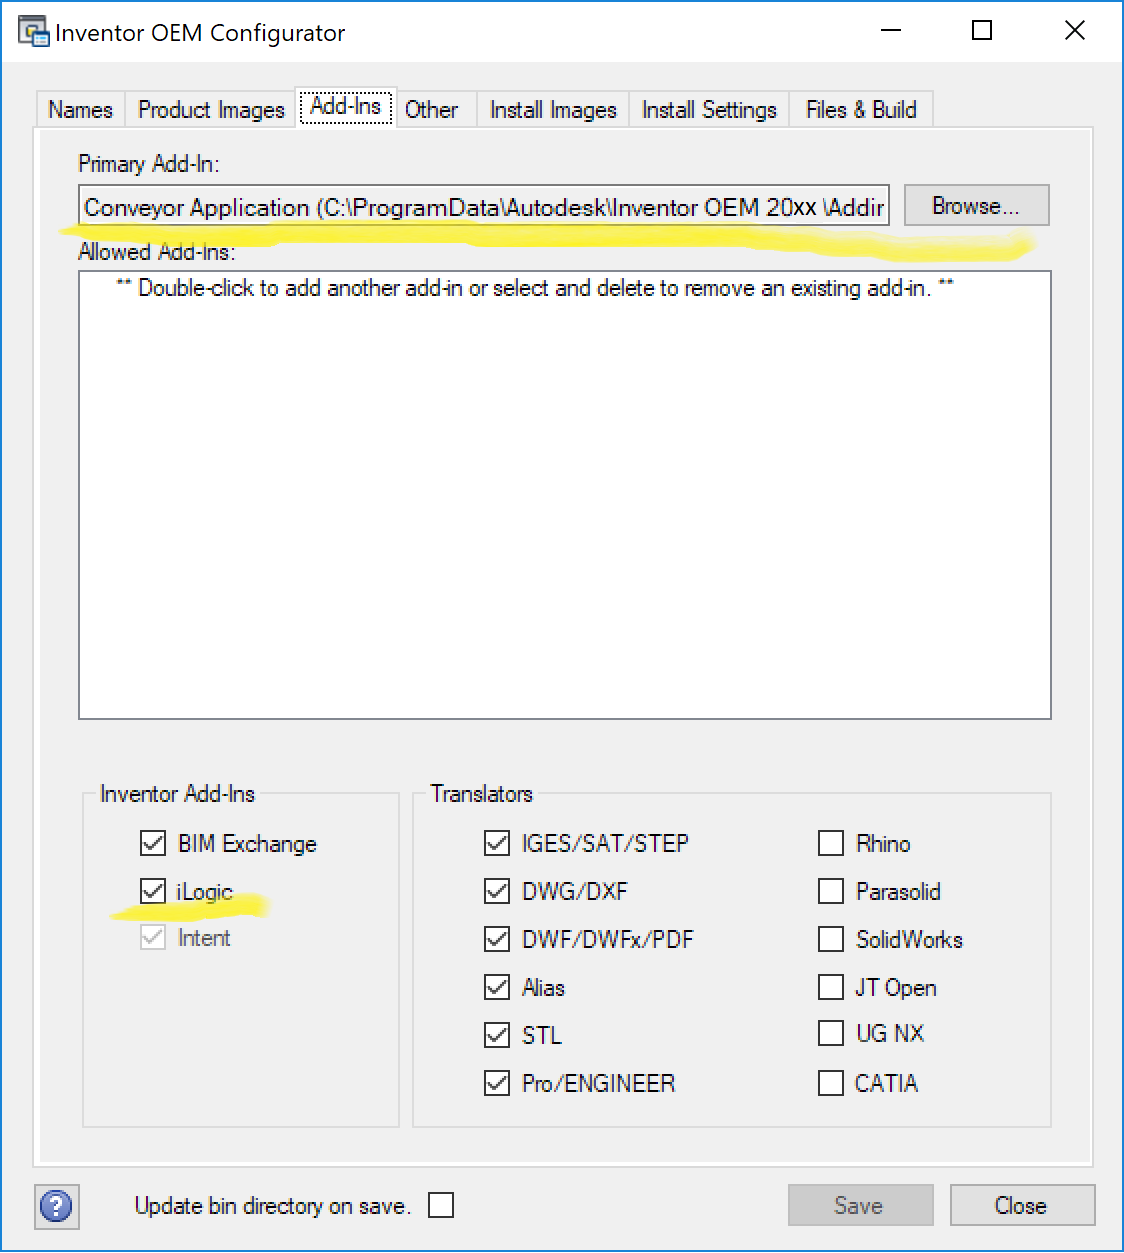
Select C:\ProgramData\Autodesk\Inventor OEM 2020\Addins\Autodesk.Conveyor.Inventor.addin
Optionally, select translators that are used by your application (It is important to select iLogic for ETO to work correctly.)
-
Set the Install Settings Tab:
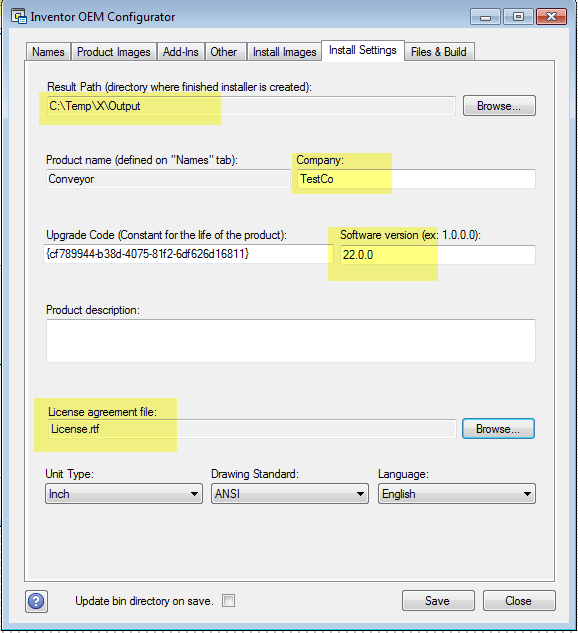
- Important: Create an Result Path and folder exactly as shown, or the ETO Deployment Configurator may fail to find necessary files.
- Important: A license agreement file must be specified for the Intent build wizard steps to work. Any .rtf file is accepted. An example is provided in the <SRC> directory.
-
Set the Files & Build Tab:
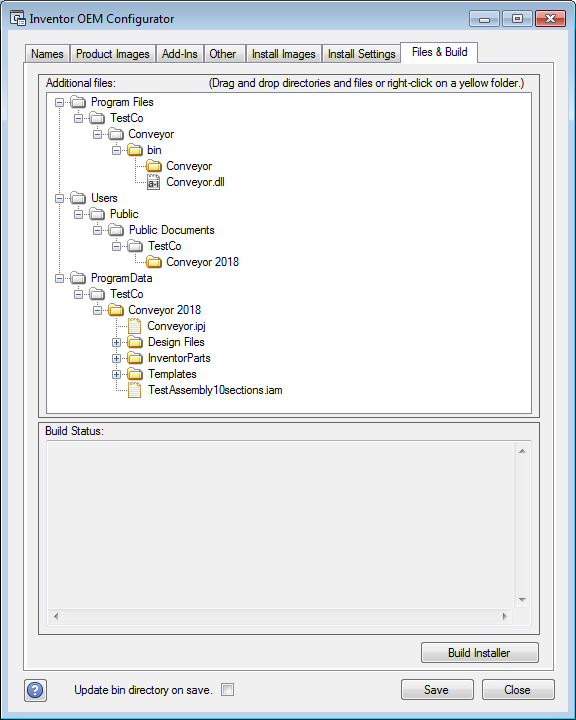
Drag all files from <SRC>\InvETO Files\ to a folder under ProgramData\TestCo\Conveyor 2020 as shown above.
- Save the Project.
- Build the Installer.
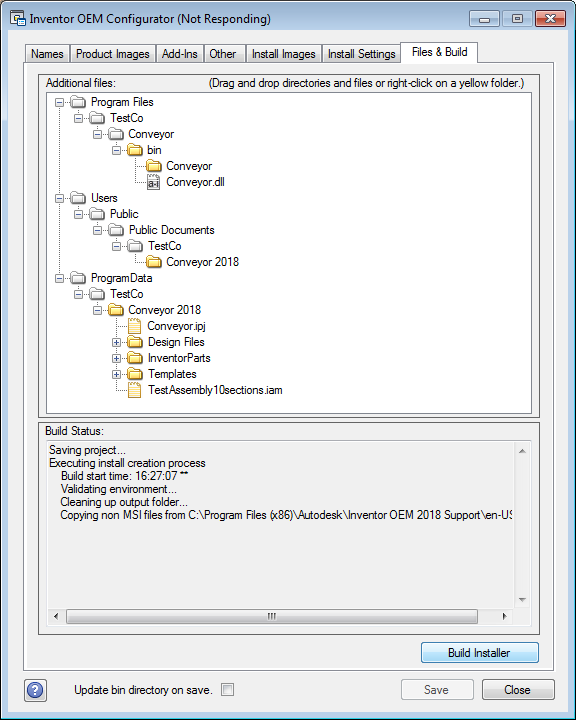
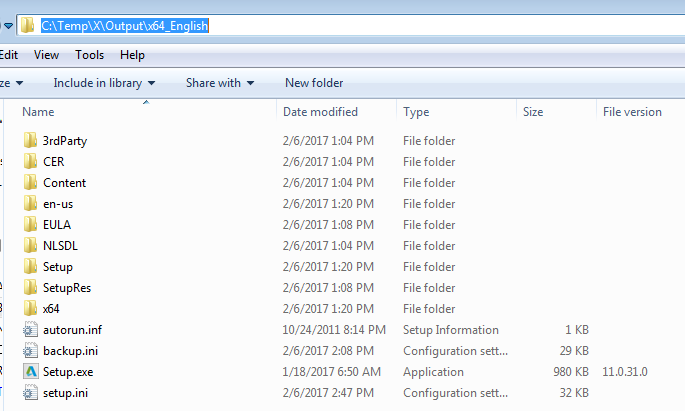
The build process takes some time (depends on machine configuration, but can easily take 10 minutes). After the build is completed, verify that the Output directory contains an installer image under x64_English.
At this point, the OEM build is complete. You can re-visit steps and rebuild at any time.
The x64_English installer is large, about 6.2gb. To avoid excessive copying, it is edited in place by the ETO Deployment Configurator.
Step 4: Creating an ETO Deployment
-
Start C:\Program Files\Autodesk\Inventor ETO 2020\cdimage\setup.exe
-
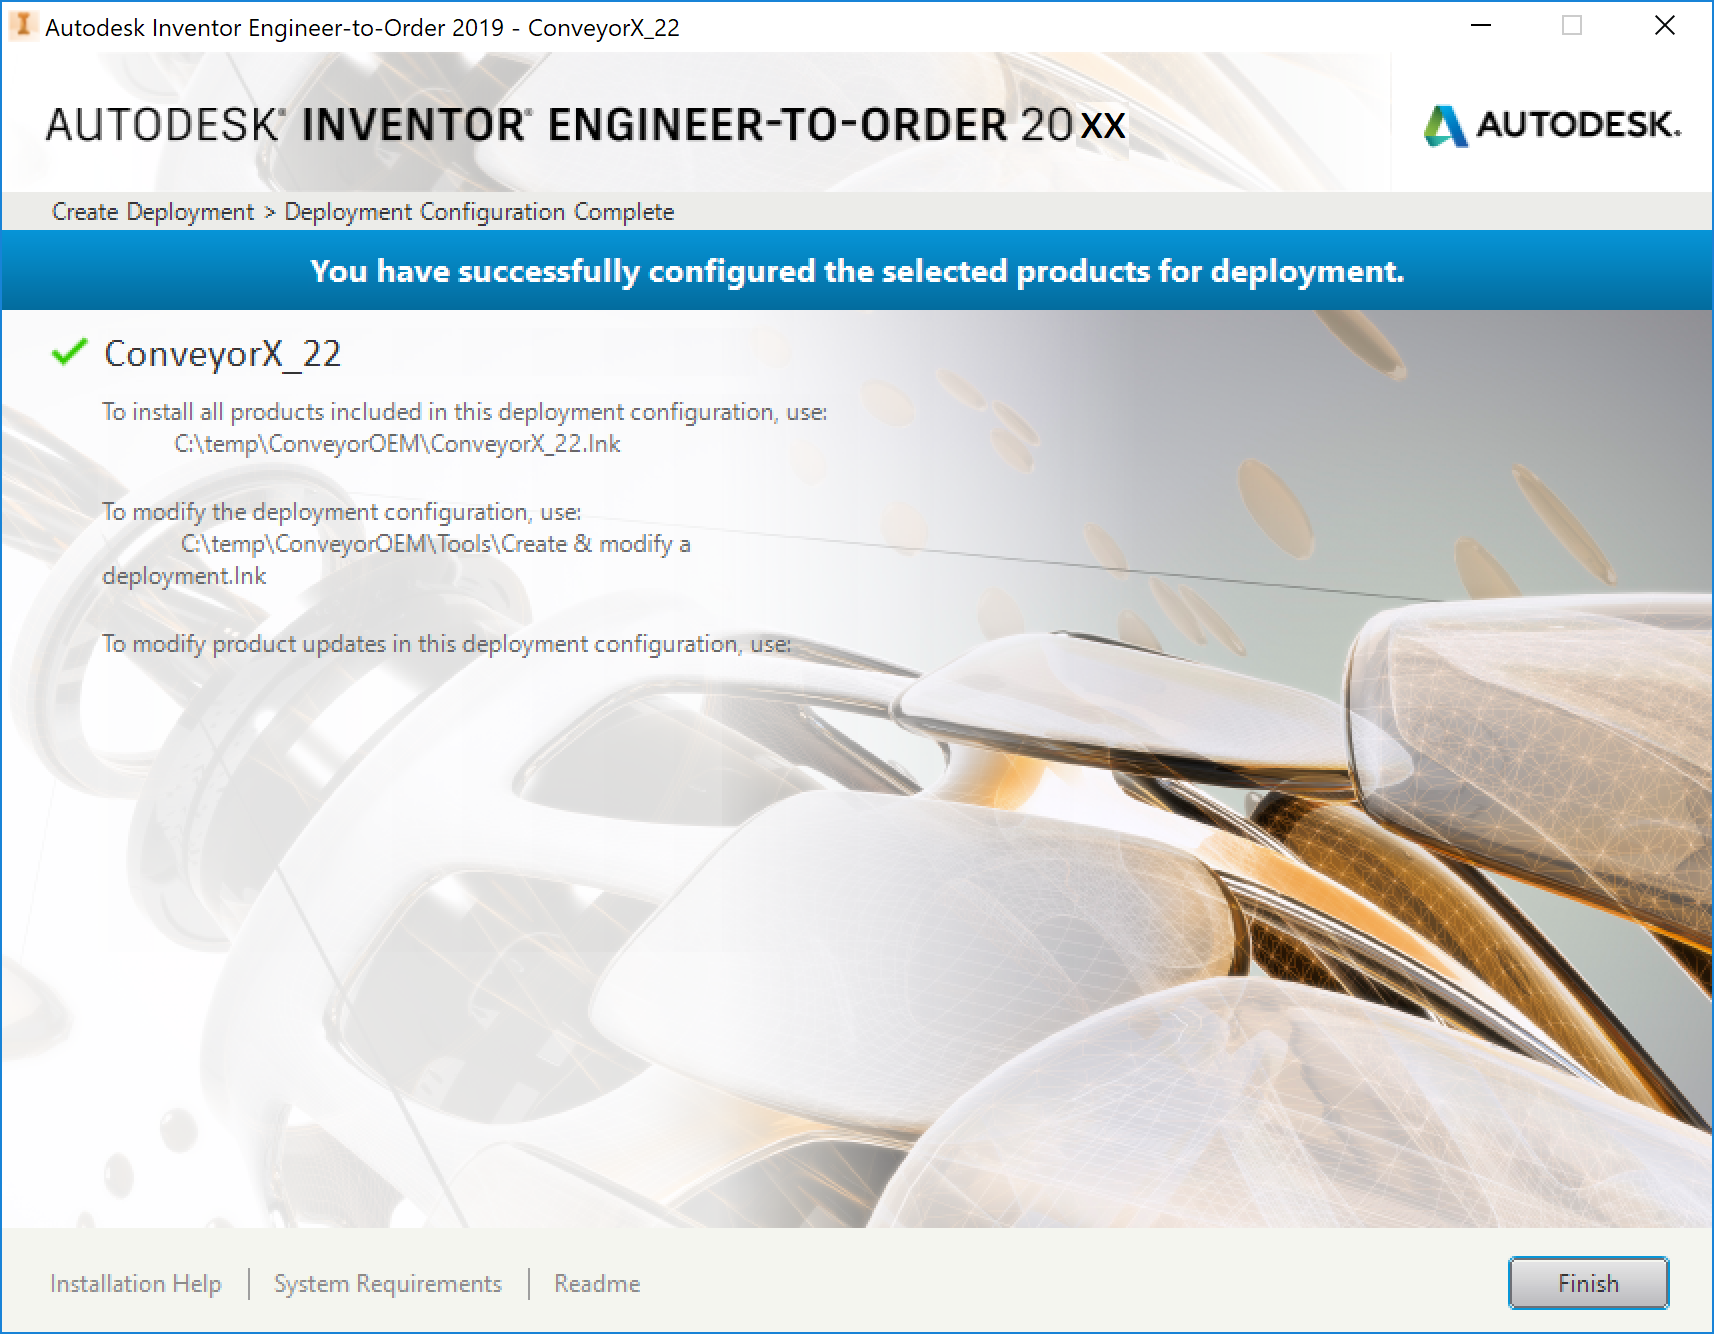
Click Create Deployment.
-
Enter a configuration name, and enter an Administrative image path. This path is only used for building, so it does not need to be a network path.

- Accept the ETO license agreement.
- Create the ETO deployment
Step 5: Run ETO Deployment Configurator
You need to run this tool as administrator.
These steps use the ETO Deployment Configurator to merge the Inventor OEM installer and the ETO installer. The result is a single installer in the location where the OEM installer was created. The necessary files from the entire ETO installer are copied to this location, and several files created by the OEM configurator are altered.
-
Open the ETO Deployment Configurator from the Start Menu > All Programs > Autodesk > Autodesk Inventor ETO 2020 > ETO Deployment Configurator.
-
In the Project tab, make the following selections:
-
Deployment location: Browse to the lnk file created by the previous step. C:\Temp\ConveyorOEM\ConveyorX_22.lnk
The Project Name is read automatically.
-
Enter the Application name, which is a readable name for users.
-
Browse to the OEM project file: ConveyorX.iOEM.
The Install Path is read-only, and comes from the OEM installer.
Once the OEM project is set, the Images tab picks up the images from OEM.
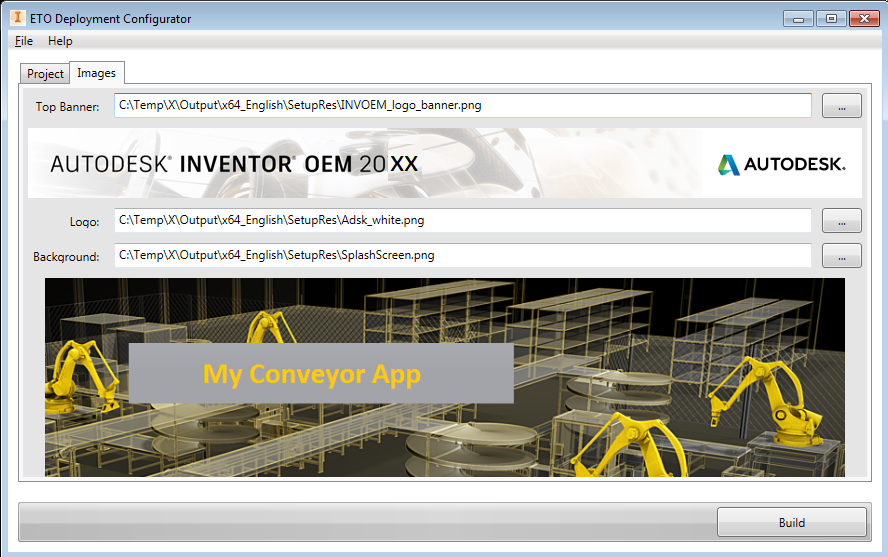
-
-
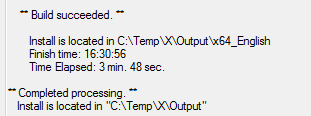
Select Build.
This may take some time the first time the files are copied. Afterwards, only changed files are copied.
When Build completed appears at the bottom of the window, the OEM installer in C:\Temp\X\Output\x64_English is now the full installer for the entire application.