When installing the software on a single computer, you can customize the configuration to suit your needs.
- Start the Revit installation program and proceed to the Install > Configure Installation page.
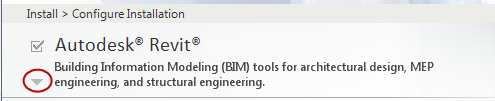
- For the Revit software, do the following:
- Click the arrow below the product name to expand the configuration settings.
- Complete the following items as appropriate:
- Sub-Components (not available for Revit LT)
- Desktop Shortcut
- Discipline (not available for Revit LT)
- Project Path
- Click the arrow below the product name again to collapse the configuration settings.
- Click the arrow below the product name to expand the configuration settings.
- For Autodesk Revit Content Libraries, do the following:
- Click its arrow to expand the settings.
- Complete the following items to change default settings:
- Click the arrow below Autodesk Revit Content Libraries again to collapse the configuration settings.
- Most installations also install the following items, if they are not already installed on the system. If you do not want to install them now, clear the check boxes:
- Material Library (for applying materials to elements in the building design)
- Advanced Material Library (for materials that use physically-based appearance definitions)
- Click Install to proceed with the installation.
A status dialog displays while the installer reads content from the media and from online resources, and installs the software. This process will take several minutes to complete.