Import a model with textures and materials
With a properly configured FBX file, you can automatically import a model with its texture resources applied.
Note: You can also export scenes or selected objects and their materials directly into 3ds Max Interactive using 3ds Max, Maya or Maya LT. See Linking with 3ds Max Interactive.
To prepare, then import your FBX file:
Use a logical naming convention for the materials attached to your object.
The material names are brought into 3ds Max Interactive just as they are in the FBX file.
Ensure that the path to any texture files associated with the material resolve correctly.
During import, this lets the interactive editor recreate the materials and reconnect the associated texture files.
In the editor, open the Asset Browser and navigate to the folder where you want to import your model.
Click Import.
In the Import FBX options, do the following:
Ensure that Materials is on.
Ensure that Shared Materials is on.
The editor looks in your project for existing materials. If a matching material is found, it is assigned to the model on import.
Ensure that Create Materials Folder is on.
The editor automatically places any materials associated with the imported objects into a separate folder.
Ensure that Textures is on.
Turn on Shared Textures.
The editor looks in your project for existing textures. If a matching texture is found, it is assigned to the model on import.
Click Import.
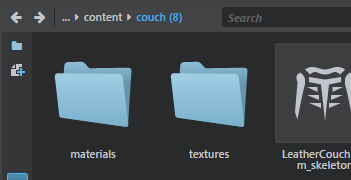
On import, any materials associated with the imported objects are placed in a separate folder inside your project.
The imported textures are assigned texture templates with default compression and other processing settings for compilation on different target platforms. For example, imported normal map textures are assigned the normal texture template.
Note: To merge meshes that share the same material, you need to enable Combine Meshes and Combine by Material options; combining meshes by material won't occur if Combine Meshes option is disabled.