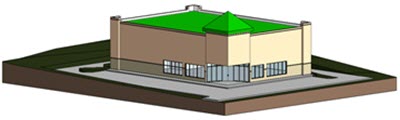
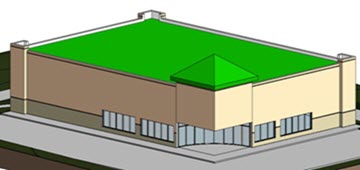
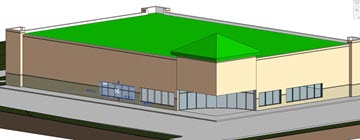
In this exercise, you place a curtain wall at the store entry.
|
Before you begin, download the GSG_08_place_curtainwall.rvt file. Download this zip file (if you have not already downloaded the exercise files for the tutorials.)
Objectives
- Add a curtain wall at the entry.
- Add embedded curtain walls.
- Place doors in the curtain wall.
- Modify the grid pattern of a curtain wall.
 Watch the video
Create a Curtain Wall
- Open project GSG_08_place_curtainwall.rvt.
- Verify that the 01 - Store Floor floor plan is open.
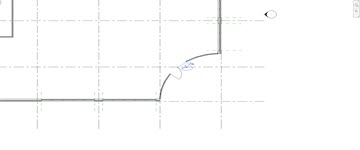
- Zoom in to the southeast corner of the building.
- On the Architecture tab, click Wall.
- In the Type Selector, choose Storefront.
- On the Properties palette, set the top constraint to Unconnected and the Unconnected Height to 3000.
- On the Draw panel, select the 3 point arc tool.
- Click the end points of the exterior walls as shown, and click the third point at the snap point to make a 90° arc point.

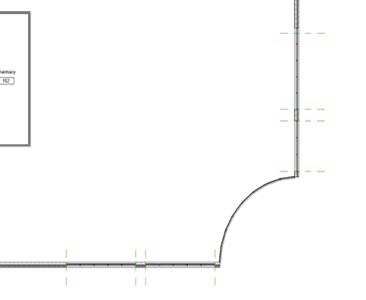
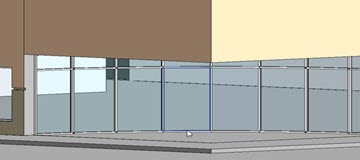
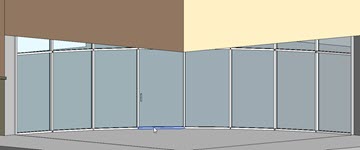
Place Embedded Curtain Walls
- On the Draw panel, select the line segments tool.
- In the Properties palette, set the Base Offset to 500 and the Unconnected Height to 2000.
- Place curtain walls directly over exterior walls as shown, using the reference planes as a guide.
- Click
 (Modify).
- On the Quick Access Toolbar, click
 (Default 3D View).
- Select one of the embedded curtain walls, and on the Properties palette, click
 (Edit Type).
- In the Type Properties dialog, click Duplicate.
- In the Name dialog, enter Front Windows.
- Change the spacing for the horizontal grid to 1200 and click OK.
- Select the other embedded curtain walls and change the type to Front Windows.
Add Doors to a Curtain Wall
- Position the cursor near the lower edge of a middle panel at the entry and use Tab to cycle the selection to the panel. Click to select the panel.
- Click
 (Pin) to unpin the panel.
- On the Type Selector, select Door-Curtain-Wall-Single-Glass.
- Position the cursor near the lower mullion of the door, use Tab to cycle to the mullion and click to select it.
- Unpin the mullion and press Delete.
- Repeat steps 1 - 5 for the adjacent panel.
- Select the mullion between the doors, unpin it and delete it.
- Open the 01- Store Floor floor plan view.
- Select the doors at the entry and use the
 flip controls
to orient them correctly.
flip controls
to orient them correctly.