![]()
Track View uses two different modes: Curve Editor and Dope Sheet. Curve Editor mode displays animation as function curves, while Dope Sheet animation appears as a spreadsheet of keys and ranges. Keys are color-coded for easy identification. Some Track View functions, such as moving and deleting keys, are also available on the track bar near the time slider, which can be expanded to show curves as well. The Curve Editor and Dope Sheet open by default as floating windows, but you can also dock them under the viewports at the bottom of the interface, or even open them in a viewport. You can name Track View layouts and store them in a buffer for later reuse. Track View layouts are stored with the MAX scene file.
The software remembers your last used Track View layout and automatically loads it the next time you open Track View.
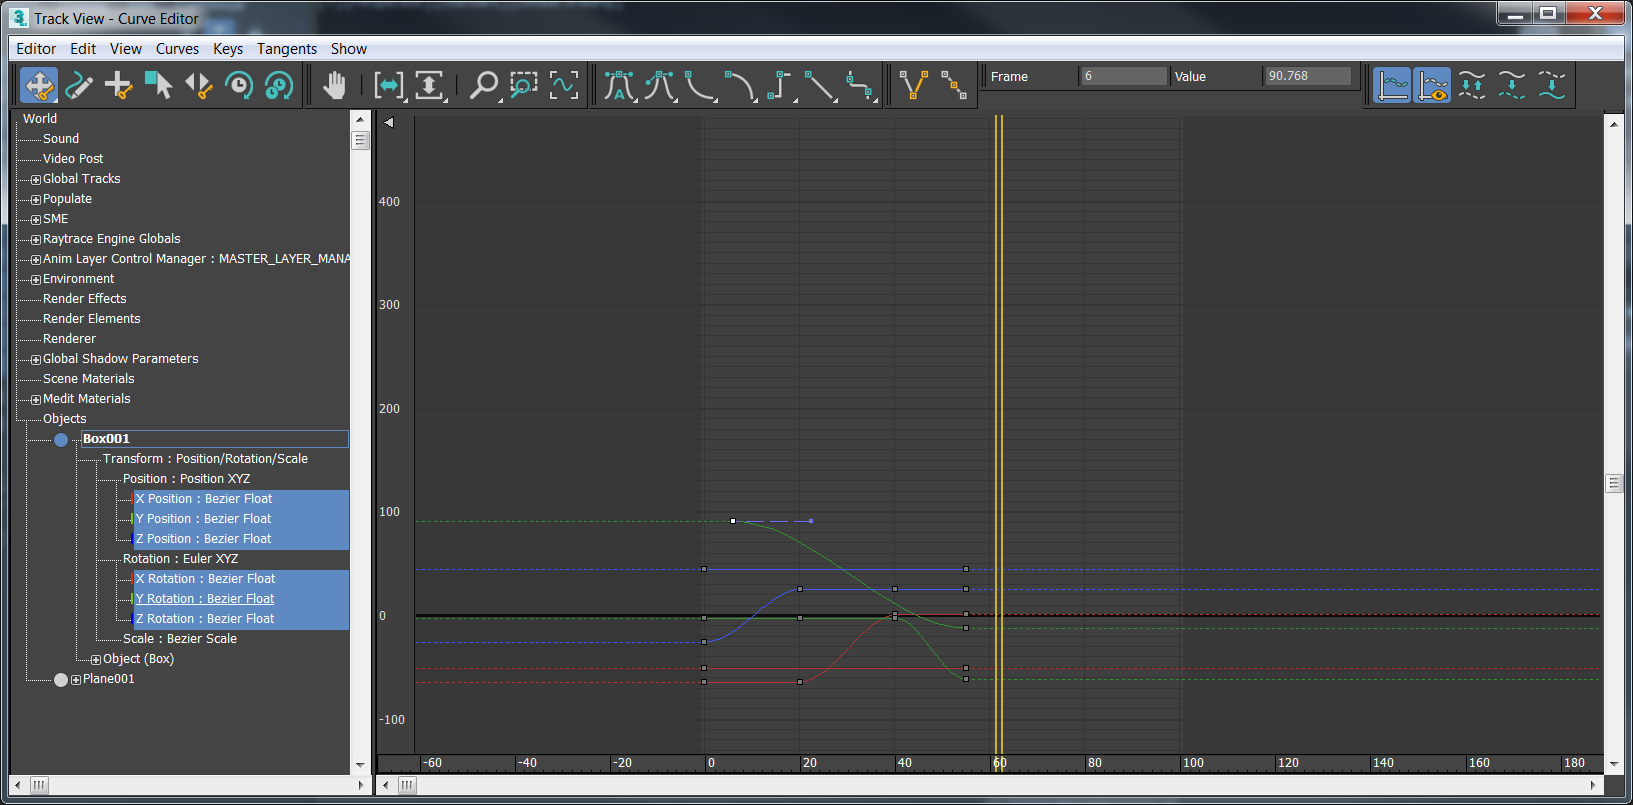
Track View - Curve Editor

Track View - Dope Sheet (Edit Keys)
Typical Uses for Track View
Track View can perform a variety of scene management and animation control tasks. Use Track View to:
- Display a list of objects in your scene and their parameters.
- Change key values.
- Change key timing.
- Change controller ranges (see procedure).
- Change interpolation between keys.
- Edit ranges of multiple keys.
- Edit blocks of time.
- Add sound to your scene.
- Create and manage notes about the scene.
- Change the behavior of the animation outside the range of keys.
- Change controllers for animated parameters
- Select objects, vertices, and hierarchies.
- Navigate the modifier stack in the Modify panel by clicking the modifier items in the Track View Hierarchy.
Note: Tracks are created for animated vertices in Track View. A Bezier Point3 controller is the default vertex interpolation controller.
Procedures
To change the frames in which a controller takes effect:
- Select the object, and then right-click it and choose Curve Editor from the menu.
- Expand the object hierarchy to find the track or tracks to adjust.
- From the Editor menu, choose Dope Sheet.
- On the Dope Sheet, click Edit Ranges.
- Adjust the range duration by dragging its endpoints, or its position in the animation by dragging between endpoints.
For more information, see Dope Sheet Introduction.
When you apply a controller or constraint to an object's motion, the frame range over which controller takes effect is determined by the current active time segment. If you then change the active time segment or the animation length, the duration of the controller's influence doesn't change. Sometimes applying a controller (such as Path Constraint) automatically sets keys that you can use to change this range. But others, such as Noise controllers, don't set keys. In such cases, follow this procedure:
To select keys in Track View (either mode), do any of the following:
- Click the key to select an individual key.
- Drag a selection rectangle around keys to select multiple keys.
- Hold down the Ctrl key and click to create discontinuous multiple key selections.
To delete keys in Track View (either mode):
- Select keys on the curve, or on the dope sheet.
- Press Delete to delete the selected keys.
To force Track View to always display on a second monitor:
- On the main toolbar, right-click Curve Editor, and then choose Edit Macro Script.
The MAXScript script that opens the Track View - Function Curve Editor appears.
- Locate the line that reads:
if (trackviews.open "Track View - Curve Editor" layoutName:"Function Curve Layout") == true then
- Replace that line with this one:
max_window = getMaxWindowSize() --get Desktop size if (trackviews.open "Track View - Curve Editor" layoutName:"Function Curve Layout" pos:[max_window.x/2,0] height:max_window.y width:(max_window.x/2) ) == true then
- Save the script and restart 3ds Max.
If you are running a dual-monitor setup, you can force Track View to display on the right-hand monitor by editing a script.
This should open the Track View in a new session over the right half of the desktop. Assuming that a dual-monitor setup reports twice the width, this will force the Track View on the second monitor. On a single monitor, it opens it over the right half of the monitor. Of course, you could enter your own numbers like pos:[1024,0] height:768 width:1024 in case you are running two monitors at 1024x768.
To open Track View in a viewport:
- Click or right-click the Point-Of-View (POV) viewport label, and then from the
POV viewport label menu choose Views
 Extended Viewports Track View New, or choose the name of a saved Track View.