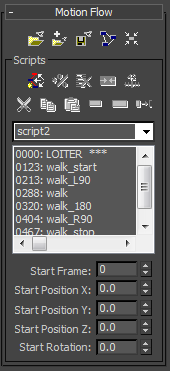
A script is a list of clips (BIP files) that control the character you are animating. To create a script, add clips to the Motion Flow Graph, then click Define Script in the Scripts section of the Motion Flow rollout, and click a sequence of clips in the Motion Flow Graph. Default transitions are assigned if no transitions exist between the clips. The clip names and starting frame numbers display in the list on the Motion Flow Script list.

A sample script as it appears in the Scripts group on the Motion Flow rollout
Random scripts vary the order of the clips found in the Motion Flow Graph. Scripts are run in a top-down order to animate the character. Click Play to view scripted motions on the biped.
Once a script is put together, you have additional controls that let you adjust the starting frame, the starting X, Y, or Z locations and the starting rotation of the animation.
Procedures
To create a Motion Flow script:
- Create a motion flow graph with three or more motion files.
For information on how to set up the graph, see To create multiple clips in the Motion Flow Graph.
- In the Motion Flow rollout
 Scripts group, click
  (Define Script), and then select a sequence of clips from the Motion Flow Graph dialog.
 As you select the clips in the Motion Flow Graph dialog, they are added to the script list.
 Note: Transitions are automatically made in the Motion Flow Graph as you add clips to the script.
 - Give the script a new, descriptive name.
Adding a descriptive name is less confusing if you ever append Motion Flow Editor files together.
- Click
 (Play Animation) to see the biped move to the scripted clips.
- Click
 (Stop Animation). Change the Start Frame setting to 25 and move the frame slider.
 Now the biped will hold its start position until frame 25, then start moving.
- Change the Start Position X:, Y,: or Z: setting.
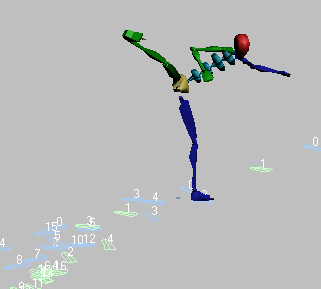
These settings let you control the position of the footsteps that the character follows.
- Change the Start Rotation setting to 90.
Often, the footsteps in a BIP file are not oriented in the direction you want. This setting lets you adjust which direction the character faces.