You'll add some materials to help visualize your revolving door. You'll add a shiny black finish for the struts and a green glass material for the glazing in the door and the enclosures. You'll also edit the material that already exists on the revolving door, so it matches your own green glass.
Set up the lesson:
- Continue from the previous lesson or go to the \startup\revolving_door folder and open add_door_materials.max.
Open the material editor:
- On the main toolbar, choose
 (Material Editor) from the Material Editor flyout to open the Compact Material Editor.
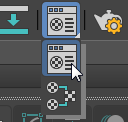
(A flyout is like a drop-down menu, but with buttons instead of text.)
The Material Editor opens as a floating window.
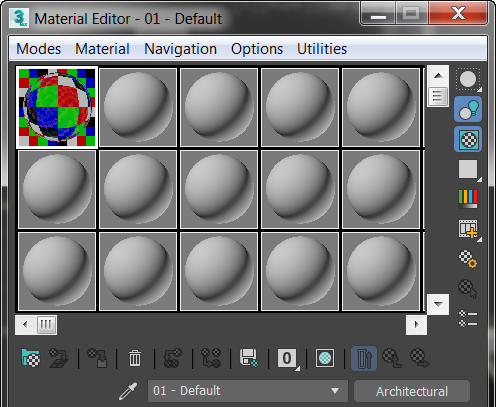
The Compact Material Editor is usually more convenient when you want simply to assign materials that have already been designed. The Slate Material Editor, which takes up more screen space, is more convenient and versatile for designing materials.
Note: If you open the large Slate Material Editor by mistake, then from the Material Editor toolbar choose Modes Compact Material Editor.
Apply a door material:
- On the Material Editor toolbar, below the sample spheres, click
 (Get Material).
3ds Max opens the Material/Map Browser.
- On the Material/Map Browser, click
 (Material/Map Browser Options) (or right-click an empty area of the dialog), and from the pop-up menu, choose Open Material Library.
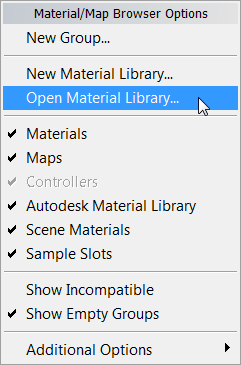
3ds Max opens a file dialog.
- Highlight the file
aectemplates.mat, and then click Open.
This library is located in the \materiallibraries subfolder of your current Project. If it doesn’t appear in the file dialog when you click Open, browse to this directory, then open the library.
Note: The filename extension for 3ds Max material library files is MAT.A section for the library now appears in the Material/Map Browser.

- In the Browser, double-click the material name
Door-Template.
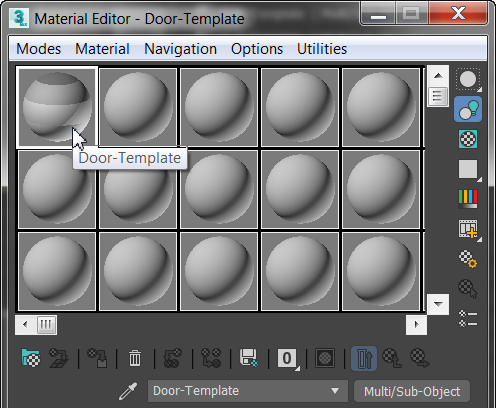
The door material appears in the first sample slot of the Compact Material Editor.
-
 Close the Material/Map Browser.
- Drag the material from the sample sphere to the door object in the viewport.
The door now displays with transparent glass. Also, in the Material Editor, the sample sphere is now marked with corners showing that this material has been applied to an object in the scene.
You can choose materials from a material library and apply them to the revolving door so the panel is transparent.
Create and apply a green glass material:
- Click any unused sample slot in the Material Editor to activate that slot.
By default, materials in the Material Editor are of the Architectural type. You'll change this material to the Standard type.
- If the Material Type button to the right of the material name says "Arch & Design”—or "Architectural" if you opened the pre-saved scene—click the button.

3ds Max opens the Material/Map Browser again.
- In the Material/Map Browser, locate Materials
 Scanline
  Standard, then double-click the entry Standard.
In the Compact Material Editor, the material type changes to Standard.
- Drag the material onto the
left enclosure panels object. Drag from the material sample sphere to the viewport, and read the tooltip to be sure you have the left enclosure object (left enclosure panels) as the target.
The glass panels of the left enclosure change their appearance in the viewport.
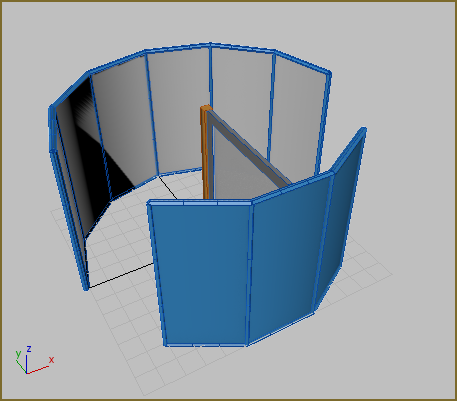
- On the Blinn Basic Parameters rollout, change the color of this material by clicking the Diffuse color swatch.

When the Color Selector opens, pick a green color.

Watch in the viewport; each time you click a different color, the material updates in the viewport. When you've decided on a color, click the OK button.
“Blinn,” named after computer-graphics pioneer James Blinn, is the default shader type used by the Standard material. A shader determines how the material interacts with light. And “Diffuse” refers to the basic material color. You can find more information about shaders and about materials in general in the 3ds Max Help.
- On the Blinn Basic Parameters rollout, change the Opacity value to
66.

- Rename the current material to
Green Glass. Highlight the name beside the eyedropper and then enter the new name.

- Drag the Green Glass material from the sample sphere in the material editor to the
right enclosure panels objects in the viewport.
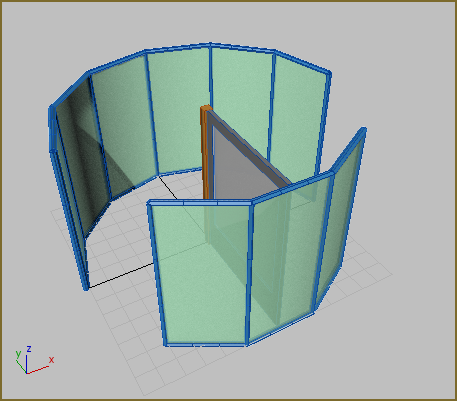
Now the glass on the right enclosure matches the color and transparency of the left enclosure.
Create a black metal finish:
- In the Material Editor, activate a different unused sample sphere by clicking it.
- If you need to, change the material to the Standard type, as you did before.
- Name the material Black Metal Finish.
- On the Shader Basic Parameters rollout, click the drop-down arrow next to Blinn and choose Metal.
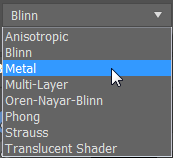
This shader is more appropriate for metallic materials.
- On the Metal Basic Parameters rollout, click the Ambient color swatch.
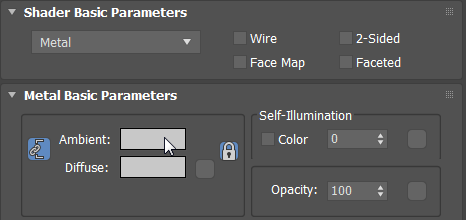
In the Color Selector, choose a dark color close to black. You can use the Whiteness slider to darken the color.
Note: The Diffuse color changes to the same dark color, since by default the Diffuse and Ambient values are locked together.“Ambient” refers to the lighting that spreads out within a scene without being cast directly by a light source. Typically it's reflected off surfaces such as walls.
- Set Specular Level to
128 and Glossiness to
85.
These two settings determine the brightness and size of shiny highlights, respectively.

All of these settings combine to produce a black, shiny surface treatment.

- In the Scene Explorer, click and
Ctrl+click to select the
Struts objects. If the Scene Explorer is not open, click
 in the main toolbar, or press the
H key .

- In the Compact Material Editor, click
 (Assign Material To Selection) to apply the material to the struts.
- Drag this material onto the central hub object (Cylinder01).
Edit the material:
- Click another sample sphere to make it active.
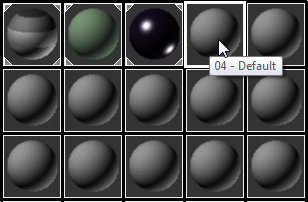
- In the Material Editor, click Pick Material From Object to activate it, and then in the viewport click the pivot door.

The sample sphere is replaced with a sphere that shows five stripes of different materials. This indicates that the selected material is a Multi/Sub-Object material.

On the Multi/Sub-Object Basic Parameters rollout, you can click and access each individual material.
- Drag the Green Glass sample sphere to the button labeled “Inner Bevel (Standard).” On the Instance (Copy) Material dialog choose Instance, then click OK.
When you copy something using the Instance option, changing one instance changes all of them. For example, if you then made the glass a neutral color, all the instances would reflect that change.
This is the material that is applied to the glazing. The glass on the revolving door turns green in the viewport.
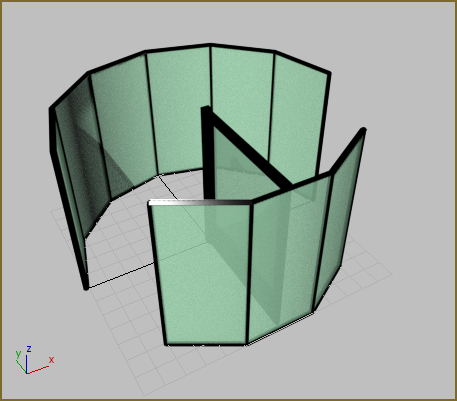
- Drag the Black Metal Finish material to the other material slots of the Multi/Sub-Object material. In each case, choose Instance.
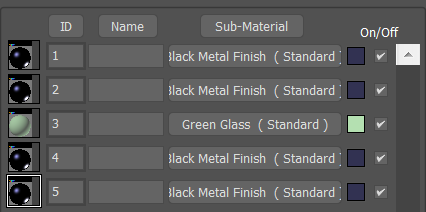
After you created the pivot door, you assigned a Multi/Sub-Object material from a material library to the door. When you have a single object, such as this door, with different, distinct components (such as glazing, frame, and so on), you can use a Multi/Sub-Object material to apply different materials to its various parts.
You will use the eyedropper to get the material from the door into the Material Editor. This will give you a second copy of the material to edit, leaving the original available for use.
Change the material:
- Click the Black Metal Finish sample sphere.
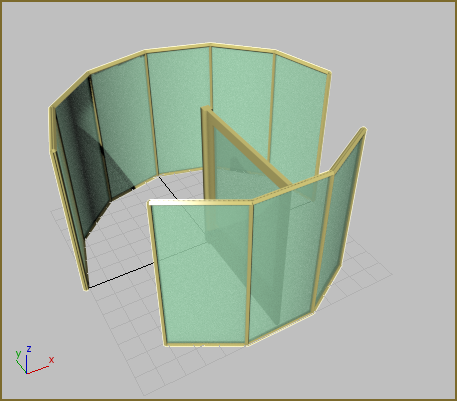
- Click the Diffuse color swatch, and then change the black material to a gold material. Use RGB values of approximately 176, 157, and 52, respectively, to achieve a nice gold tone.
- Rename the Black Metal Finish material to Burnished Gold.
- Click the Perspective viewport Shading menu (now labeled with "Edged Faces"), and turn off Edged Faces.
-
 Close the Material Editor when you're done.
Now make changes to the material and watch them update on the objects in the viewport.
Change the Black Metal Finish to a shiny gold instead. Do the following:
Save your work:
- Save the scene as my_add_door_materials.max.