See the steps of using the With Drawing Number method to number the single parts and assemblies of your 3D model.
- Create the parts of your model and join them using welds and bolts to create assemblies.
Note: Welds and bolts can constitute either a site connection or a shop connection. Shop connections will create assemblies in the 3D model, while site connections will not.
- Assign prefixes prior to performing the numbering process. See About Prefixes.
- After you finish modeling, assign the main parts of assemblies.
- Turn on the prefixes, by checking the Use Prefix box in the Prefix configuration dialog.
-
In the Output tab
 Part marks panel, click
 (Numbering) to start numbering your parts and assemblies.
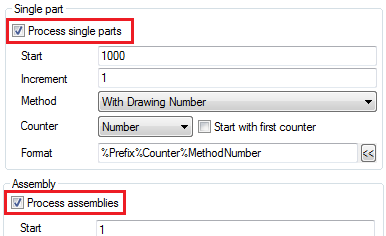
- In the Identical part detection dialog, check both the Process single parts and the Process assemblies boxes:
- Uncheck the Start with first counter boxes:
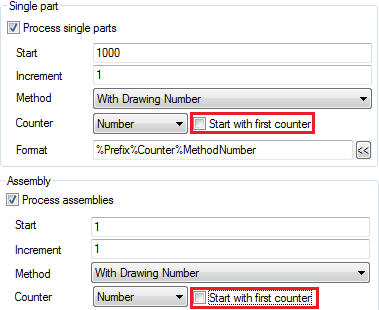
Note: In the Format field you can see the format of the information for parts and assemblies. Here, you can add text type values or other tokens to fit your needs. The default format is: %Prefix%Counter%MethodNumber. - Click Apply in the Identical part detection dialog and close it.
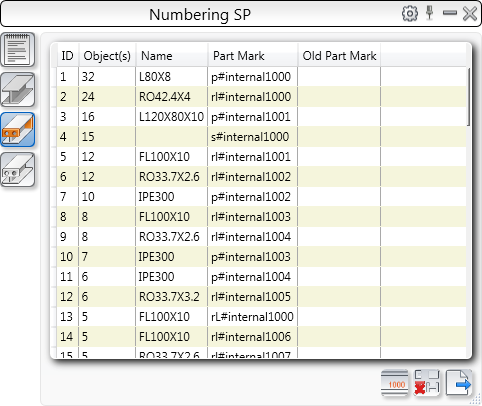
The numbering results for single parts and assemblies show up in the Numbering palette:
 |
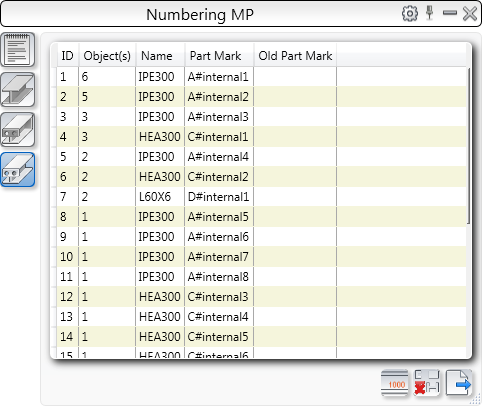 |
At this point, the numbers for both single parts and assemblies are set to #internalXX, preceded by a prefix. The #internal number is a placeholder until you create drawings and the drawing number is inserted, replacing the #internal number.
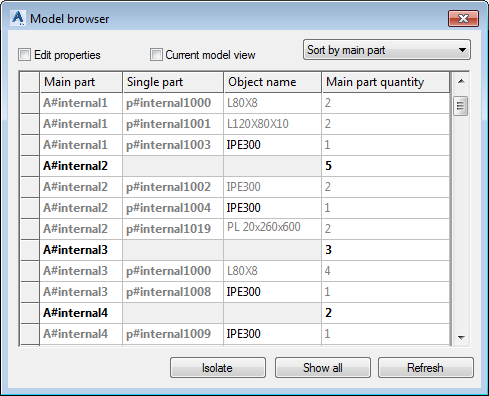
Process the drawings for single parts and assemblies
Once the numbering is completed, the next step is to process the drawings. To do this:
- Run a
drawing process for your single parts. In this example, access the Drawing Processes Palette
 4 - Singleparts - All category
  02 - Alll Singleparts - A1 - Fill the sheet.
- In the Process properties dialog, use the Drawing number field to set your drawing number as needed, this will become the part number. In this example, the set drawing number is 1000:
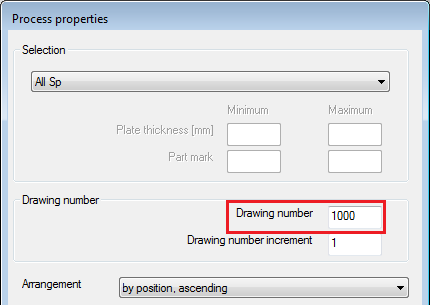
- Click OK to exit the Process properties dialog.
- Run a
drawing process for your assemblies. In this example, access the Drawing Processes Palette
 2- Assemblies - All
  02 - All Assemblies - A1 - Fill the sheet.
- As for single parts, in the Process properties dialog, use the Drawing number field to set your drawing number as needed, this will become the assembly (main part) number. In this example, the set drawing number is 100.
- Click OK to exit the Process properties dialog.
- Save the model.
- In the Output tab
 Document Manager panel, click
 (Document manager) to
update the drawings, if required.
Check the Model browser to see the reflected changes for your single parts and assemblies:
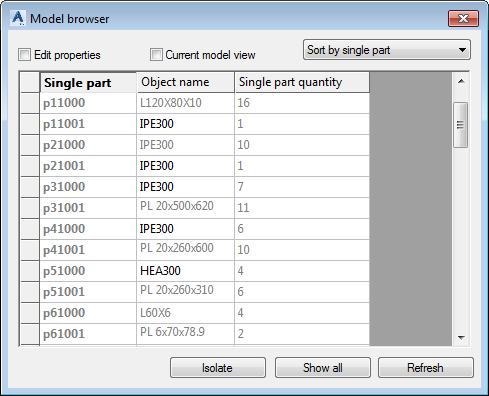 |
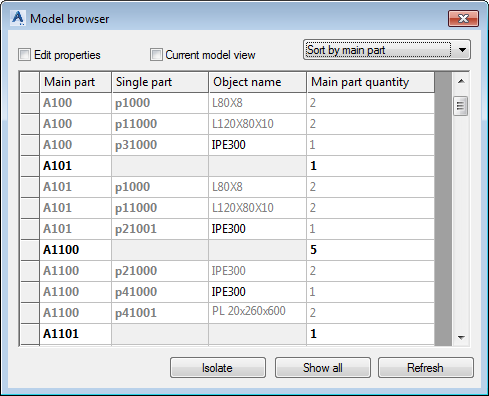 |
Your numbering settings are also reflected in your drawing labels:
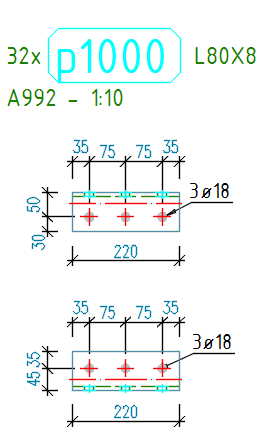 |
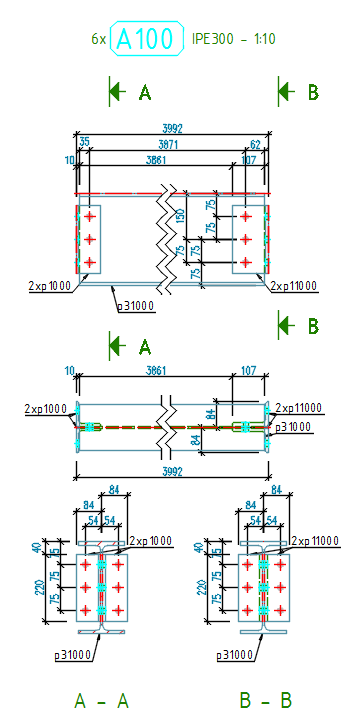 |