Create a shape texture brush
-
File > Import > Canvas Image
 the wheel sample.
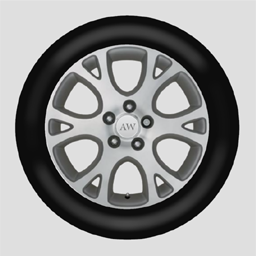
The first step we need to do is remove the pale gray background using the Magic Wand or shape mask tools.
In this example, we will use the Magic Wand tool because it’s a quick way to select pixels for removal.
-
Select your photograph or image and resize to approximately the brush size you require.
-
Click on the outside of the image and adjust the tolerance in the Paint Panel.
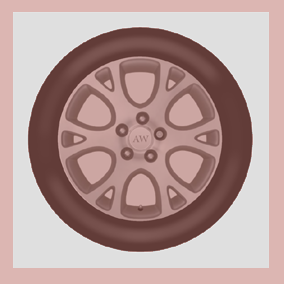
-
Hold down the “A” key while you select all the other gray areas you want to remove. Using the “A” modifier key allows you to add to the magic wand selection.
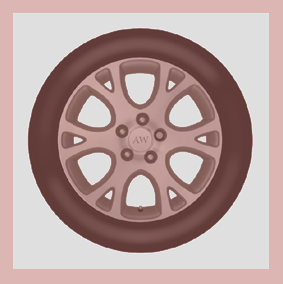
The alloy wheel and tire are now protected by the selection mask.
-
Select Windows > Editors > Canvas Layer Editor
 and click the
  button to delete the gray pixels.
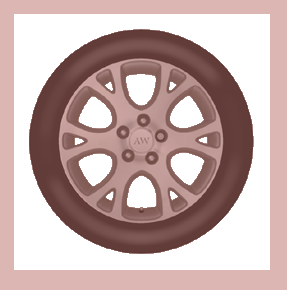
-
Now select Pick > Nothing
 from the tool palette to delete the selection mask.
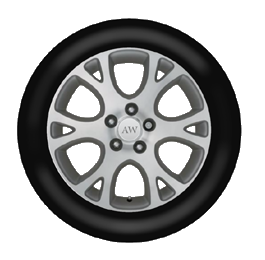
-
Select the brush style you want to start from. You can select this from either the tool palette or the paint control panel—Solid brush, Airbrush, Pencil, and so on.
-
Open the Brush Options window and select the Stamp tab. Select the Shape and Texture option from the Capture Mode pop-up menu.
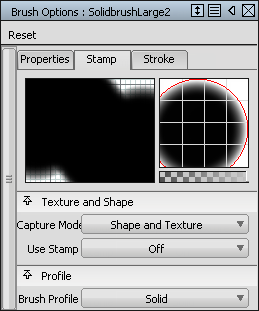
-
The brush cursor changes to a camera within the radius circle, and the prompt line request you to select the texture region. Note you can change the radius using the standard modifier key R. The moment you click on the canvas, the texture is grabbed from the current image layer and loaded into the brush stamp. Note how the brush stamp and brush stroke preview refresh in the brush editor to show the stamp selection.
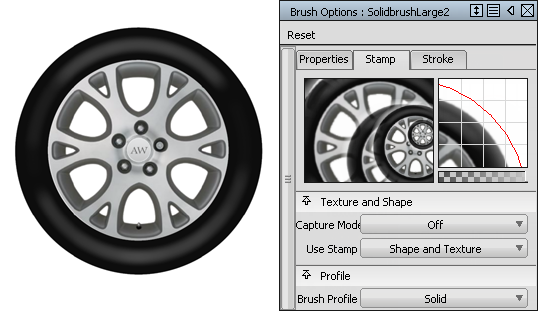
-
Try a few sample strokes on the image layer to test the brush effect. You may need to modify the distance between each stroke by adjusting the Brush Stroke > Spacing Bias and the Brush Profile, depending upon the texture style and personal preference.
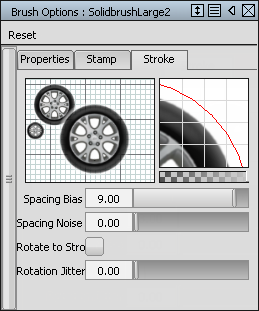
You have now created a texture brush that will create wheel stamps with transparent spoke holes.