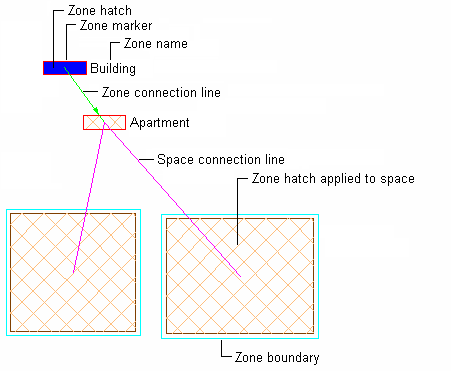
Use this procedure to add a zone with settings that you specify.

- Open the tool palette that contains the Zone tool you want to use, and select it. Note: Alternatively, you can click


 .
. 
- On the Properties palette, expand Basic, and expand General.
- Enter a name for the zone.
If you have assigned a list definition to the zone style, you can select a name from the drop-down list.
- Select a style.
- Select a tag for the zone. Note: If no zone tags are contained in the list, you can drag a tag into the drawing from the Content Browser. You can also create your own tags from multi-view blocks.
- To add a calculation modifier to the zone, click the setting for Calculation Modifiers, and select one or more calculation modifiers for the zone.
If you assign a calculation modifier to a zone, the area and perimeter values of spaces attached to the zone will be modified with the calculation modifier.
- Expand Dimensions.
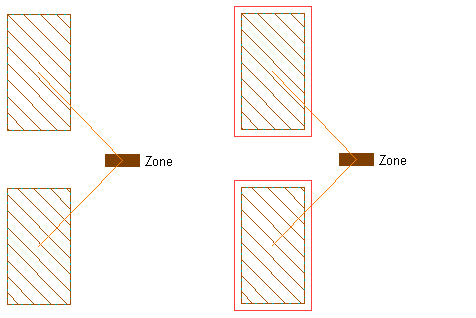
- For Zone boundary offset, enter a value to specify the distance you want between the zone boundary and the base boundary of any attached space.
If you select 0 offset, the zone boundary is identical to the base boundary of the space.

Zone boundary offset at 0 (left) and at an offset value (right)
Tip: If you cannot see the zone boundary, the display component for the zone boundary may not be activated in the zone style. - Expand Calculation.
- Specify which space values should be calculated in the zone:
If you want to … Then… calculate the area values of attached spaces including any applicable calculation modifiers select Yes for Calculate Area. calculate the perimeter values of attached spaces including any applicable calculation modifiers select Yes for Calculate Perimeter. - Expand Content.
- Define the content allowed in the zone:
If you want to … Then… allow spaces to be attached to the zone select Yes for Can Contain Spaces. allow zones to be attached to the zone select Yes for Can Contain Zones. - In the drawing area, specify the insertion point of the zone.
You can move or hide the Properties palette to expose more of the drawing area.
- Continue adding zones as needed, and then press Enter.