In this exercise you convert color images to bitonal (black and white) images.
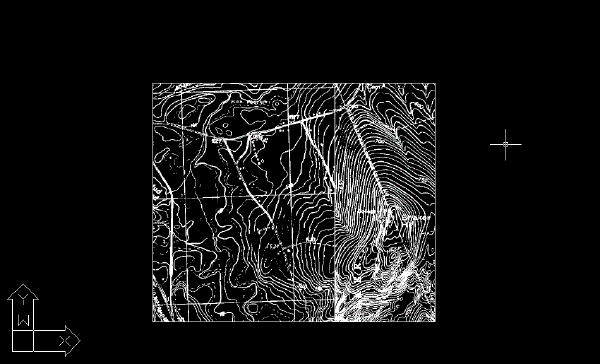
You convert a color image of a USGS quad sheet to a bitonal image, preparing to trace the contours with AutoCAD Raster Design toolset Vectorization Tools.
Related Exercises
Before doing this exercise, ensure that AutoCAD Raster Design toolset options are set as described in the exercise Exercise A1: Setting AutoCAD Raster Design Toolset Options.
Exercise
- In the \Tutorial5 folder, open the drawing file
Map_12.dwg.
Convert the image to bitonal
- Isolate the TU_image_usgs layer. To do this, select this layer in the Layer Properties Manager, right click and click Select All But Current, then freeze all the selected layers, and click OK.
- Click
Raster menu
 Image ProcessingHistogram. Press
Enter for entire image. The
Histogram dialog box is displayed.
Image ProcessingHistogram. Press
Enter for entire image. The
Histogram dialog box is displayed.
- Click the
Threshold tab.
Use the Threshold slider to determine which pixels will be black and which will be white after you convert the image.
- Move the slider as close as you can to 171, observing the effect on the image in the preview window.
This exercise uses one image. However, if you select multiple images, you can select the image name below the preview to observe the effect of the threshold value on that image. The selected images convert to black and white when you click Apply and Close.
- Click
Apply and Close to convert the image.
Save the image
- Click
Raster menu Save As.
- Enter usgs.cal for the filename, select
CALS1 for the file type, and click
Save.
Invert the image
- Click
Raster menu CleanupInvert.
After you convert an image (and invert it, if necessary), you typically use the editing filters, such as Despeckle and the bitonal filters, to eliminate raster data that could interfere with tracing the contours.
- Close the drawing without saving changes.