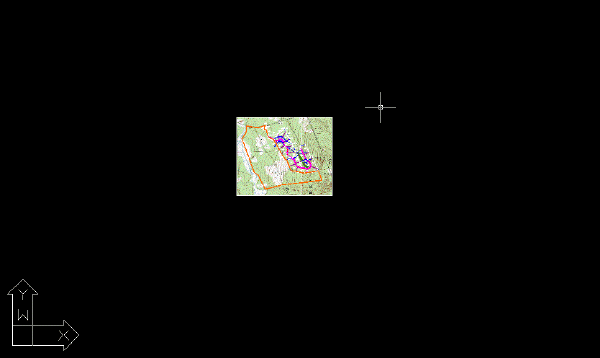
In this exercise you use Mask to exclude areas of map images from view without deleting the raster data.
A mask shows the portions of images inside the mask boundary and hides or unloads images that are completely outside the mask boundary.
Unlike cropping and rubbing, masking does not permanently modify images. You can turn off the mask to redisplay the complete images.
In this lesson, you create a mask for the two images of USGS quad sheets. These quad sheets were inserted into a drawing of an undeveloped parcel of land. However, the region shown in the quad sheets is much larger than the area covered by the parcel. You mask out the areas in the images that are unrelated to the parcel.
Related Exercises
Before doing this exercise, ensure that AutoCAD Raster Design toolset options are set as described in the exercise Exercise A1: Setting AutoCAD Raster Design Toolset Options.
Exercise
- In the \Tutorial5 folder, open the drawing file
Map_11.dwg.
Select the image mask options
- To display the
New Image Mask dialog box, click
Raster
 Mask
Mask Create.
- Specify the following settings for the image mask options:
- Select Enable Mask.
- Under Image(s) Outside the Image Mask, select Hide Image(s).
- Select Show Image Frame(s).
- Click Rectangular.
- Draw a rectangle around the undeveloped parcel and the adjacent development.
AutoCAD Raster Design toolset masks areas of the images that are outside the rectangle.

Turn the image mask off and on
- Select the mask boundary, which corresponds to the rectangle that you drew.
The mask boundary is an AutoCAD object that you can move, stretch, scale, and erase. Feel free to modify the mask region. Note that if you move a midpoint along any side, more midpoints are added to the polygon.
- Right-click, and click
Enable from the shortcut menu to turn off the image mask.
AutoCAD Raster Design toolset displays the original images, but the mask boundary remains visible. You can select it and continue to modify the boundary while the full images are visible.

- Select the mask boundary, right-click, and click
Enable to turn the image mask back on.
The areas outside the mask boundary are hidden.
- Close the drawing without saving changes.