In this exercise you use Deskew to correct images that are skewed or tilted in the image frame.
Related Exercises
Before doing this exercise, ensure that AutoCAD Raster Design toolset options are set as described in the exercise Exercise A1: Setting AutoCAD Raster Design Toolset Options.
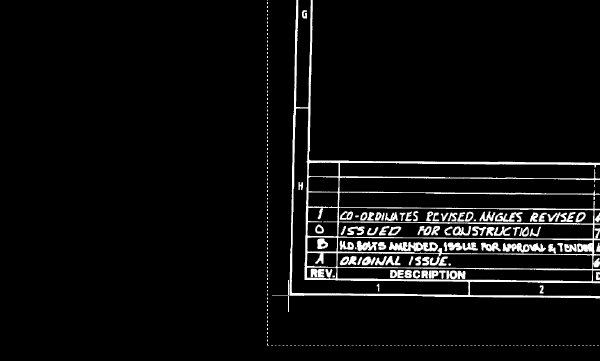
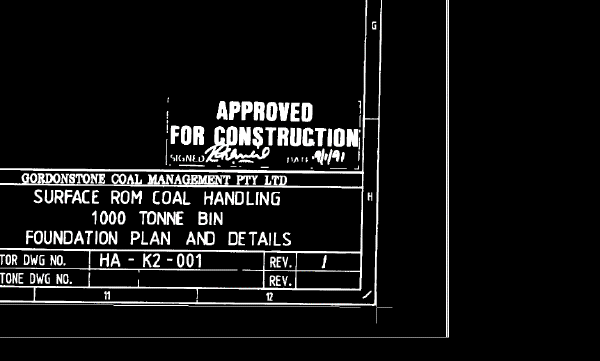
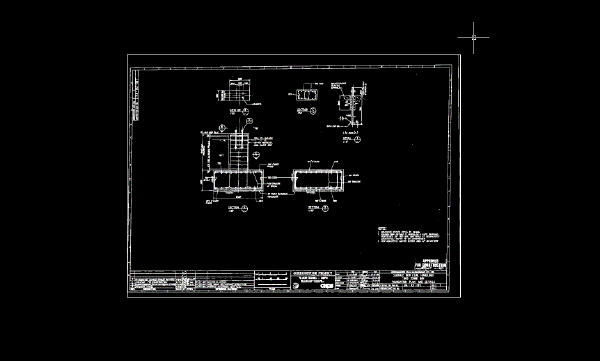
- In the Tutorial2 folder, open the drawing file Scanned_04.dwg.
Move the image
- Enter m for Move, select the image frame, and press Enter.
- Zoom in and select the lower-left corner of the raster image for the base point. Do not select the image frame.
- Enter
0,0 for the second point (destination point).
The base point of the image moves to 0,0.
Deskew the image
- Enter VIEW and restore the view named TU_extents_new.
- Click
Raster menu
 CleanupDeskew.
- Enter 0,0 for the base point.
- Enter 0,0 for the source angle point.
- Zoom in and select the lower-right corner of the raster image for the second angle point. Do not select the image frame.
The baseline of the image has been specified as a reference line for the deskew operation.
- Accept 0 as the destination angle.
The image is aligned to the horizontal axis of the drawing.
- Enter
VIEW, restore the view named
TU_extents_new, and examine the deskewed image.
After deskewing, the image is no longer tilted in the image frame.
- Close the drawing without saving changes.