Introduction
There are essentially three key ways to make changes to your Civil 3D design from the Project Explorer window.
- Double-click any highlighted parameter to directly edit the underlying individual value.
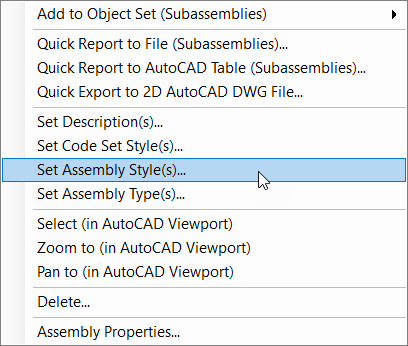
- Right-click a selection of objects or points to access a slightly more limited range of parameters which can be edited for multiple selections.
- Use a dedicated tool such as the Edit Pipe Run tool or the Swap Multiple Parts tool.
Editing individual values

Any value displayed in the Project Explorer window with a highlighted text color and a white background color is an editable value. Simply double-click any value to apply a direct edit. Changes are reflected in the Project Explorer window and in the AutoCAD viewport.
Editing multiple values
Selected parameters can be edited for multiple objects in a single operation in Project Explorer. To apply edits to multiple objects from the Project Explorer window, select several objects and choose an editing function from the associated right-click menu.
Dedicated tools
Project Explorer features a number of dedicated tools for applying edits to your Civil 3D design in specific scenarios.
Edit Pipe Run tool
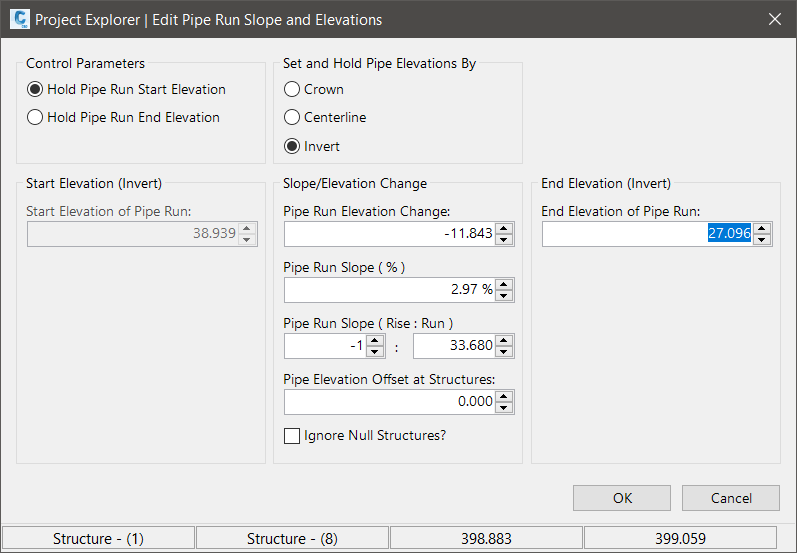
The Edit Pipe Run tool can be accessed from a button on the Pipe Network (Pipe Run) View toolbar. This tool allows a new constant pipe slope to be assigned to any pipes currently displayed on the Pipe Run View. Any changes applied are reflected in the AutoCAD viewport and the Project Explorer window.
A new pipe slope value can be applied while holding the elevation of the start or end of the selected pipe run, and if there are any changes to the diameter of pipes in the current run you can elect to hold the invert, crown, or centerline elevations of pipes when crossing each structure. Pipe slope can be expressed in percent or run:rise, and an elevation offset can optionally be applied when crossing each structure in the pipe run.
Multiple Part Swap Tool

To modify the part size of multiple structures or pipes, select the Pipe Networks tab in the Project Explorer window and ensure that the structures or pipes sub-object tab is active. Select the structures or pipes that you would like to assign the new part size to, then select Swap Parts from the right-click menu. Any changes are reflected instantly in the AutoCAD viewport and the Project Explorer window.