Positioning features
When creating 4th-axis indexing or turn/mill parts, there is an option on the Location page of the New Feature wizard for positioning called Radial about the X axis (or Radial about the Y axis if indexing around the Y axis). Use this method of positioning 4th-axis features, unless you want to create Setups on each face you want to machine. Use the angle and radius dimensions to orient the feature on the proper face.
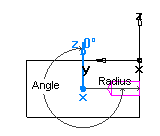
In the case of indexing around the X axis, the X coordinate moves the feature along the X axis and the Y coordinate translates the feature in the perpendicular direction.
In the case of indexing around the Y axis, the Y coordinate moves the feature along the Y axis and the X coordinate translated the feature in the perpendicular direction.
Positioning the stock
Often, the initial part Setup is positioned at the same point as the Stock Axis.
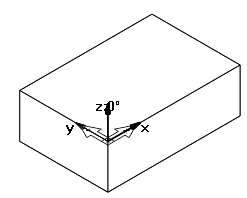
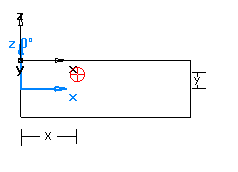
You can position the Setup axis at whatever point is convenient for locating part zero, but you must move the stock so that the Stock Axis is positioned at the center of rotation of your indexer. You do this in the Stock Properties dialog:
- Open the Stock Properties dialog by selecting the stock in the Part Tree and then selecting Properties from the context menu.
- On the
Dimensions tab, adjust the
X,
Y, and
Z coordinates to move the stock. In the example below, it is assumed that the center of the stock is aligned with the axis of the indexer. The stock is shifted by a negative amount in Y equal to half the stock width and a positive amount in Z equal to half the stock thickness.
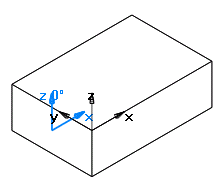

- Click the Apply button to see the results.
- Click OK when the stock has been moved correctly.