You can use the MillCurveTolerance.bas add-in to resize milling features quickly to bring them into tolerance, without redrawing the feature curve.
To use the Mill-curve tolerance add-in:
- Install the MillCurveTolerance.bas add-in.
- Select a milling feature created from a curve in the XY plane.
- Select Add-Ins tab > Macros panel > Tolerances.
The Tolerance of Line Segments dialog is displayed, and the vertical and horizontal segments are labeled in the graphics window.
- Adjust the labels:
- To change the label size, enter a new value in the Segment text size box, and click Set.
- To label only the currently selected segment, deselect the Segment labels on check box.
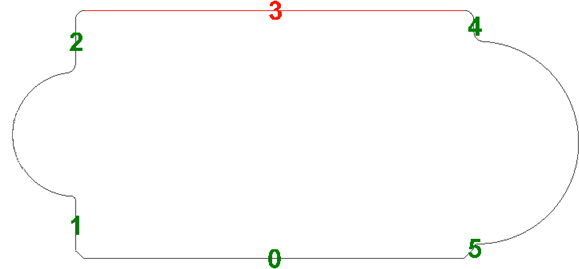
- In the
Segments list, select the segment you want to adjust. The segment and its label are displayed in red in the graphics window, for example:
- Specify the adjustment for the segment:
- To calculate the adjustment from specified tolerances, select the Upper tolerance - Lower tolerance option and enter the tolerance values.
- To calculate the adjustment from standard tolerances, select the Upper tolerance - Lower tolerance option, and select the tolerances in the ISO 286-2 list.
- To specify the adjustment, select Net tolerance, and enter the distance by which you want to move the segment.
- Click Apply Tolerance. The adjustment for the segment is displayed below the button.
- Click
OK to apply your changes and close the dialog.
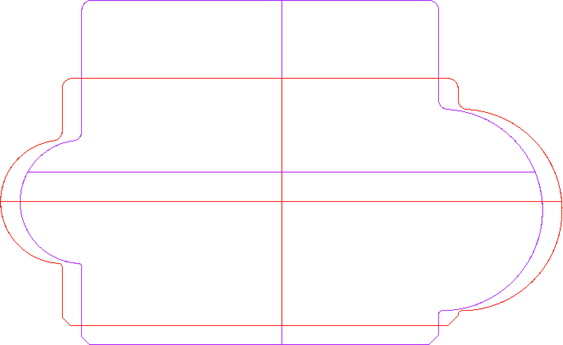
FeatureCAM creates a new curve and feature, and displays the results in the graphics window, for example:
Notes:
- You can use this only for features created from curves; Bosses, Chamfers, Grooves, Pockets, Rounds, and Sides.
- If a feature is created from multiple curves, only the first curve is used.
- Open and closed curves work the same.
- If you enter a tolerance that would break the feature, a message is displayed explaining the maximum tolerance you can enter for a segment.
- Non-vertical and non-horizontal lines and curves are translated to accommodate the tolerance but not altered.