To add a node from the node bin to the schematic, either double-click a node or drag it directly to the schematic. There are several ways of connecting clips or nodes together, either manually or automatically.
To insert a node between connected nodes:
- Do one of the following:
- If Auto Insert is enabled in the Prefs menu Schematic settings, drag a node and navigate to the link between two connected nodes. The link is highlighted in orange.
- If Auto Insert is disabled in the Prefs menu Schematic settings, press and hold Shift, then drag a node and navigate to the link between two connected nodes. The link is highlighted in orange.
- Release the node.
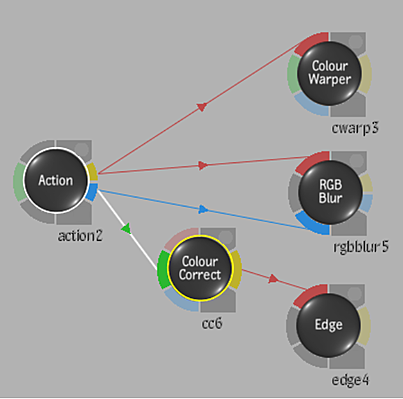
To connect nodes automatically with autolink:
- Use the Autolink feature by pressing
Shift and dragging a node to another node so their tabs touch.
Action: Press and hold Shift while dragging the Negative node to the Keyer node
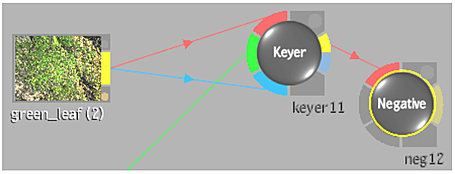
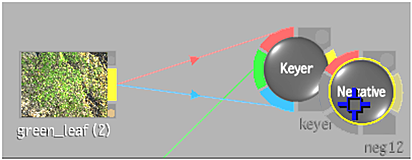 Result: The Keyer output is the front for the Negative node
To connect nodes using the advanced autolink:
- To distinguish between the various source tabs, use the Advanced Autolink feature by pressing
Alt repeatedly while still holding
Shift to extend a similarly coloured arm from each source tab (starting with the topmost source tab, and cycling counter-clockwise with each press of
Alt). The name of the tab is also displayed above the node. Touch the extended arm to the tab to be connected.
Approaching a node with multiple outputs, such as a multi-channel clip imported with a Read File node, automatically expands that node.
Hold Shift and press Alt to extend the Front tab. 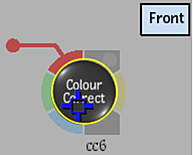
While still holding Shift, press Alt again to extend the Back tab. 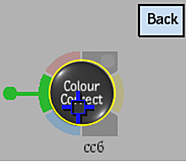
While still holding Shift, press Alt a third time to extend the Matte tab. 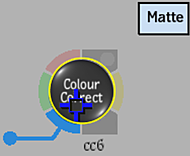
Any connections made using this method will be retained by releasing the node over an existing connection as it turns orange.
To create a node connection using tap-tap linking:
- Click the tab of the first node or clip to be connected.
- Click the tab of the node to be connected to the first node.
The two nodes are connected.
To connect nodes manually:
- Click the Result tab of a node whose result to be used and drag the cursor to one of the source tabs of the next node in the process tree.
An arrowed line is drawn from the node to the source tab. For example, click the Result tab of the Colour Correct node and drag the cursor to the front tab of the Flip node to flip the result of the colour-corrected clip.
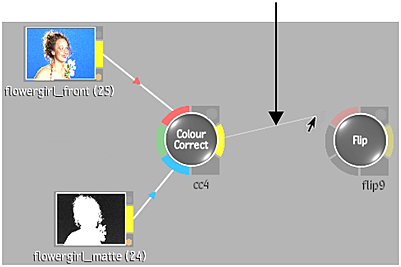 Tip: When working with a large Batch or Batch FX flow graph, you can switch to a 2-Up view with the schematic displayed in both viewports, then drag and connect nodes from one viewport to the other.
To replace a node in-place:
- Do one of the following:
- If Auto Replace is enabled in the Prefs menu Schematic settings, drag a node over the node to replace. A red arrow replaces the cursor.
- If Auto Replace is disabled in the Prefs menu Schematic settings, press and hold Ctrl+Shift and drag a node over the node to replace. A red arrow replaces the cursor.
- Release the node.
If the new node replaces a node with similar sockets, the connections are preserved. If not, only the default socket is connected.
To extract a linked node while maintaining connections:
- Press
Alt+Win and drag a linked node away from the link.
The node is disconnected and connections between existing nodes are reformed.
To disconnect nodes or clips:
- Drag the cursor across the connecting line between a clip and a node or between two nodes.
The arrowed line is cut and the source tab is dimmed.
- Cut multiple connections in a single stroke by clicking and dragging over several connecting lines in the schematic.
To delete a node:
- Do one of the following:
- Right-click a node and choose Delete.
- Drag a node toward the bottom of the screen, releasing when the garbage can icon appears.
- From the Tools box, select the Delete tool and click any nodes to delete.
Tip: Press the keyboard shortcut D to quickly access the Delete tool.