Preset Widgets Tab
The Presets Widget Tab's available settings update dynamically, based on the currently displayed widget.
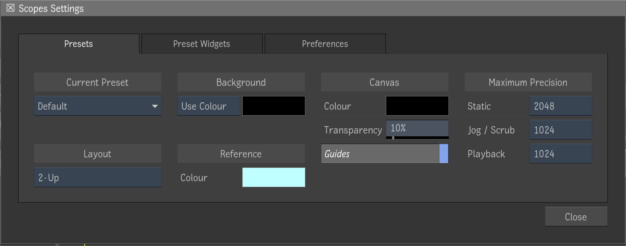
- Current Preset menu
- Use to select a Scopes Preset. You can select from one of the supplied presets or a user created preset.
- Layout menu
- Use to select the number of widgets displayed in a viewport (1 to 4).
- Background toggle
- Use to select between displaying the clip or using a colour as the background.
- Background Colour pot
- Use to select the background colour.
- Reference Colour pot
- Use to select the reference colour.
- Canvas Colour pot
- Use to select the canvas colour.
- Canvas Transparency slider
- Use to select the background colour.
- Guides button
- Enable to display guide lines inside the widgets.
- Static Precision menu
- Use to set the Static Signal Data Precision. Signal Data Precision determines the maximum analysis signal width, in pixels. Static Precision options are: 512, 1024, 2048, 4096, or 8192.
- Jog/Scrubbing Precision menu
- Use to set the Static Signal Data Precision. Signal Data Precision determines the maximum analysis signal width, in pixels. Jog/Scrubbing Precision options are: 512, 1024, 2048, 4096, or 8192.
- Playback Precision menu
- Use to set the Playback Signal Data Precision. Signal Data Precision determines the maximum analysis signal width, in pixels. Playback Precision options are: No Update, 512, 1024, 2048, 4096, or 8192.
Waveforms
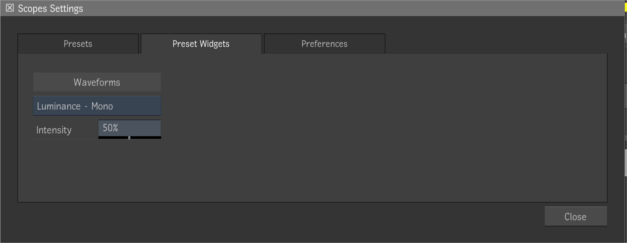
- Waveforms Type menu
- Use to select the Waveforms type. Options are: Luminance - Mono, Luminance - Colours, RGB Parade, RGB, Red, Green and Blue.
- Waveforms Intensity menu
- Use to set the Waveforms intensity, from 1 to 100%.
Vectorscope
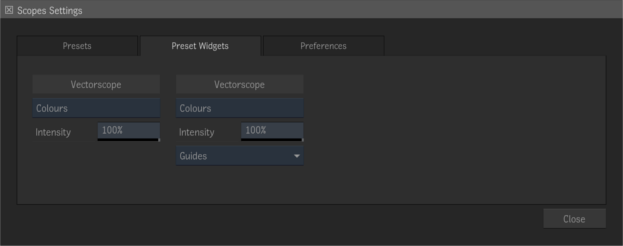
- Vectorscope Type menu
- Use to select the Vectorscope type. Options are: Colours and Mono.
- Vectorscope Intensity Slider
- Use to set the Vectorscope intensity, from 1 to 100%.
- Guides menu
- Select the guides displayed in the CIE xy vectorscope.
- Skin Tone button
- Enable to display a skin tone line that indicates on the vectorscope the hue where skin colours are typically located.
- For the CbCr vectorscope, when Rec.601 is selected in the Preferences Global Settings, the line is equivalent to the I line from a traditional YIQ vectorscope. When the Rec.709 or Rec.2020 vectorscope are selected, the angle of the line on the graph is adjusted to indicate an equivalent hue.
- For the Dolby CtCp, CIELAB, CIELUV, and CIE xy vectorscopes, a line is drawn to indicate the hue of the skin tone patches on a Macbeth colour checker chart as rendered to video through typical viewing transforms. However, keep in mind that as lighting causes actual skin colours to vary in lightness and saturation, they do not fall strictly on a straight line in any of these scopes (including CbCr). In reality it is more of a curve due to the characteristics of the individual colour spaces. As such, the lines are a useful point of reference, but should not be used as anything more than a rough guide.
- Also keep in mind that when using view transforms that take into account the Monitors settings in Colour Management Preferences (ACES, Alexa, gamma-corrected, or colorimetric view transforms), the Monitoring Colour Space affects where skin tones actually fall on the CbCr graph. As such it should be set to match which CbCr scope you are using (Rec.601/709/2020).
3D Cube
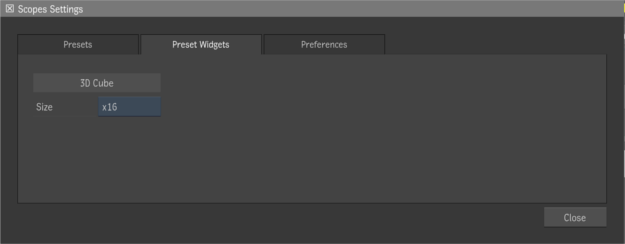
- 3D Cube Size menu
- Use to set the size of the 3D Cube. Options are: x8, x16, x32 and x64.
Preferences Tab
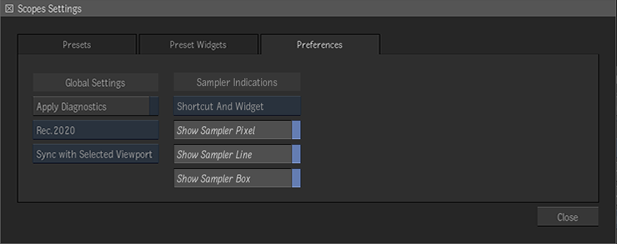
- Apply Diagnostics button
- Enable for the viewport diagnostics controls (Exposure, Contrast and Gamma) to be applied to the Scopes widgets. It is disabled by default.
- Video Vectorscope Orientation box
- Set the orientation of the R, G, B, C, M, Y boxes on the CbCr vectorscope. Set it to match the type of video you are monitoring.
- Colour Source box
- Select the source of the image analyzed in the scopes. Do not sync: Analyze the image displayed underneath the scopes. Sync with Selected Viewport: Analyze the image displayed in the currently selected Viewport. Sync with Broadcast: Analyze the image displayed in broadcast monitor.
- Colour Sampler Scopes Display box
- Control when the Colour Sampler indicators (Pixel, Line, Box) appear in the scopes.
- Sampler Pixel toggle
- Display in the scopes a ring, centered around the pixel sampled by the Colour Sampler.
- Sampler Line toggle
- Highlight the line of the pixel selected by the Colour Sampler in yellow. This yellow line appears on waveforms but not on vectorscopes or histograms.
- Sampler Box toggle
- Highlight in the scopes the pixels located within the resizable red sampling box of the Colour Sampler.