Important: To use End Caps, you must install the Custom Content library and add it to your active project file.
Sometimes you need an end cap with a drain hole or other features. The following procedure shows you how to create an End Cap family with chamfered corners and a hole in the center. After you finish, you can add an end cap with a hole to the frame. Follow these steps for each end cap family you want to modify.
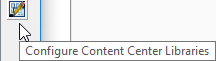
- Open Projects, select Configure Content Center Libraries to create a Read/Write library, add the Read/Write library to the active project file, and then save the project.
- Make a copy of the Plates family you want to add the hole to.
This example uses a metric end cap with chamfered corners.
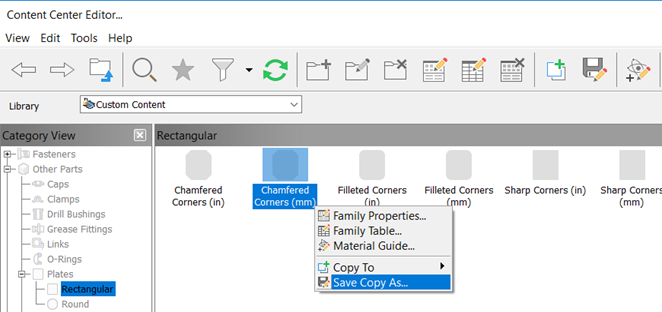
- Open the Content Center Editor. If no documents are open, access is in Tools > Content Center > Editor. In a part or assembly document, access is in Manage > Content Center > Editor. Choose the Custom Content library, select the desired Plates family, select the end plate to receive the hole, and then right-click to select Save Copy As...
Note: If you use vault to manage Content Center, you must have either a Content Center Administrator or Content Center Editor role.
- Open the Content Center Editor. If no documents are open, access is in Tools > Content Center > Editor. In a part or assembly document, access is in Manage > Content Center > Editor. Choose the Custom Content library, select the desired Plates family, select the end plate to receive the hole, and then right-click to select Save Copy As...
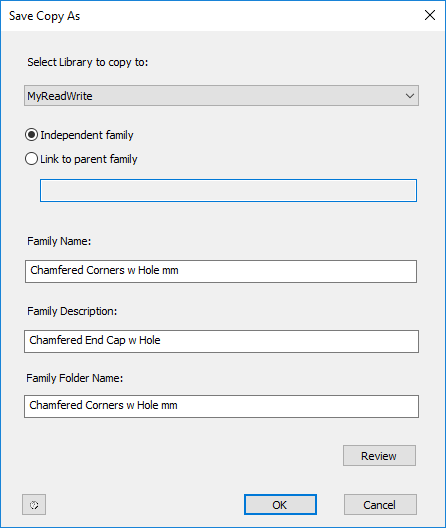
- Select your Read/Write library as the library to copy to, select
Independent family, edit the name and description fields as required, and then click OK.
- In the Content Center Editor, change the Library View filter to your Read/Write library to verify your new entry and then click Done.
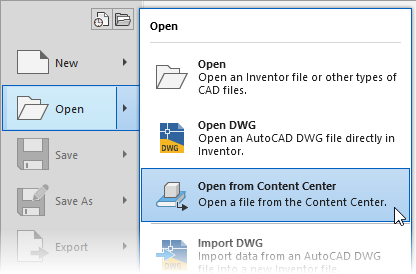
- Click the File menu in the upper left corner of the Inventor display and select Open from Content Center.
- Select the new end plate to receive the hole and click OK.

- Accept the size defaults or set the Height and Width values as desired, enable the As Custom setting, and then click OK.
- Give the file a new name and save it to the desired location.
Note: The save location is used for the publish operation and is not the library location.

- When the copied plate file opens, add and constrain the desired hole to the model, then save and close the file.
- Open the Content Center Editor again and make sure that the Library is set to your read/write library.
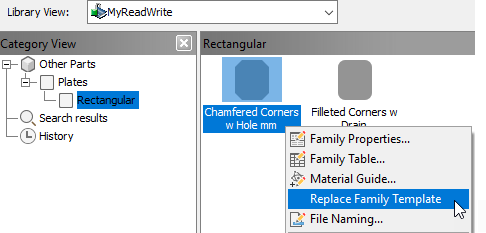
- Select the plate you saved in step 3, right-click and select Replace Family Template.
 Note: If you use vault to manage Content Center, you must have either a Content Center Administrator or Content Center Editor role.
 - Browse to the location you saved the modified plate with the added hole, select the file, and click Open.
The Publish was successful message indicates that your modified plate replaced the original copied file. Click OK and then Done to finish.
- Repeat the process for each plate family you want to customize.
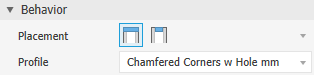
The next time you use Insert End Cap, the new plate with the hole is available in the Profile drop-list.