To use the End Caps command, the Inventor Custom library must be installed and enabled for the active project.
To Install the Inventor Custom Library
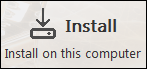
- On the Installer landing page, click
Autodesk Inventor Content Libraries.

- Click the down arrow
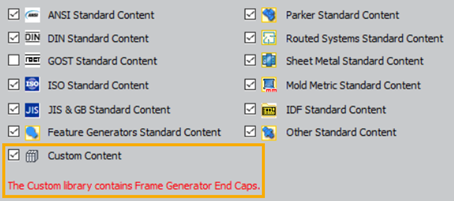
 and, if not already selected, select Customer Content.
- Click the up arrow
 to close and return to the product list.
Note:
 Installs the Content Center libraries selected in the Autodesk Inventor Content Center Libraries section directly on your local computer as Desktop content.
 Provides the option to install Inventor Content Libraries as Desktop content or as Content Center libraries to be shared on a Vault server.
To Use the Inventor Custom Library in the active project
- In the Projects dialog box, click the Configure Content Center button on the right.

- In the Configure Libraries:
Project name dialog box, ensure the Custom Content library is selected .
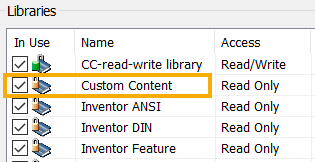
- Click OK.