To start a new Inventor ETO project, use the Inventor Design Library Template. You can import an existing Inventor ETO project.
Use Inventor Design Library template for project
- To get started, Launch Visual Studio and click File
 New Project. The New Project dialog box displays.
 - In the IntentV3 Section, select the Autodesk Inventor ETO Design Library template, and give the project a name.
- Change the location and solution name as necessary.
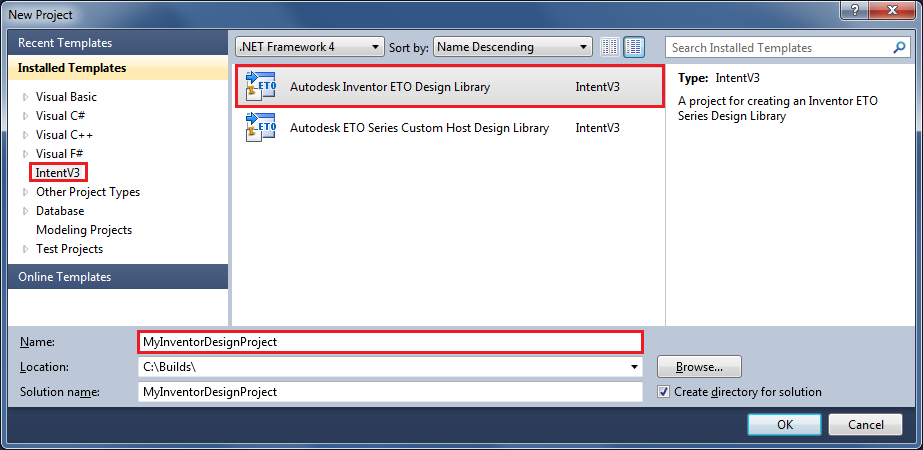
- When satisfied with your selections, click OK to create the project.
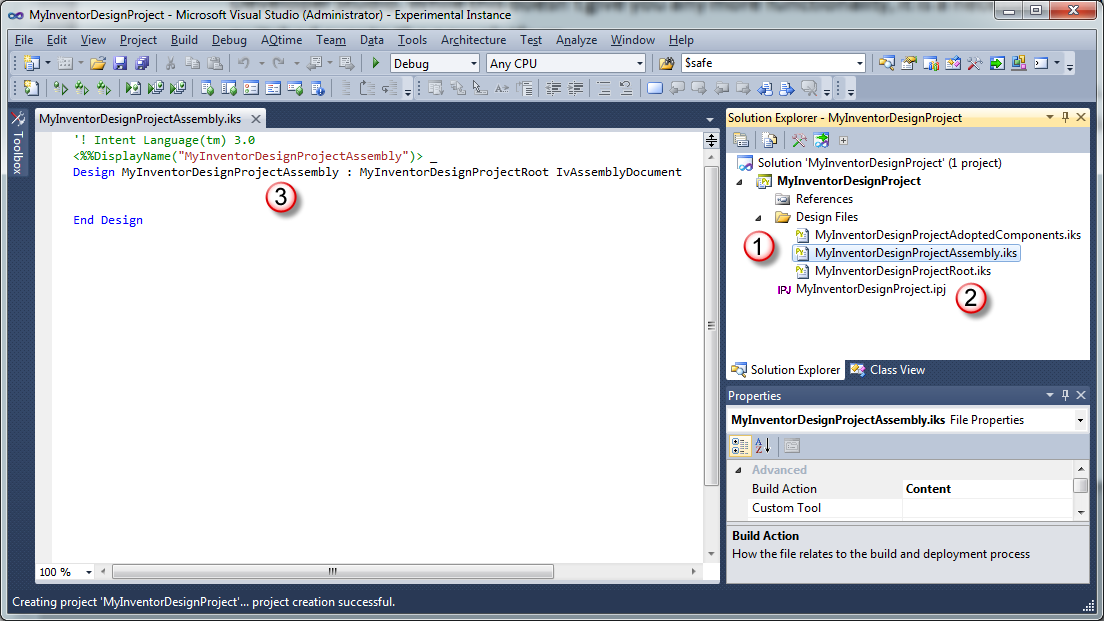
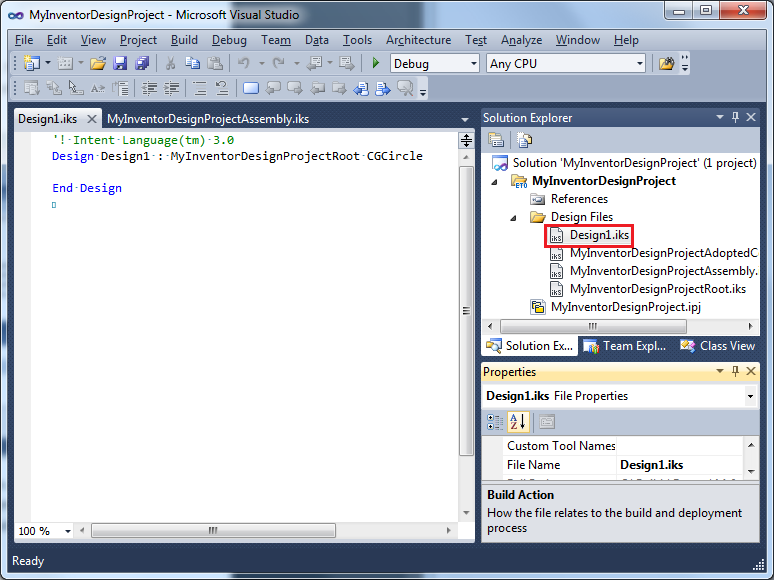
Once created, your new Visual Studio project contains three major elements:
- Design Files folder contains all design (iks) files specific to this project.
- The Inventor project (ipj) file, which you will load in Inventor when working on your ETO solution, adopting components, etc.
- The default root assembly design is created and loaded in the editor.
Note: It is important to keep this directory structure in-tact as other features rely on it.
From this starting point you can begin building your ETO solution. Open the new project in Inventor, and adopt parts and/or assemblies, which will populate the Design Files folder. To create new designs from scratch, use the new Design template.
Use the Design Template
Use the Design template to create new, empty designs in your project.
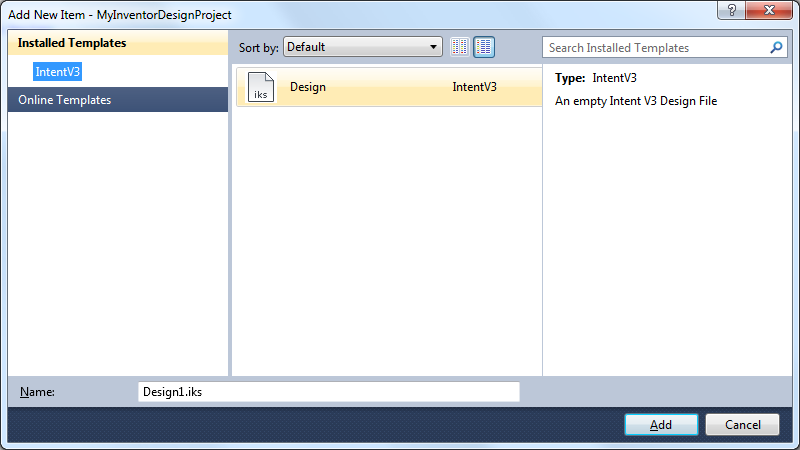
- Right-click the Design Files folder (#1 above), and click Add New Item.
- Select the Design template, and click Add.
- Specify the New design name, Parent design, and optional system design mixin, just as you would in the Design Editor.
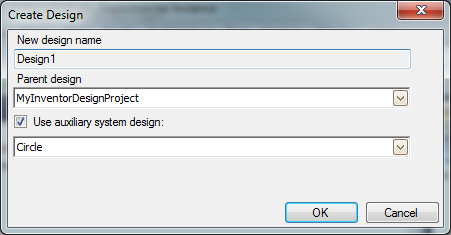
- When you are satisfied with your entries to create the design, click OK . Once created, the new design loads in the editor, just as it would in the Design Editor.
- Add more designs as necessary here. Adopted part designs and designs added from Inventor are added to the Visual Studio project automatically, as long as the iks files exist in the Design Files folder.