When you run the workflow, AutoCAD Map 3D toolset lists the SDF files in the designated folder. Then it creates a Display Manager group to hold the layers that it creates. It connects to the SDF files in the designated folder. For each drawing in the designated folder, it connects, adds a layer to Display Manager, and moves the layers into the new group.
It saves the current map as a DWG file (converting all features to drawing objects). Then it saves each Display Manager layer to a .layer file, which can be shared with other AutoCAD Map 3D toolset users or loaded into Autodesk Infrastructure Map Server .
This exercise uses the workflow you modified in Exercise 2: Automate AutoCAD commands.
To run the workflow
- Open the workflow from Exercise 2: Automate AutoCAD commands in the Workflow Designer (if it is not open already).
- In the list on the Tools tab, Workflow panel, select the workflow you created.
- Click
 (Edit Workflow).
- In the Workflow Designer, click
 .
. Green check marks appear in the upper-right corners of each workflow step. These check marks indicate that the activity has successfully executed.
- Close the Workflow Designer by clicking the x in its title bar.
The layers are added to the map, as well as to the new Display Manager group. You are prompted for a name and location for the DWG file. The .layer files are saved to the location specified in the activity.
Where you are now
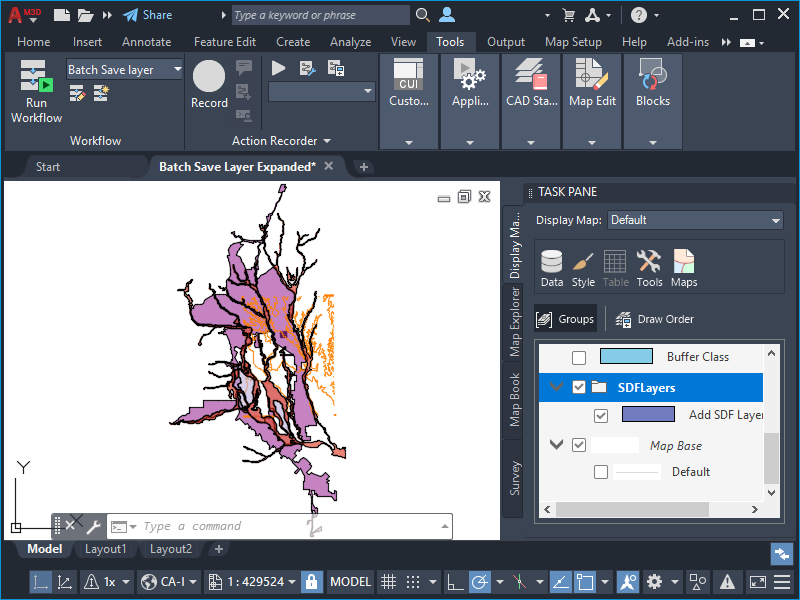
The layers are added to the map and are stored in the group you created.