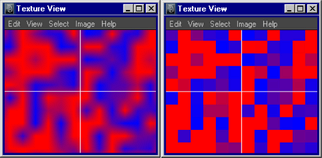
You can display the image associated with a texture in the UV Editor. The image appears behind the UVs so you can rearrange the UVs in relation to the image.
| To... | Do this |
|---|---|
|
Display the texture image behind the UVs. |
In the UV Editor, click the Toggle Image button on the toolbar or select Image > Display. |
|
Set the image ratio. |
In the UV Editor, click the Toggle Image Ratio button on the toolbar or select Image > Image Ratio. |
|
Switch between blended and sharp-edged pixels. |
In the UV Editor, click the Toggle Filtered Pixels button on the toolbar or select Image > Unfiltered.  |
|
Switch between showing a mesh texture and a per-face texture. |
Select the mesh object to show a mesh texture, or faces to show per-face textures. |
|
Choose a texture to display (if more than one texture is applied to the mesh). |
In the UV Editor, select the texture you want to work on from the drop-down menu in the View options bar, or from the Textures menu. When you are in component selection mode, the Textures menu lists shading groups assigned to the selected components. In object selection mode, the sub-menu lists all shading groups assigned to the entire mesh. |
|
Crop the image within UV coordinates. |
In the
UV Editor, choose Image > Image Range >
|
If the texture quality is poor or if parts of the texture do not display correctly, you can modify the display quality with the Hardware Texturing settings in the Attribute Editor for the material node.
If you are using a file texture, the best display mode for the Texture resolution setting is Default. (The other settings, such as High, are best for procedural textures.)
If you experience resolution or cropping problems in the texture image display, use Image > UV Editor Baking to bake the texture. You must rebake the texture (using UV Editor overview) after making changes to the texture (File node and place2dTexture node attributes) in order to see the effect of those changes.